Think of Payment Pages as the main entry point to your course. You can create as many as you like and they can be set to free or a one-time/fixed or recurring payment plan. If you want to sell your course for free, simply create a new payment page, set the price to $0, and you're good to go.

You'll need to connect a Stripe account to quickly and easily sell your online courses. Your students/customers will never know Stripe exists. Stripe is simply an industry-leading payment processor.
Once you create a Payment Page (more step-by-step info below) simply grab the URL from the Actions menu on the page and share it with your potential customers!
We support multiple currency options that you can choose when creating a new payment page OR when editing any existing payment page.

The currency options we currently offer are:
$ - US Dollar
€ - Euro
MXN - Mexican Peso
£ - Pound Sterling
₹ - Indian Rupee
AU$ - Australian Dollar
NZ$ - New Zealand Dollar
C$ - Canadian Dollar
DKK - Danish Krone
SEK - Swedish Krona
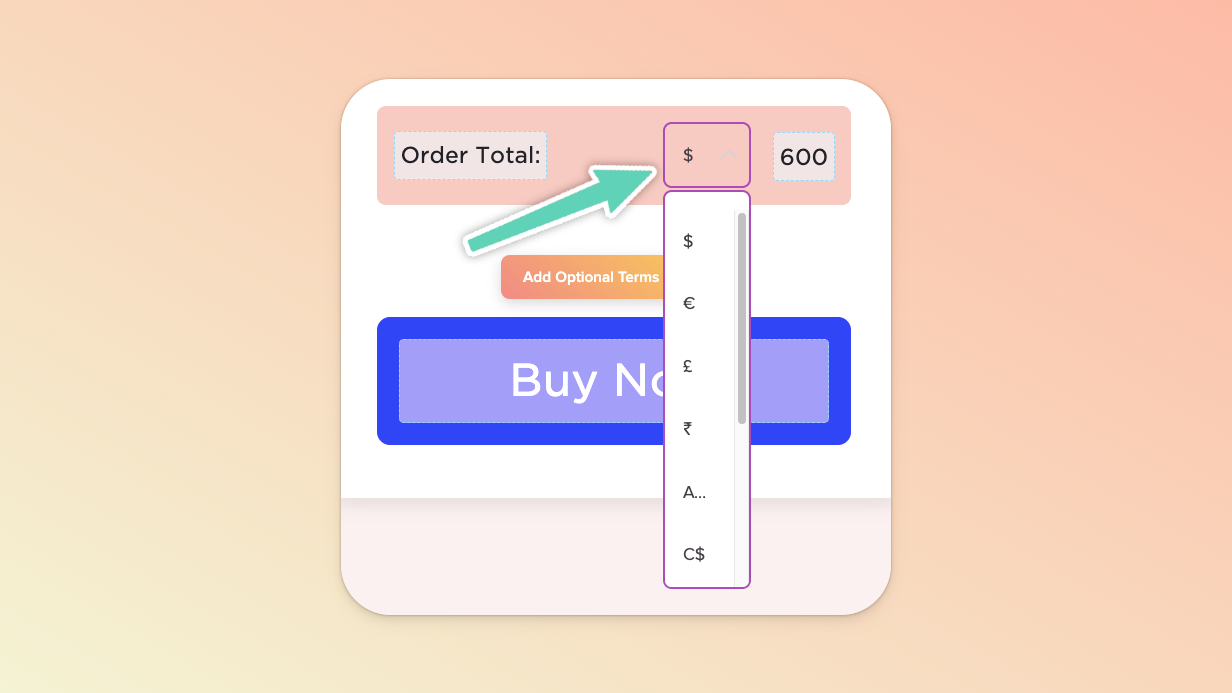
To change the currency of an existing payment page, navigate to the edit view of that payment page and, beside the price you’ve set, the currency should be a dropdown field from which you can open and select a different currency.
Ability to sell fixed price ($20) or recurring pricing ($20/mo OR $200/yr)
Customizable text areas
Logo image area
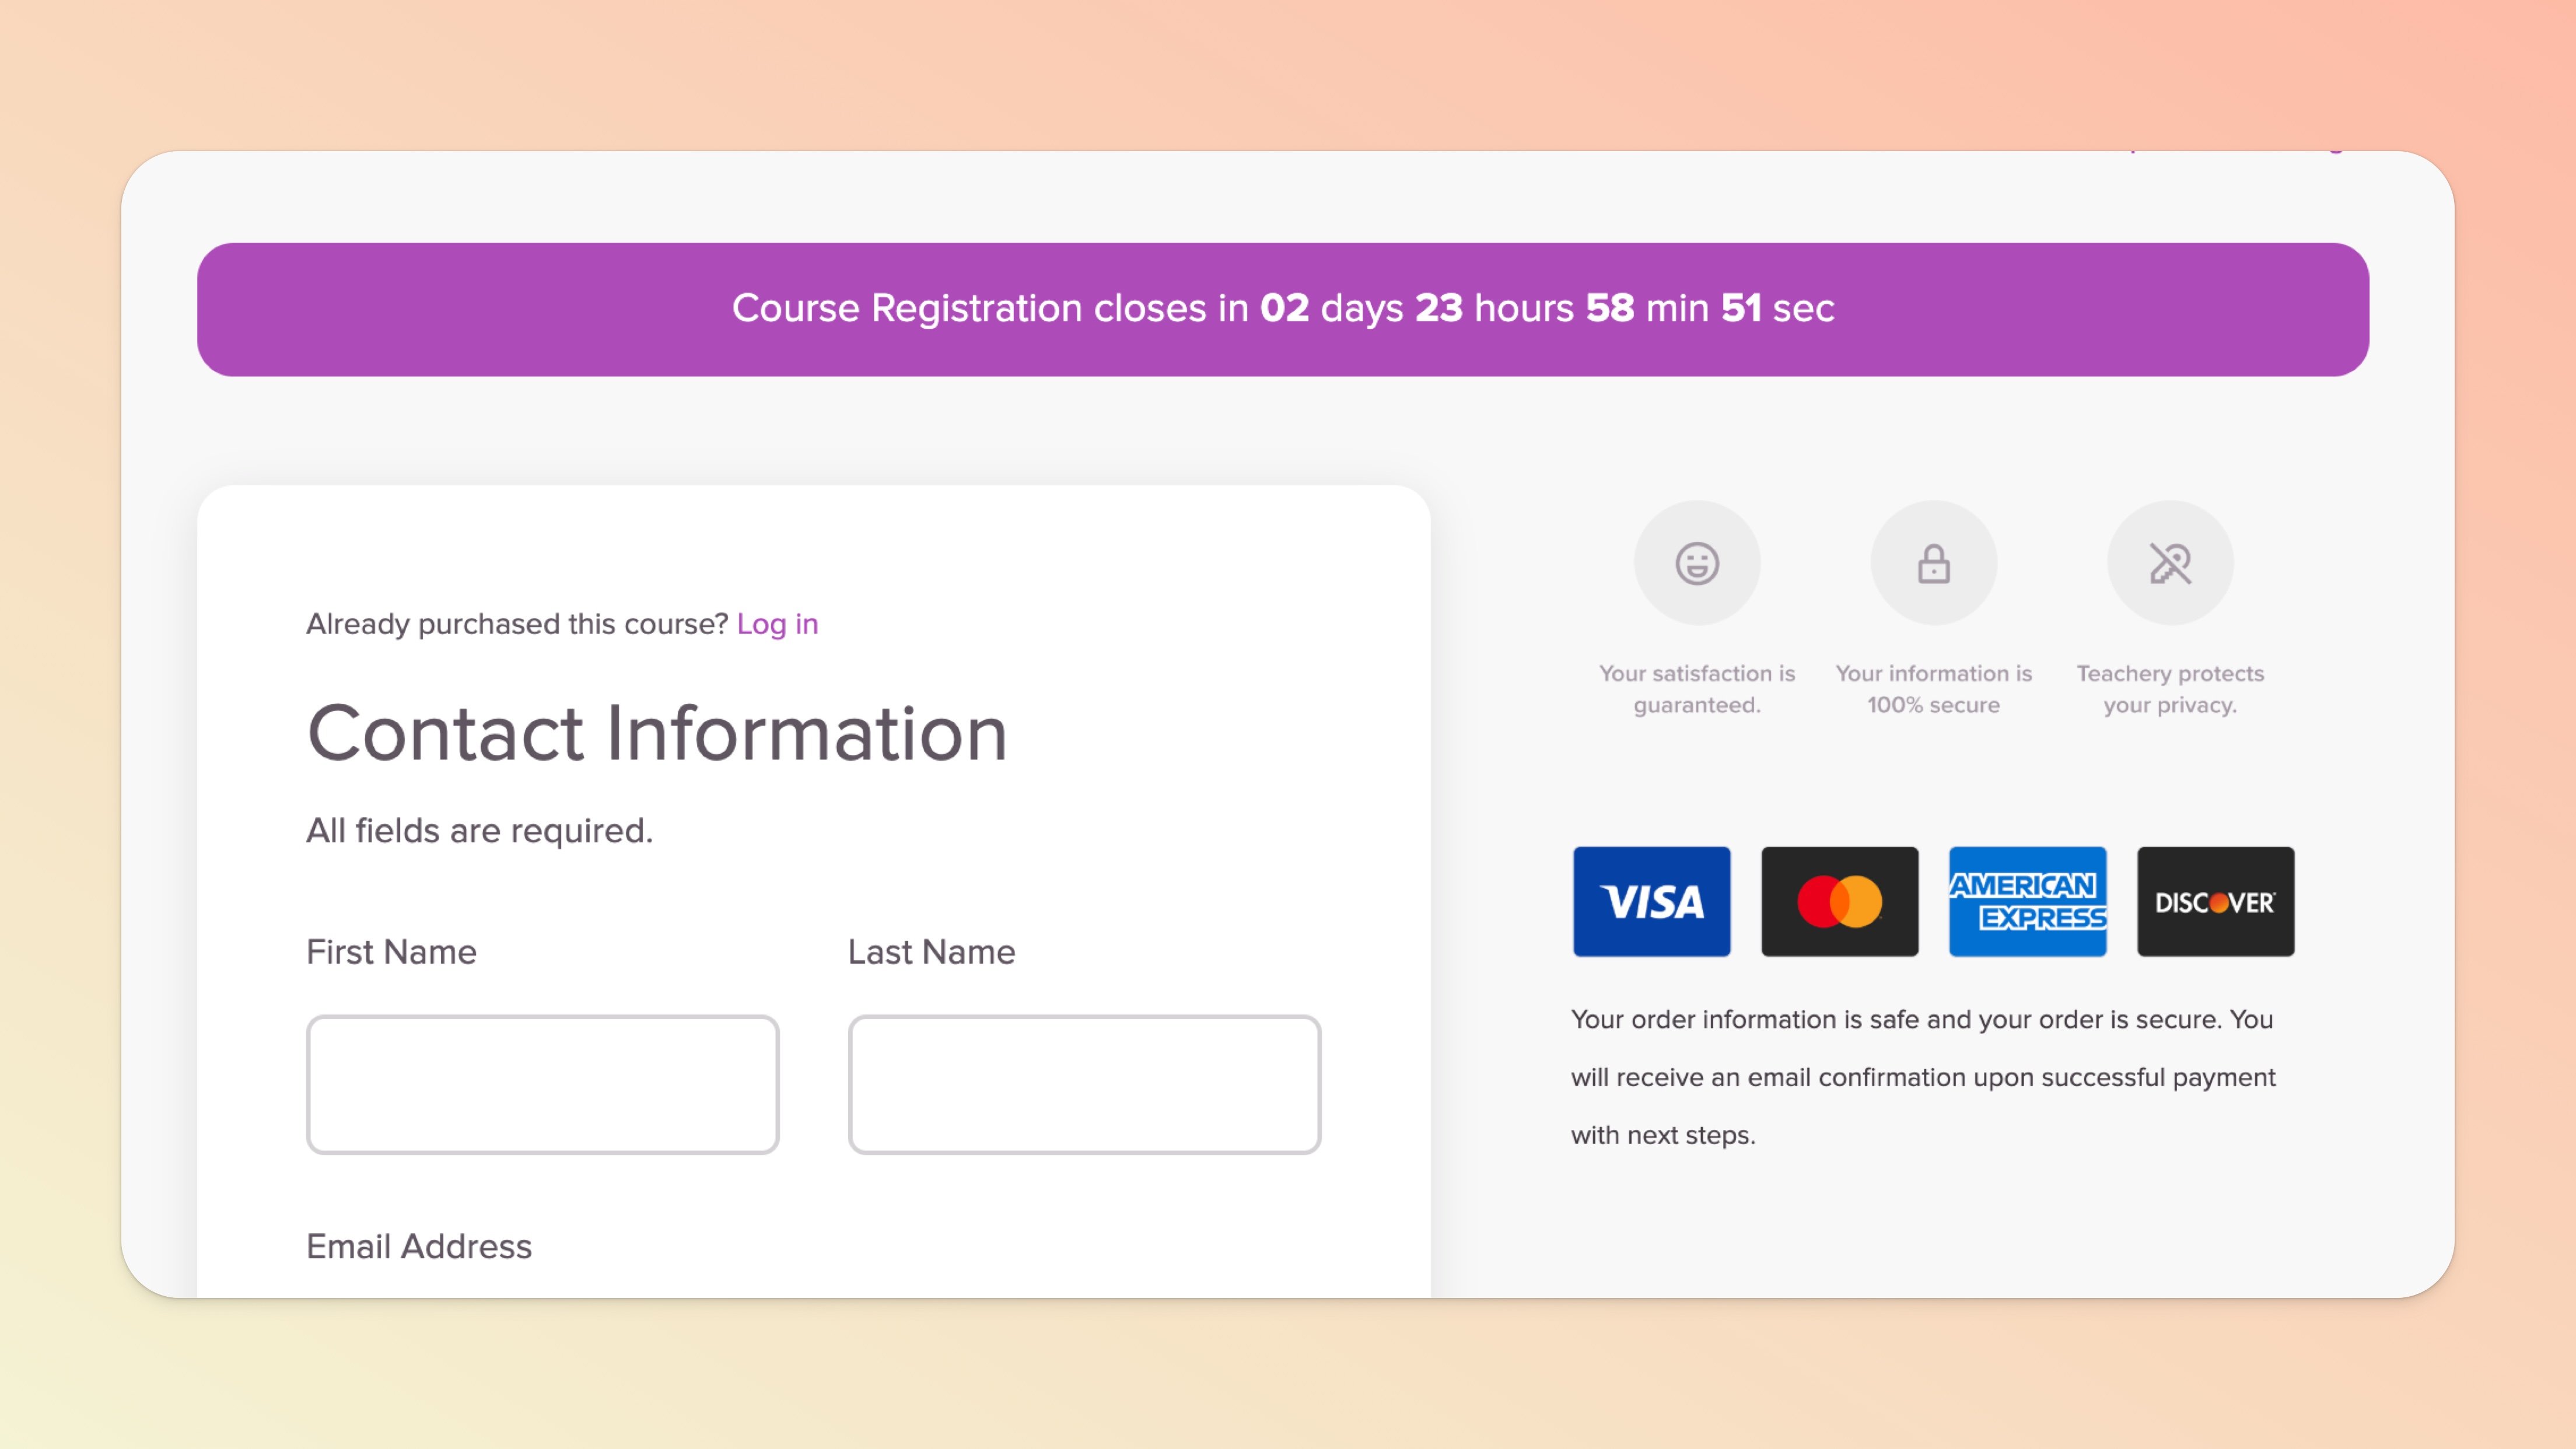
Registration countdown timer
Checkout icons
Promo codes
Upsells
Optional shipping fields
Optional additional input field
Optional payment options
Optional terms and privacy checkbox
Adding your own custom code
Conversion tracking code area (for things like Facebook Ads)
Email notifications every time you make a course sale
Our original Payment Page template does not support automatic tax calculation or collection. Our new Payment Page Builder however does enable use via a Stripe Tax integration.
If you’d still prefer to use our original Payment Page template, the easiest way to handle charging tax or VAT is to add it into the total price of your Payment Page (ex: instead of charging $100, charge $123 [$100+$23 for VAT] and mention VAT is included). Then, work with a bookkeeper or accountant to help you properly file your taxes based on your Stripe payment reports.
Please note that Teachery is not a Merchant of Record (nor tax experts 😅). You remain responsible for all tax collection, compliance, remittance, etc.
The video below will walk you through creating a fixed price (ex: $10) Payment Page and all the features we offer within it.
Use the chapter marker dots on the video to jump to different sections!
The video below will walk you through creating a recurring price (ex: $10/month or $120/year) Payment Page.
💡 We have an additional help doc for Recurring Payment Pages.
Let's say you have a $200 USD course and you want to offer 2 different payment options on the same Payment Page:
The one-time payment option of $200
A $20 per month for 10 months recurring payment option
All you need to do is create both Payment Pages (the one-time Payment Page and the separate Recurring Payment Page). Then, on the main Payment Page you want to send to your customers, click the "Add Payment Options" orange button to toggle ON this feature.

When you're happy with your selections, click the Preview page icon in the top right of the page editor and view the Payment Page as your customer will see it. When you scroll to the buying section, you'll see the options they can select:
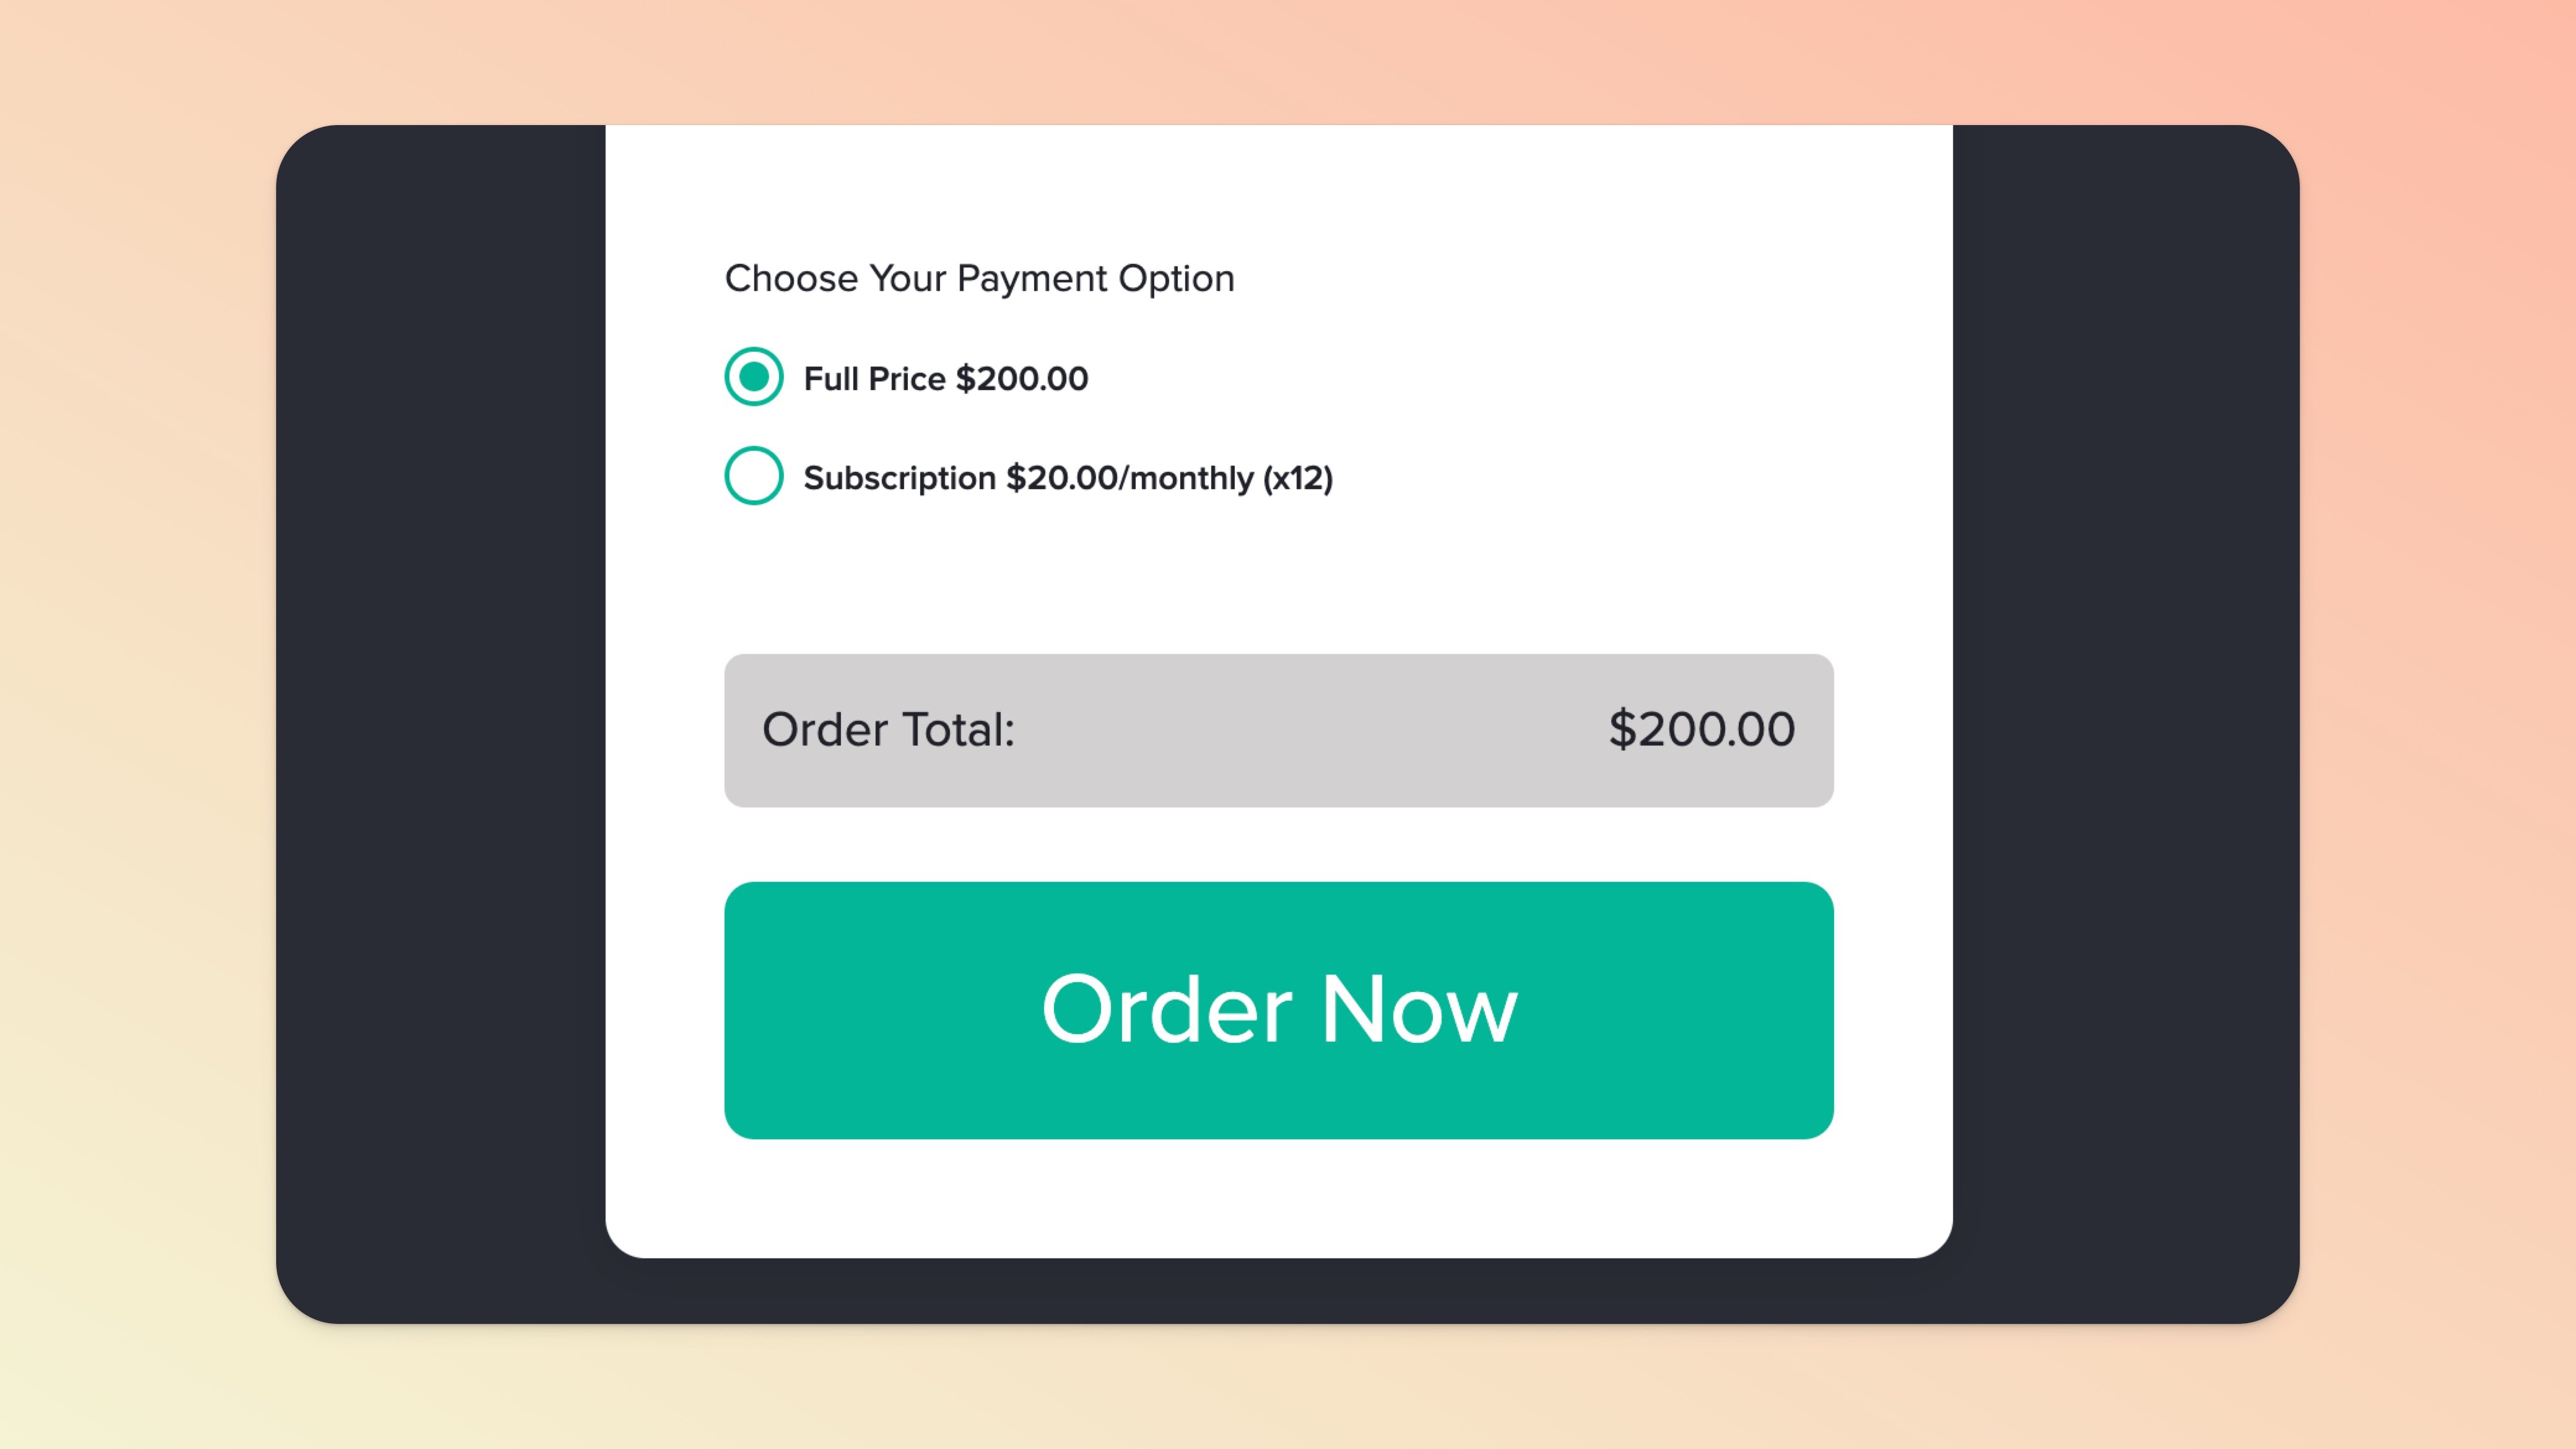
And there you go! You can show as MANY options as you like on a Payment Page, including different currencies or even payment options that include higher ticket items as well.
Related help doc: Expire or Redirect Payment Pages
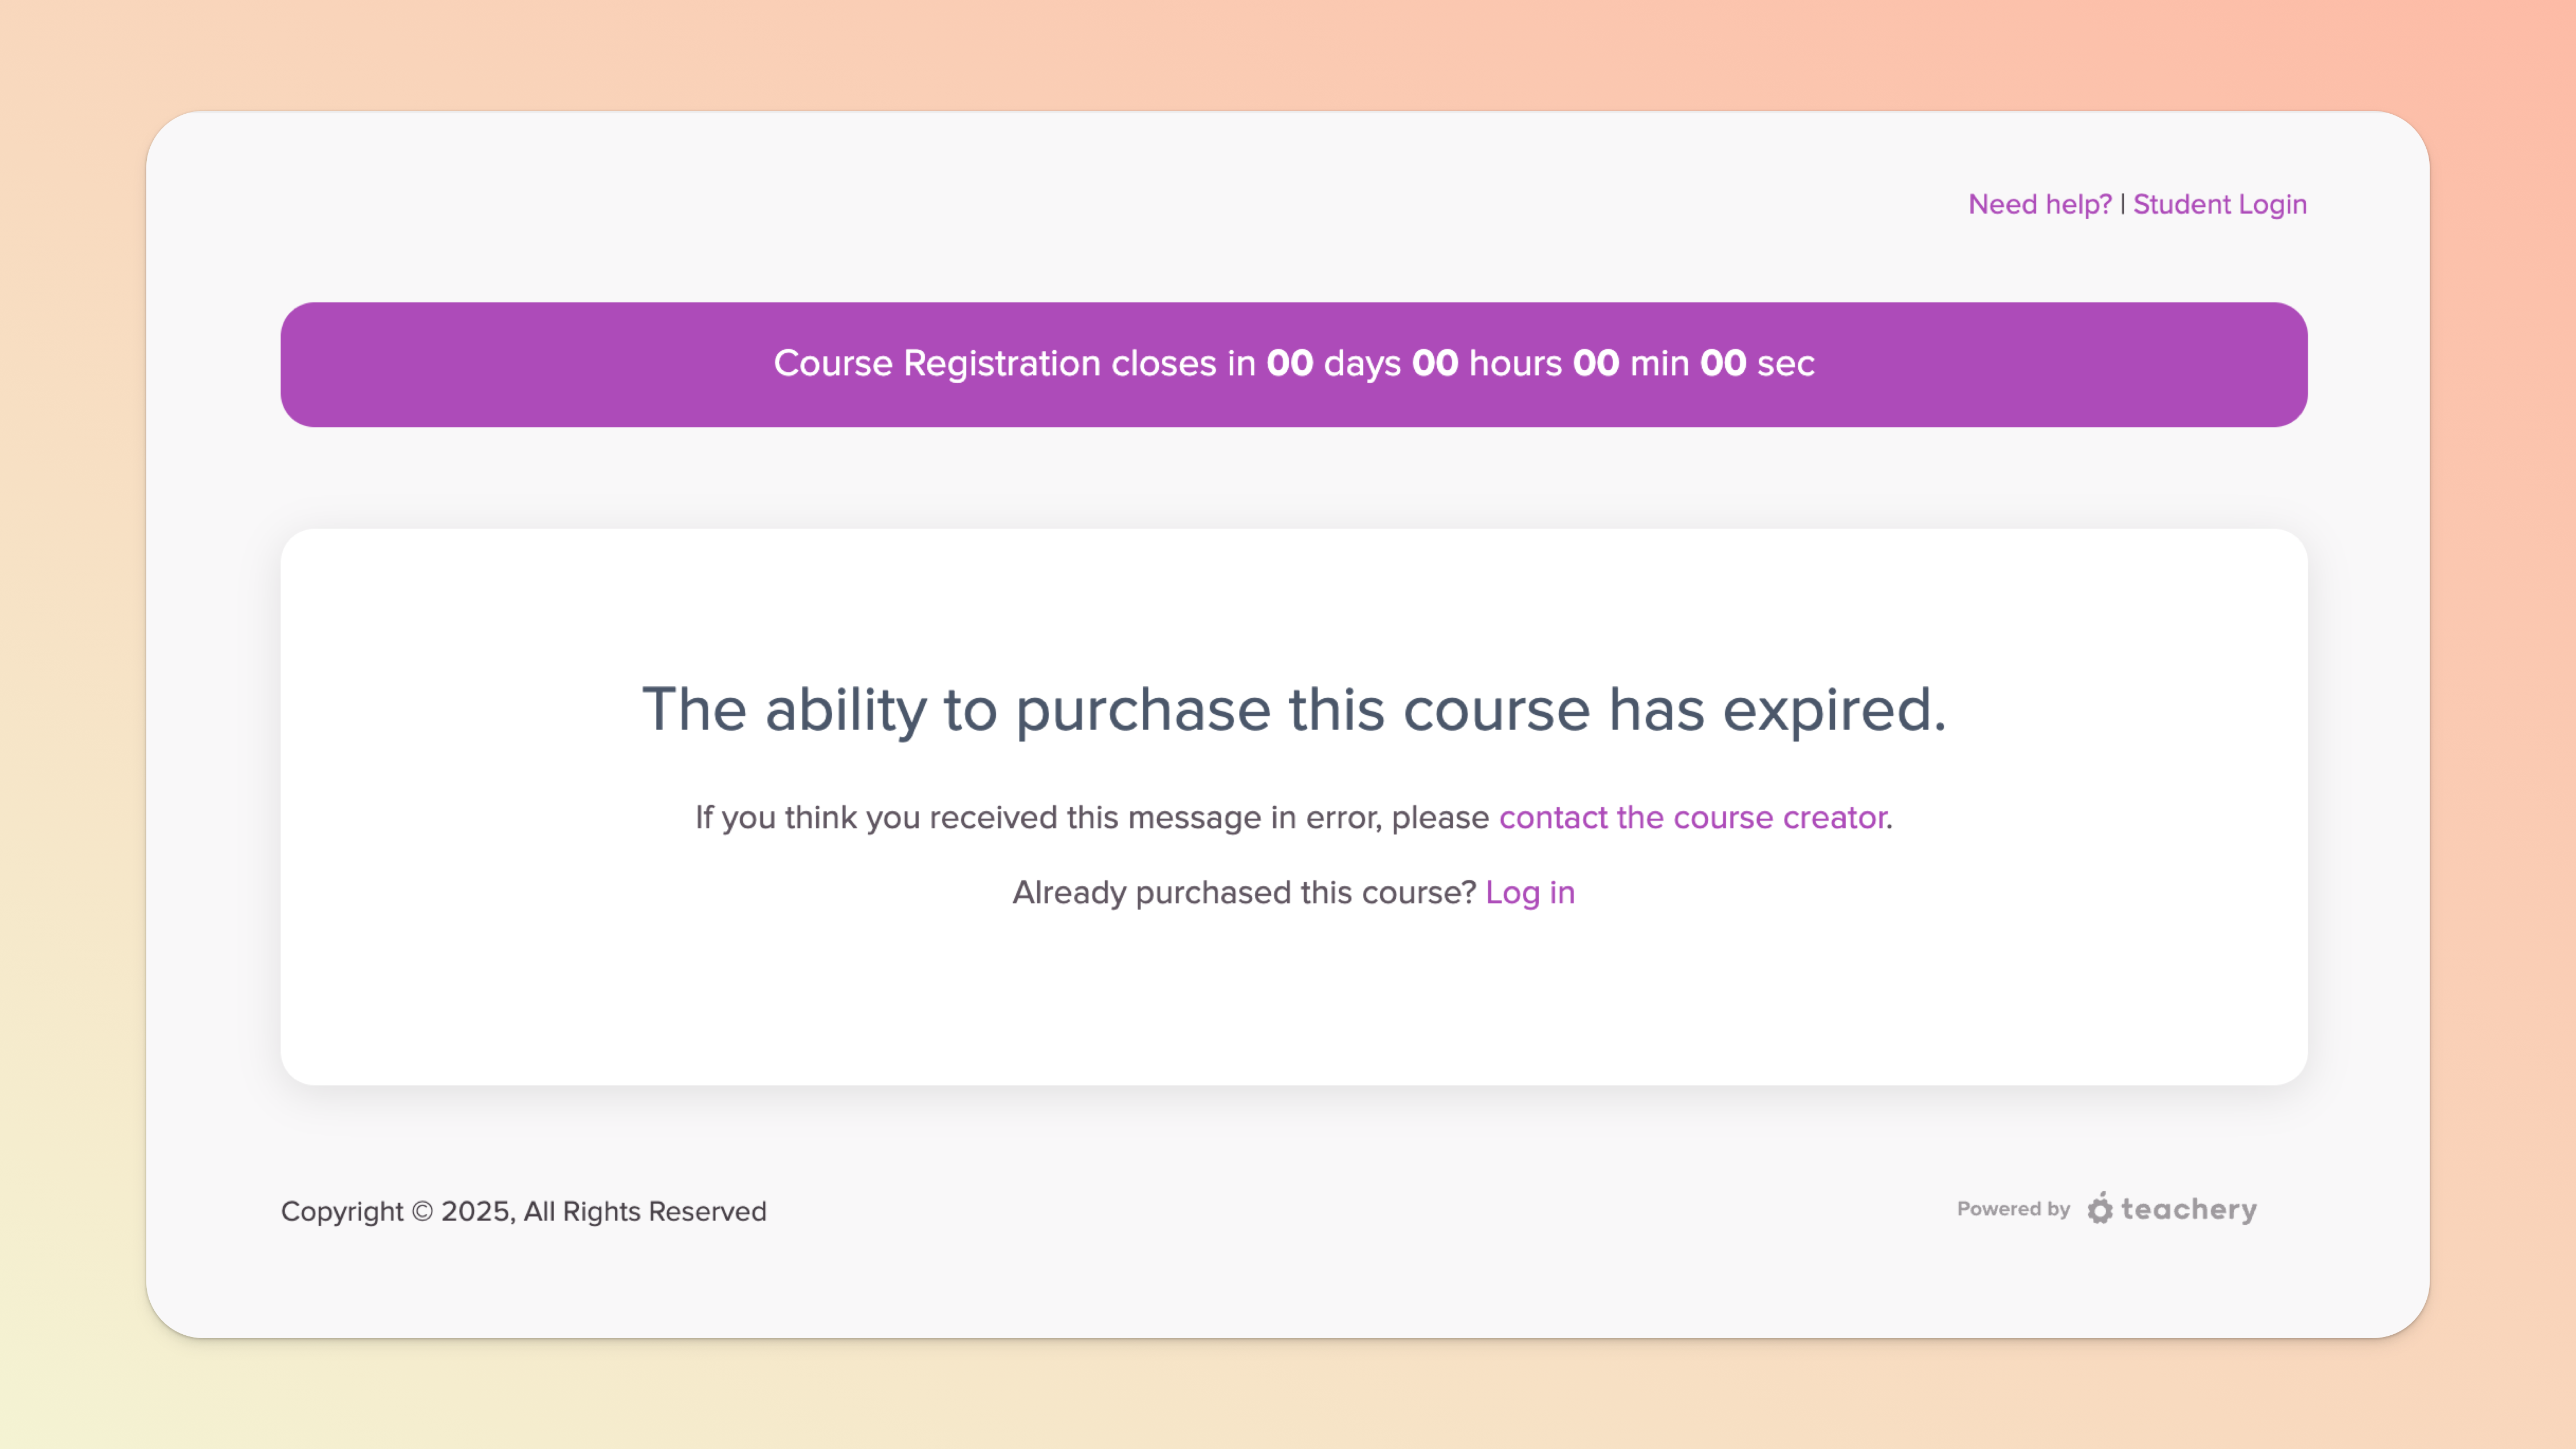
Our built-in registration countdown timer gives you the ability to not only create some urgency to purchase your course but once the timer counts down completely, your Payment Page will be set to expire automatically.
If you want to keep a Payment Page but don't want someone to be able to use it to purchase your course, you can manually expire the page by turning on the registration countdown bar and setting it to ANY DATE IN THE PAST.
Read more about Expiring Payment Pages here.
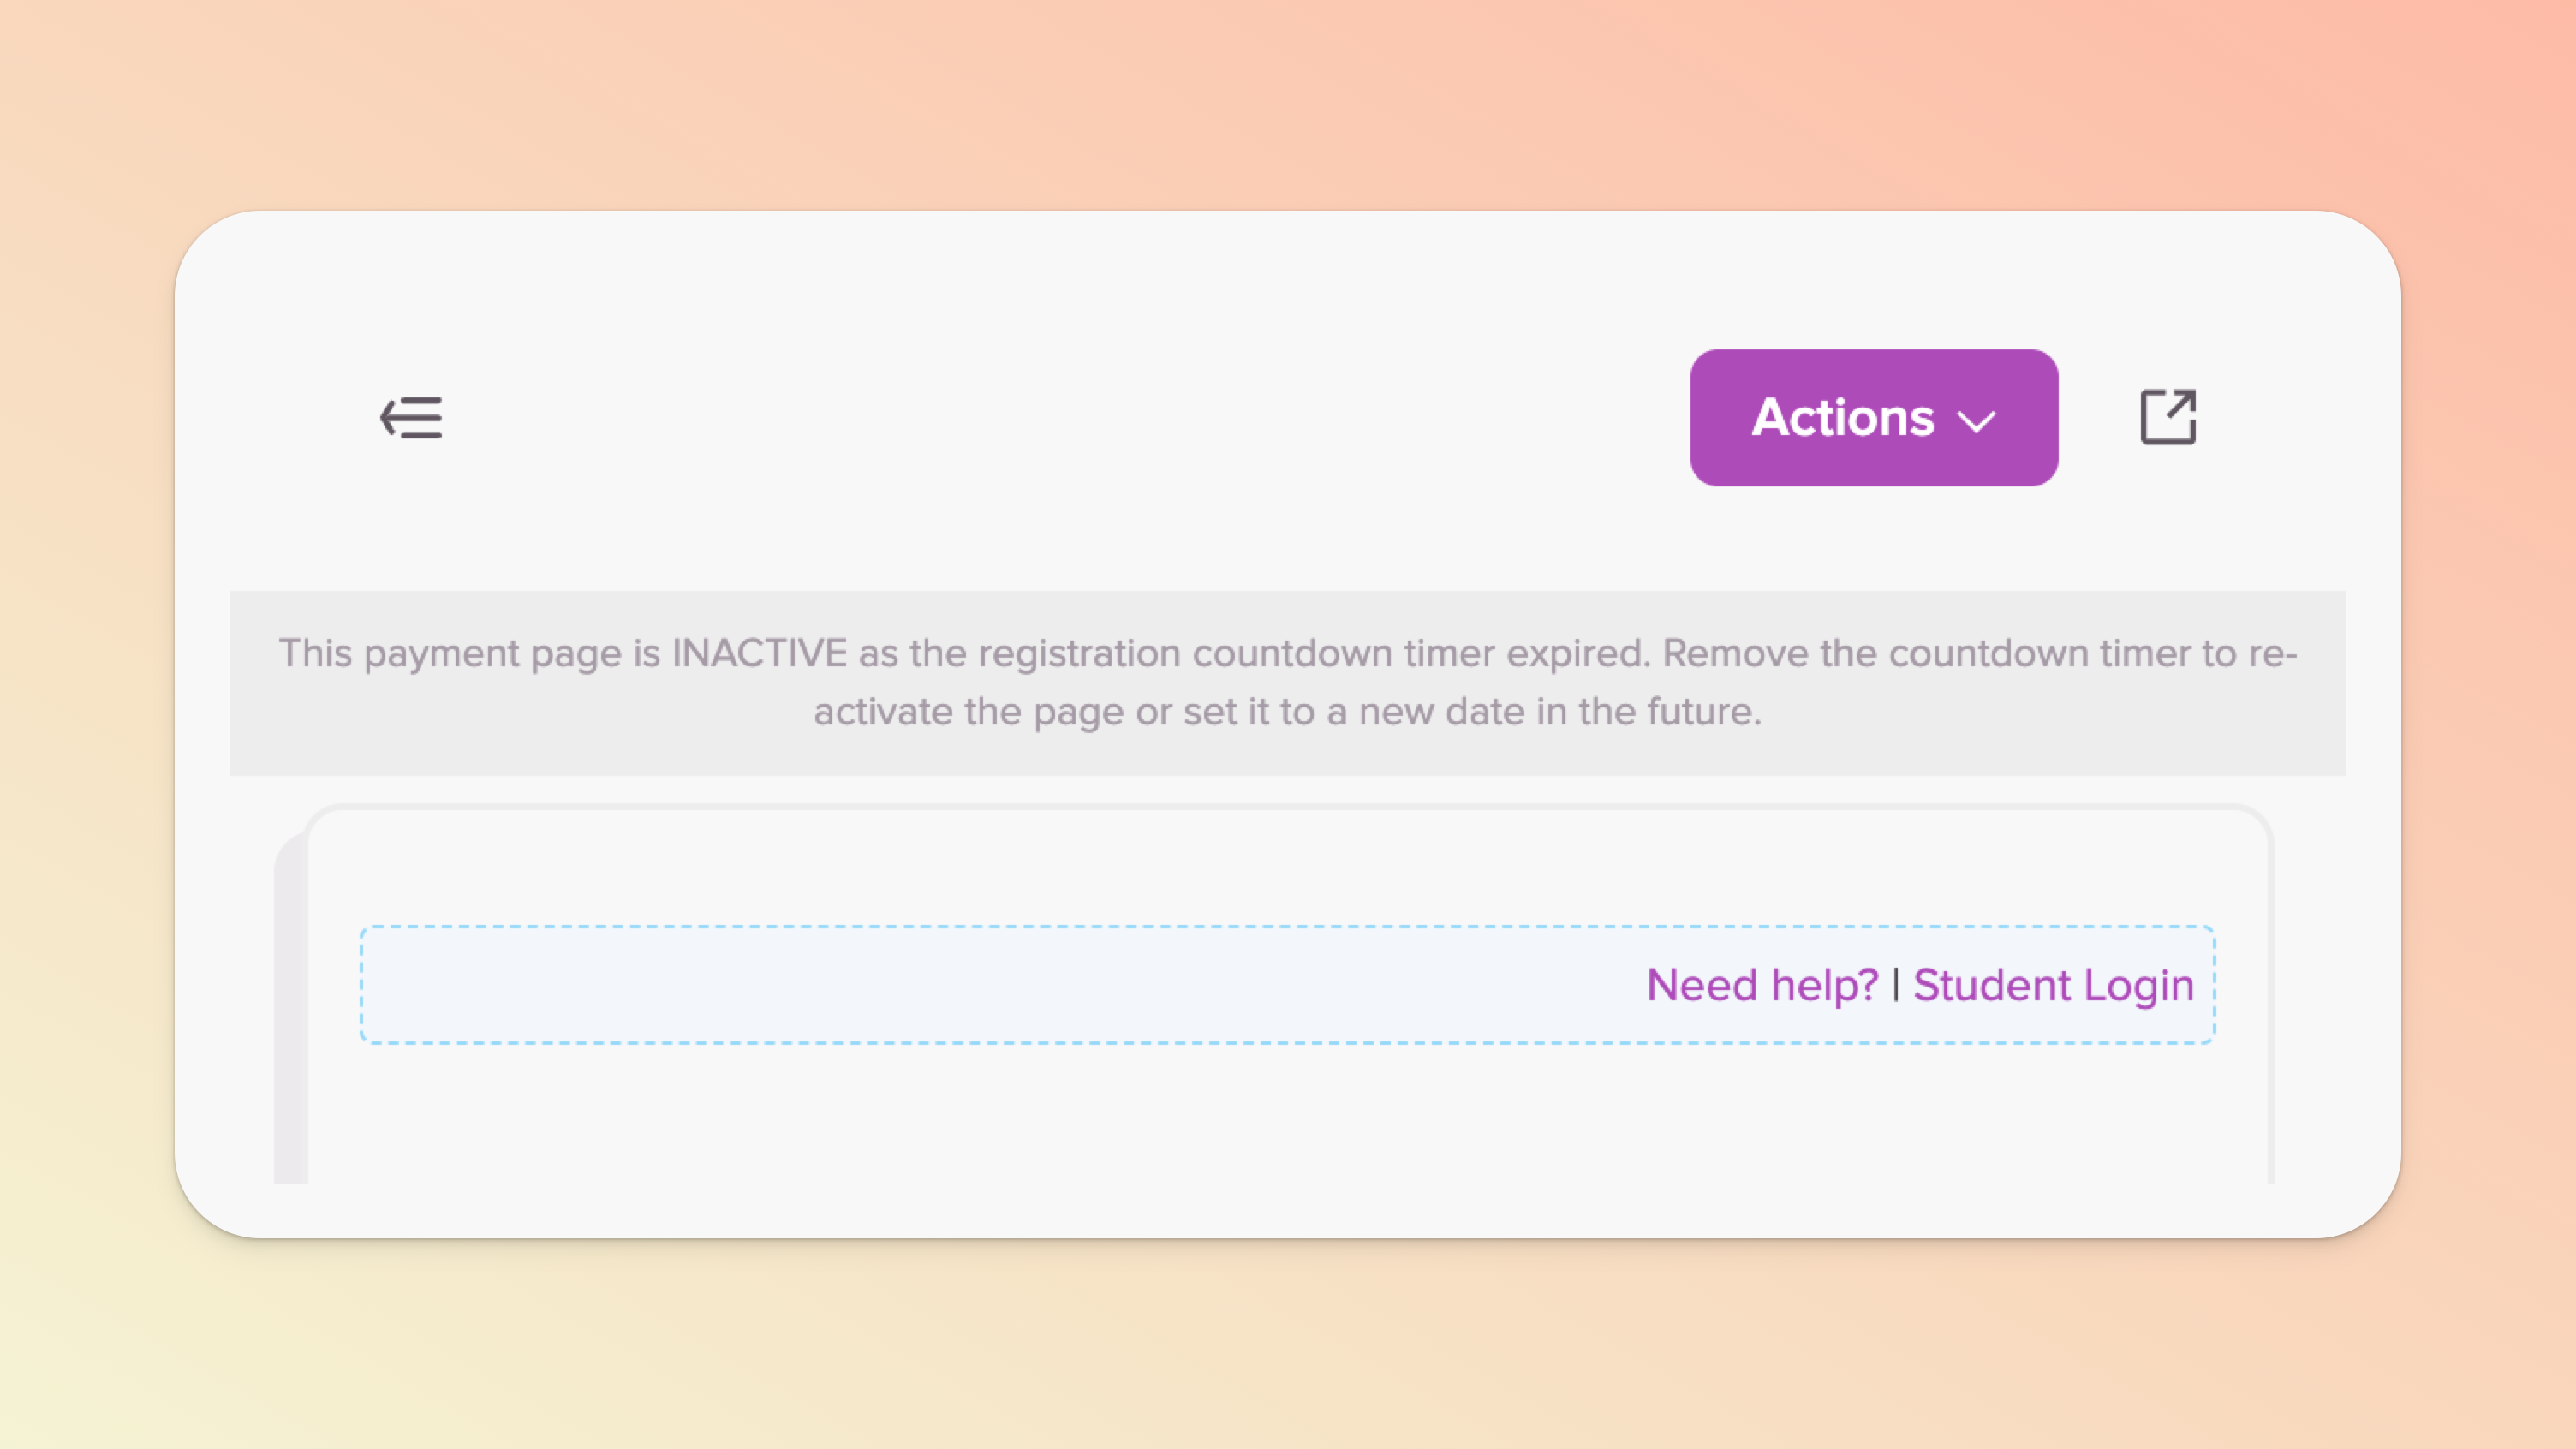
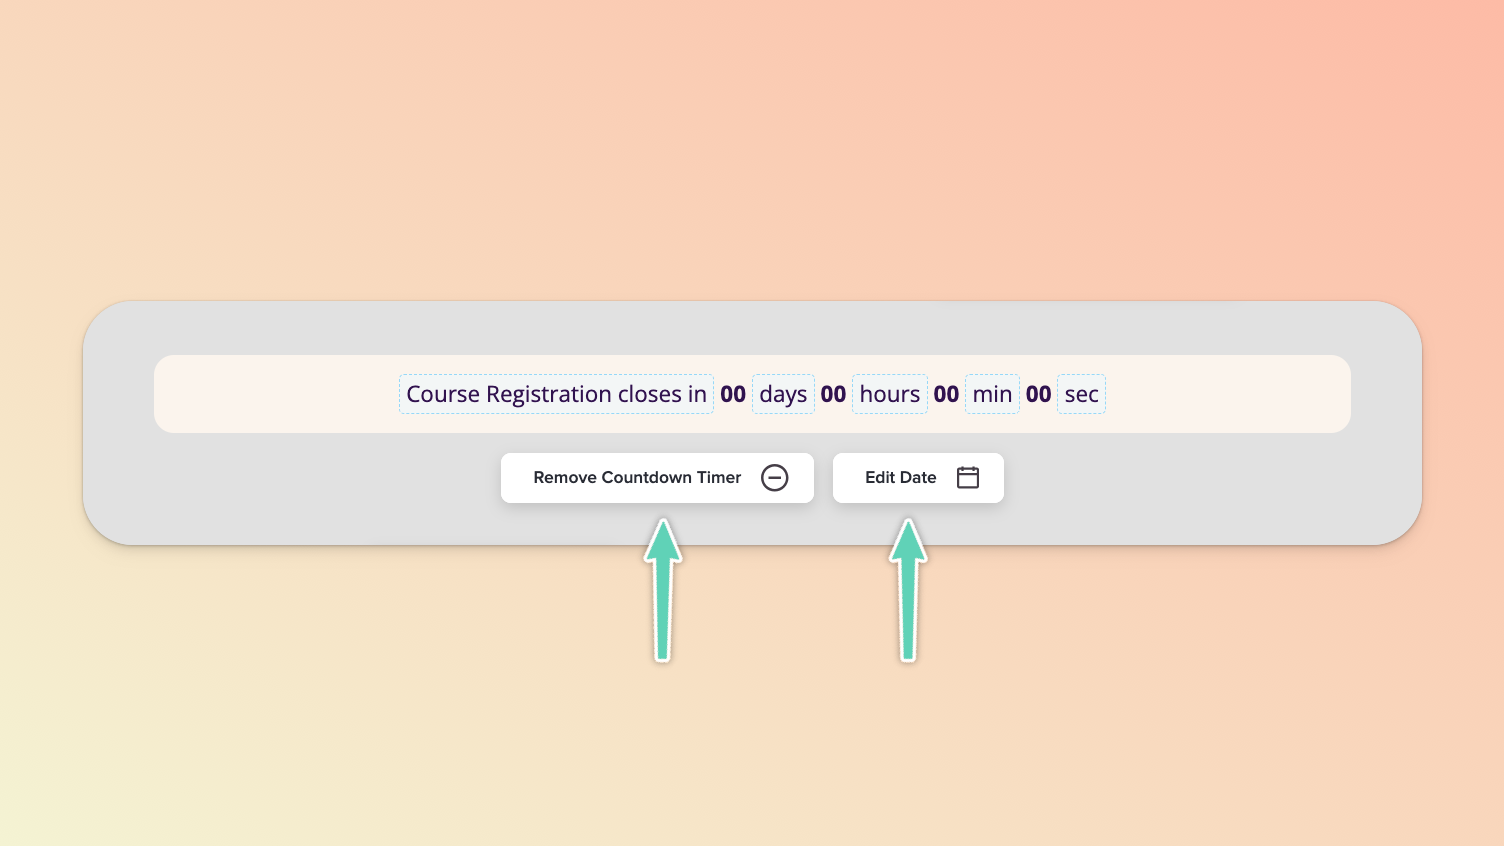
To make the payment page accessible to users again, go to the edit view of your payment page and simply remove the Countdown Timer or set the timer’s date to a future date.
Watch the video below to learn how to use our Style Editor to jazz-up your awesome Payment Pages!
Currently, the way our system is designed, users who successfully complete a checkout will immediately receive a welcome email.
Those who are completely new to Teachery and buy a course will be directed to the set password page to complete the creation of their Teachery account/profile after successful checkout. Existing Teachery users who are not already logged in will be prompted to log in with their existing Teachery credentials (the same credentials are used for all courses).
The next stop for all users is your course overview page (a.k.a dashboard).
Until we introduce a change to the existing workflow (this is a complex one, bear with us 😅), we recommend making the most of the welcome email, course overview page, and in place of post-checkout offers, making the most of our upsell/add-on/bundle functionalities. We also recommend using the first lesson as an introductory/welcome space e.g. with tips on how to make the most of your course and Teachery interface, etc.
We cannot stress this recommendation enough. If you want to see the exact experience (you and) your customers will have (and fully test your setup), purchasing your own course will be useful. You will get to see both sides of the transaction and ensure everything is working as it should.
(Psst! Using our new Payment Page Builder? Jump here.)
While editing your Payment Page, click the Actions menu
Click the Copy Page URL
Open that Page URL in an Incognito or Private Window
Go through the entire checkout process!
If you want to refund your purchase at any point, you can do so via your test user’s Customer Profile via the Customers page.

Instead of making a real payment, you can create yourself a 100%-off promo code just for testing purposes (be sure to make it a tricky promo code and/or consider limiting it to one use). But we still strongly recommend placing an order with a real payment to ensure welcome emails, Stripe receipts, refunds, etc. are all rendering/working as they should.
Our new, more powerful payment pages for courses and standalone products (coming soon) are here. 🤩 Less design control but far more functionality, including Stripe Tax.
If you sell your course outside of Teachery using Gumroad, Thrivecart, Lemon Squeezy, PayPal, etc, please read this help doc.
If you want to learn more about recurring payment pages click here.
A quick setup guide if you’re just simply seeking to sell a digital download.
We have an entire guide to creating Upsells and adding them to your payment pages.
We have integrations with Zapier, Pabbly, and Make to help you create loads of automations before or after a course purchase.
