Pabbly is an automation platform that is free to get started and gives you a ton of opportunities to connect your Teachery data with other applications.
Much like Zapier or Make, Pabbly can help pull data from Teachery and send it elsewhere OR push data from other sources and into your Teachery account.

In the example below, we're going to take customer data from a New Order (a.k.a Course Purchase in Teachery) and send that data to MailerLite.
We're just using MailerLite as an example, but you could replace it with any email provider or application that Pabbly makes available.
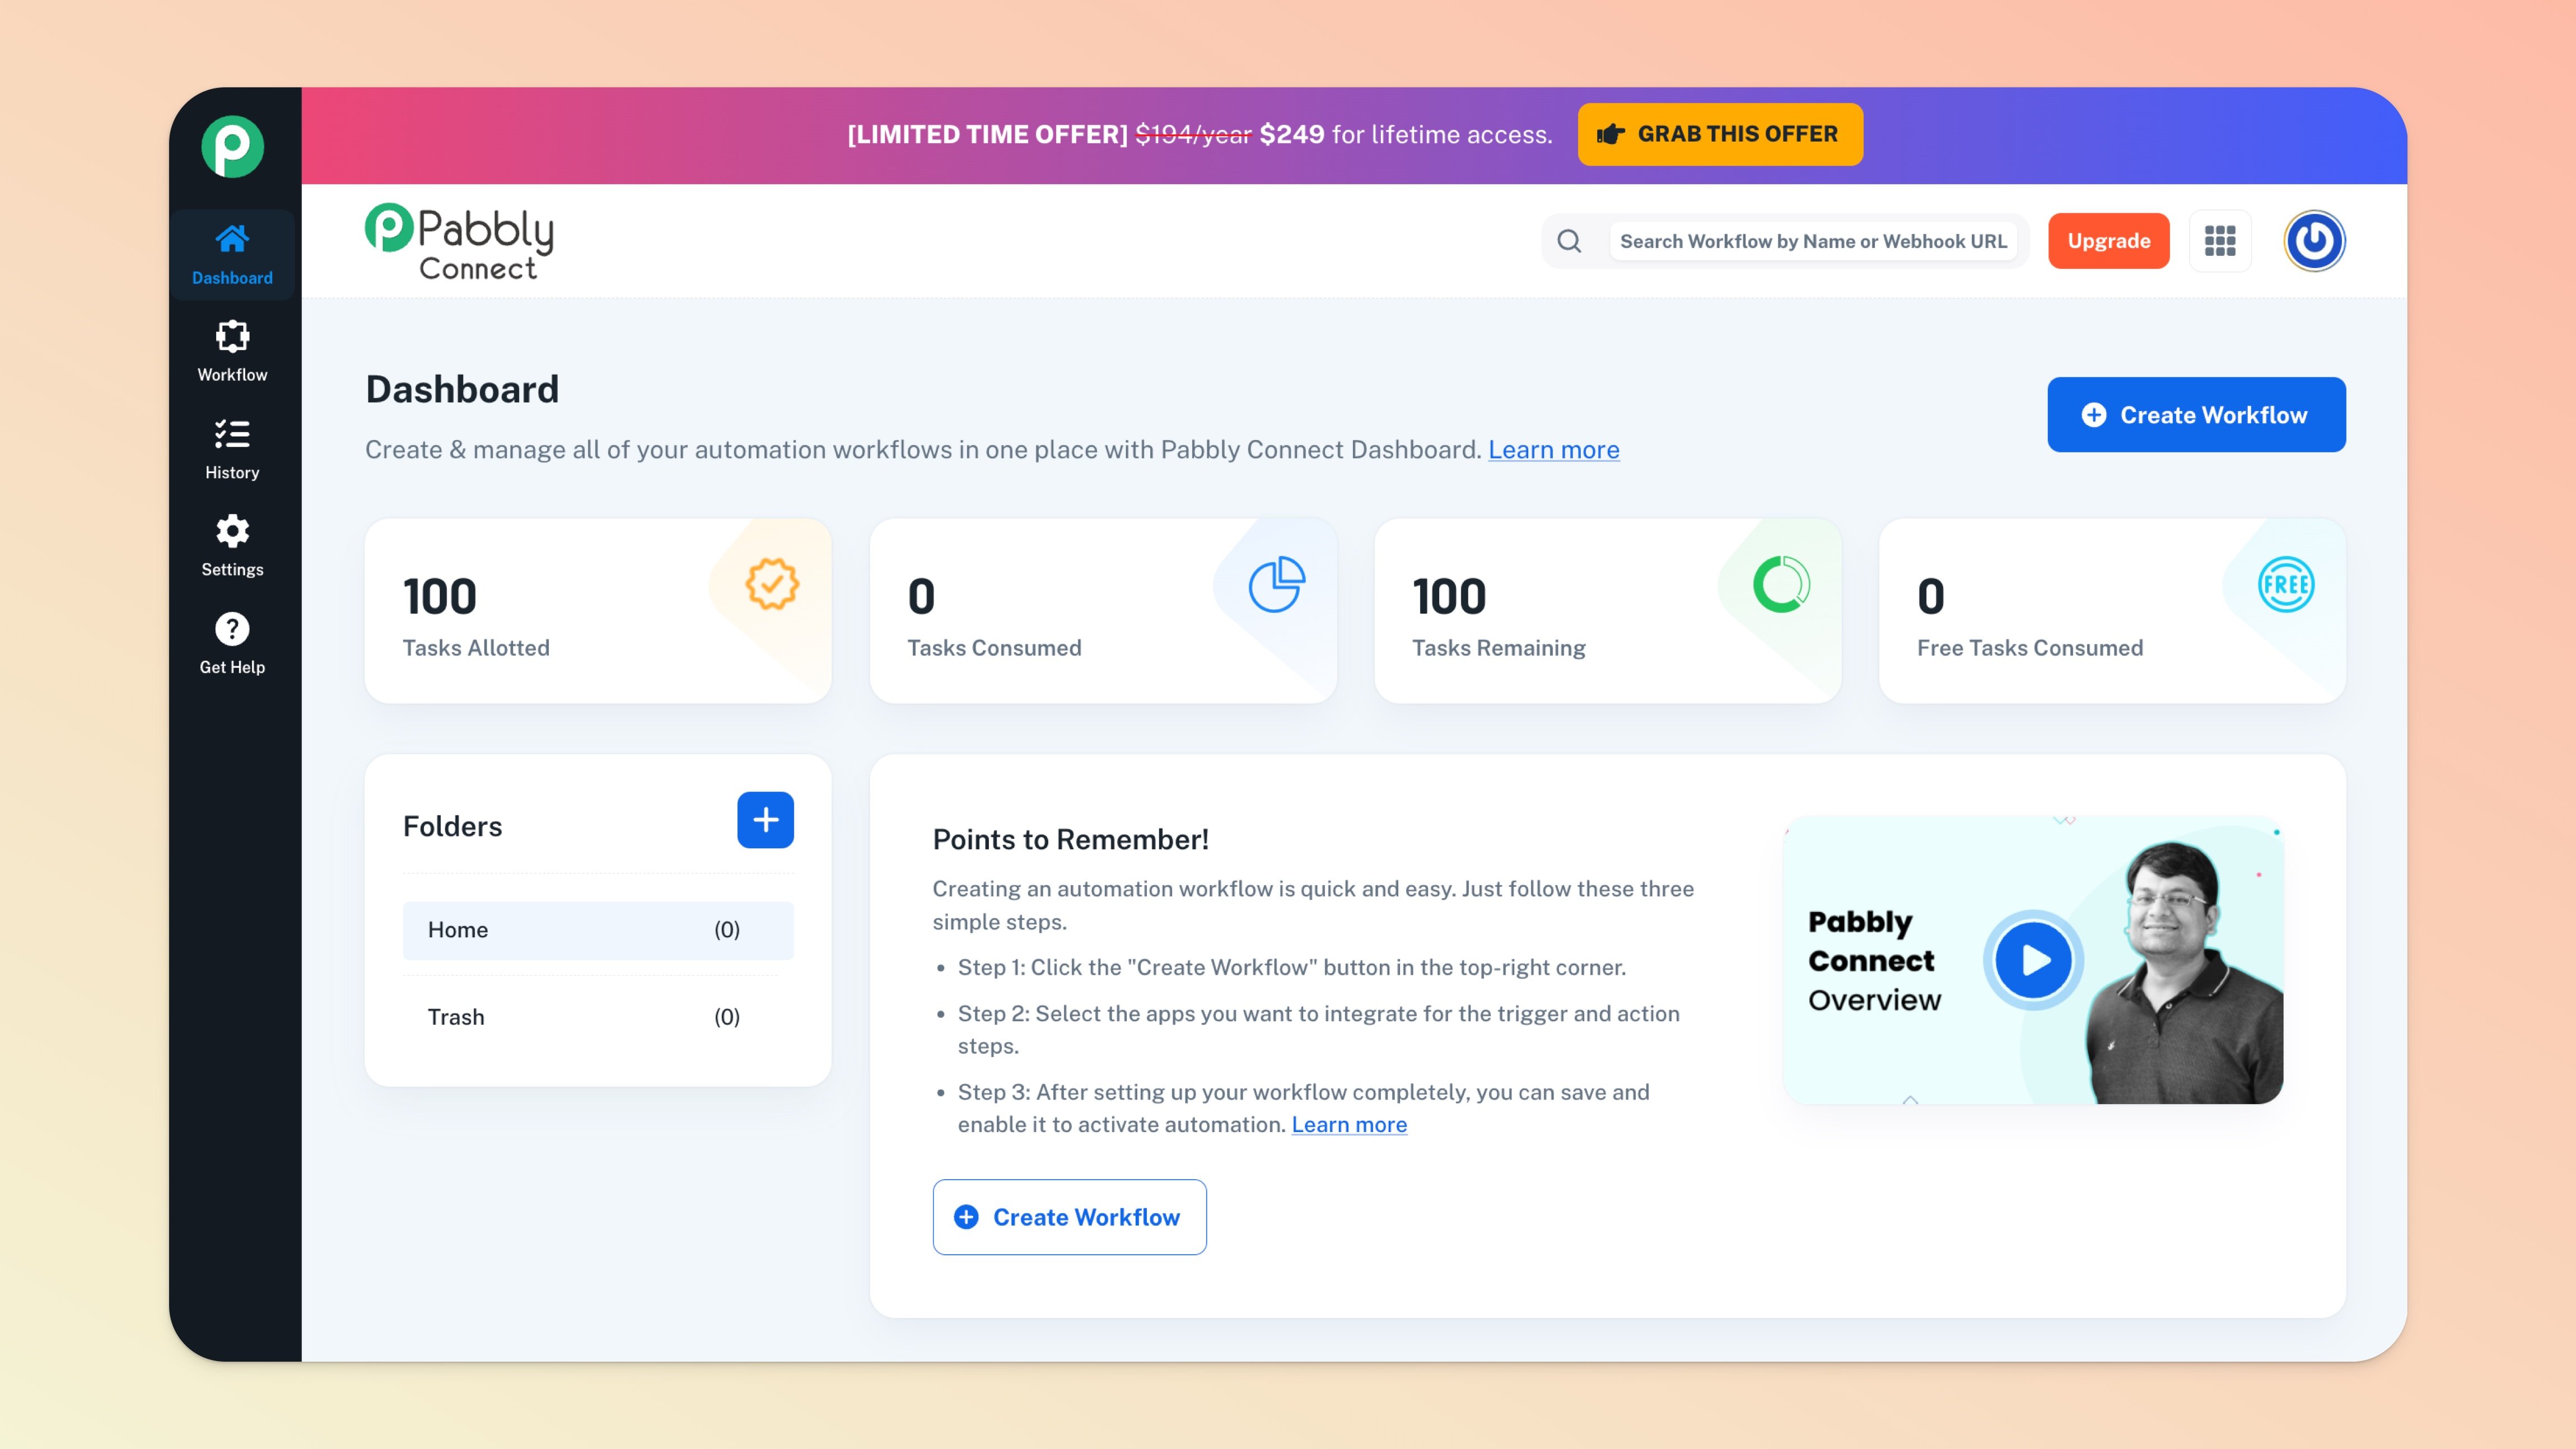
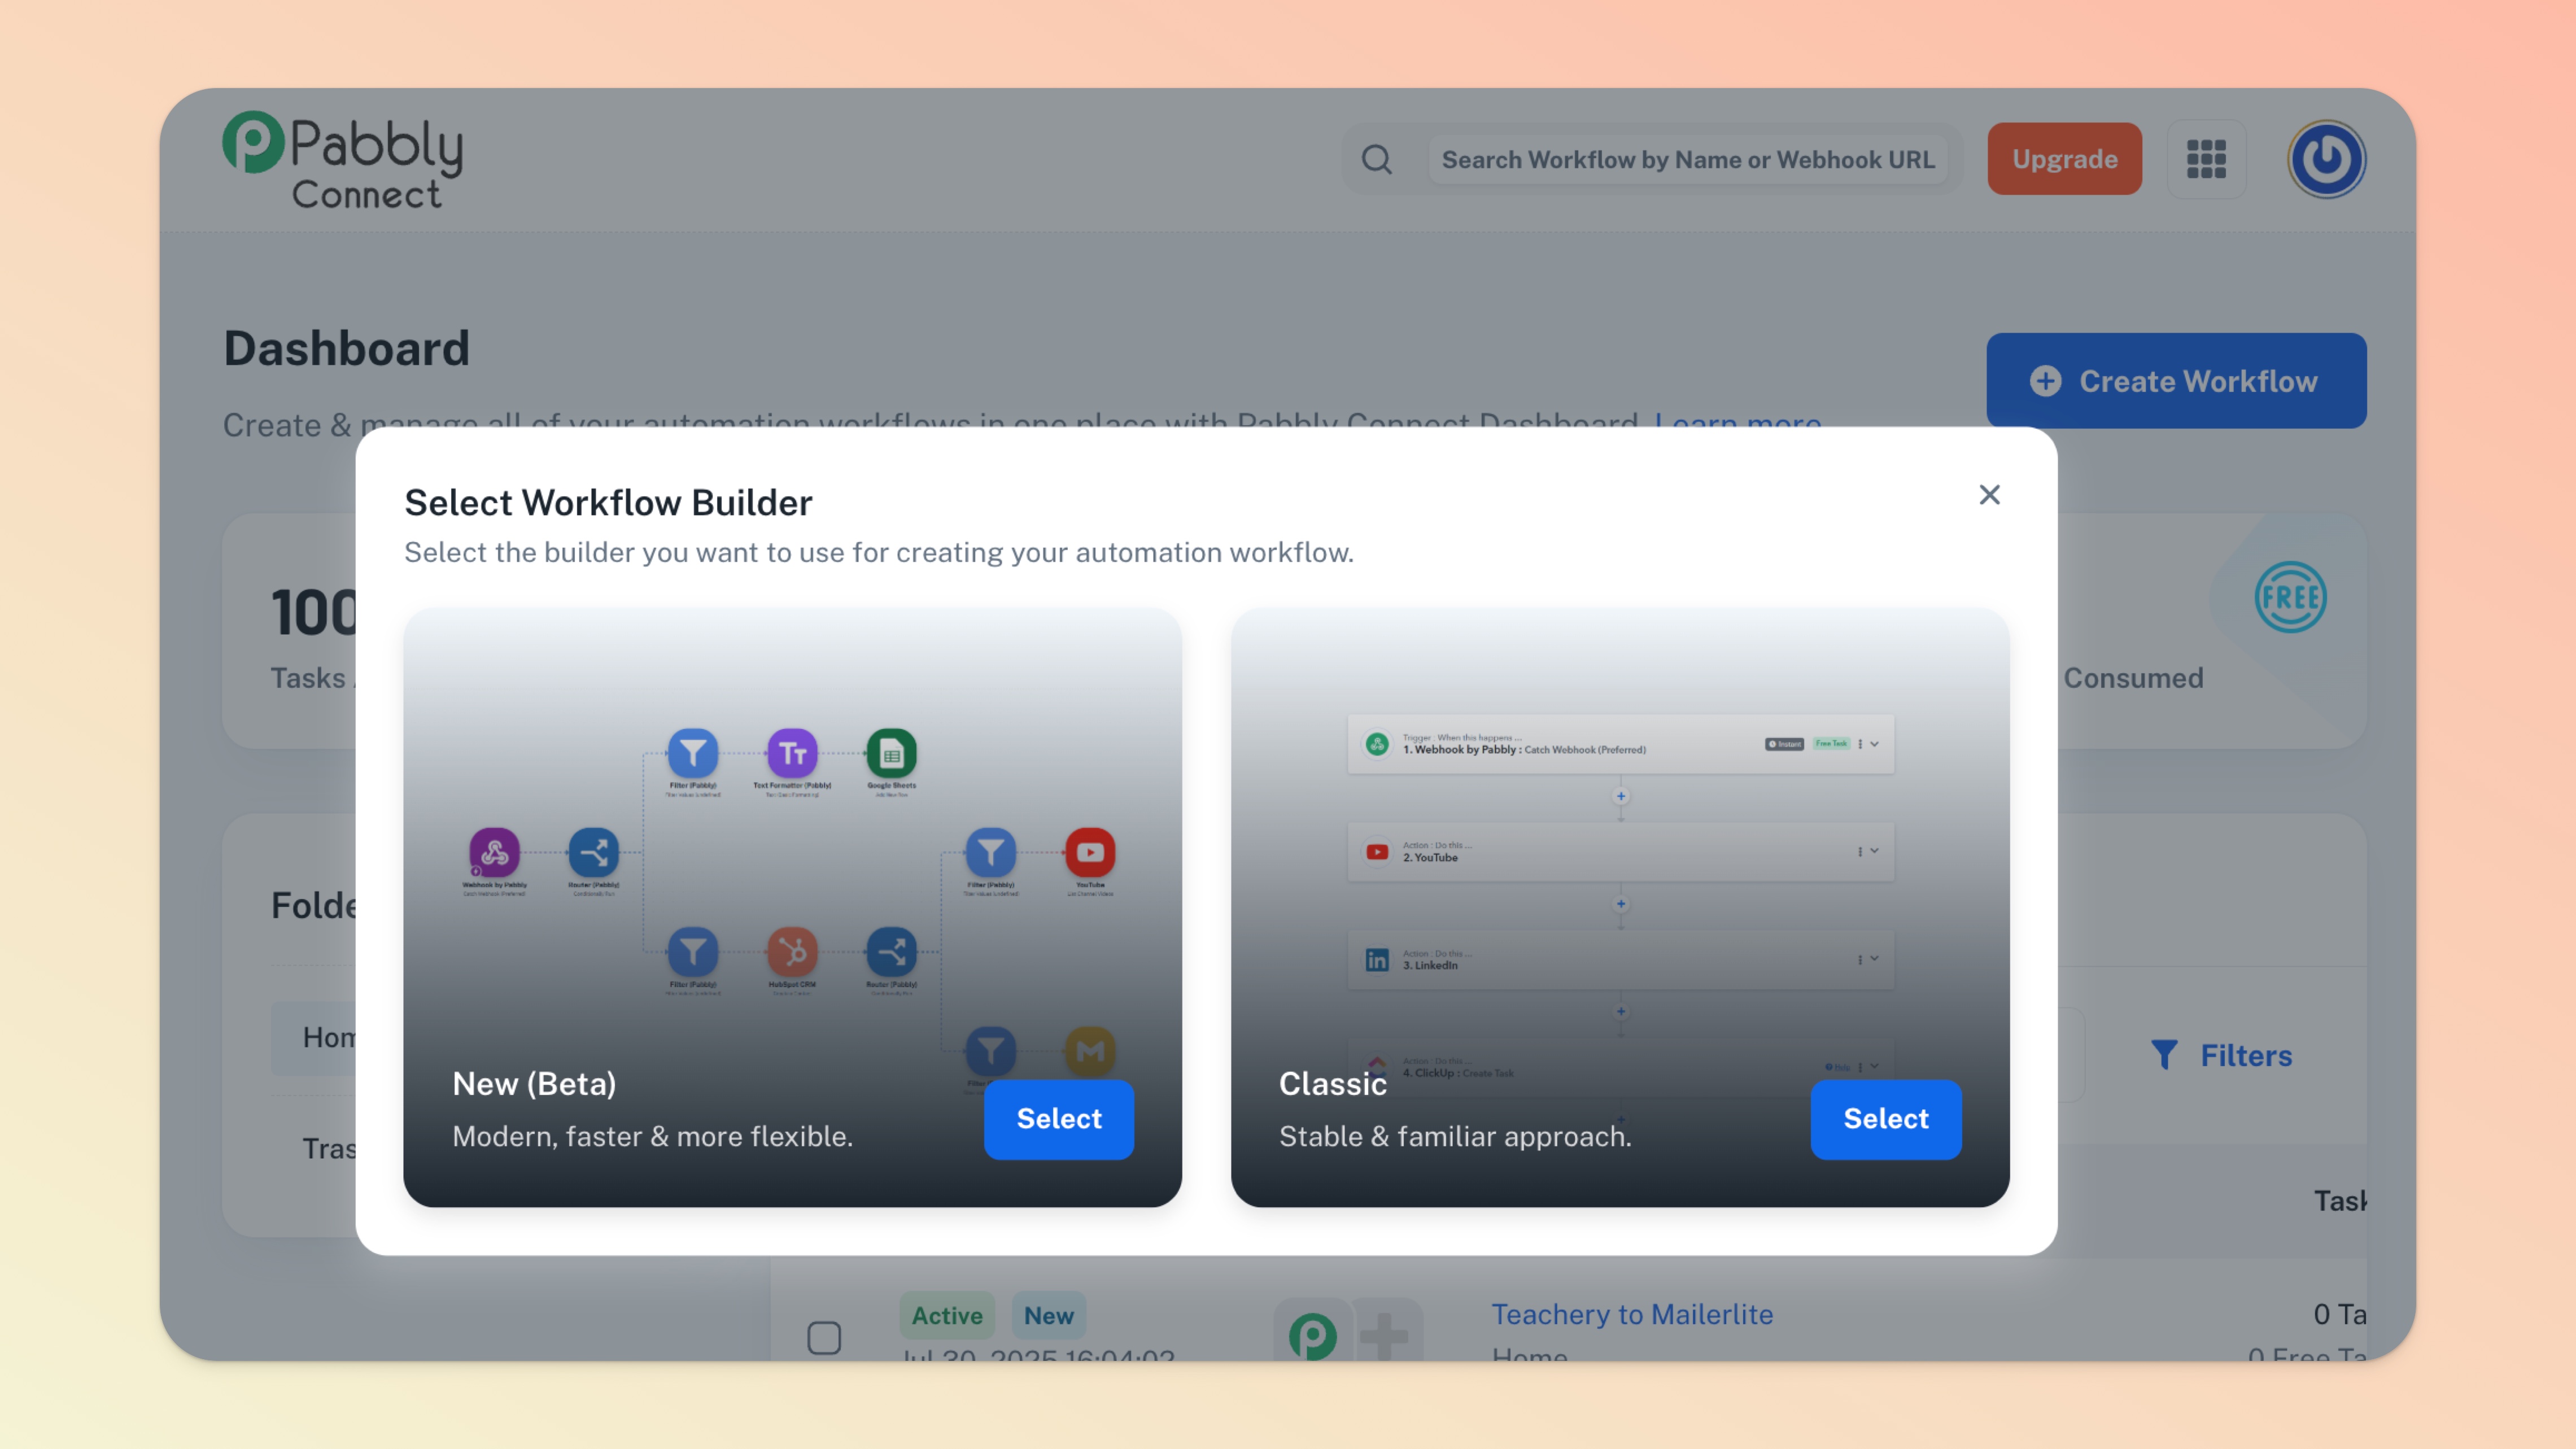
Once you create your Pabbly account you'll want to select Pabbly Connect and create your first Workflow.
You can think of a Workflow as an automation. You can always change the order of applications in a Workflow or quickly remove/re-add an application.
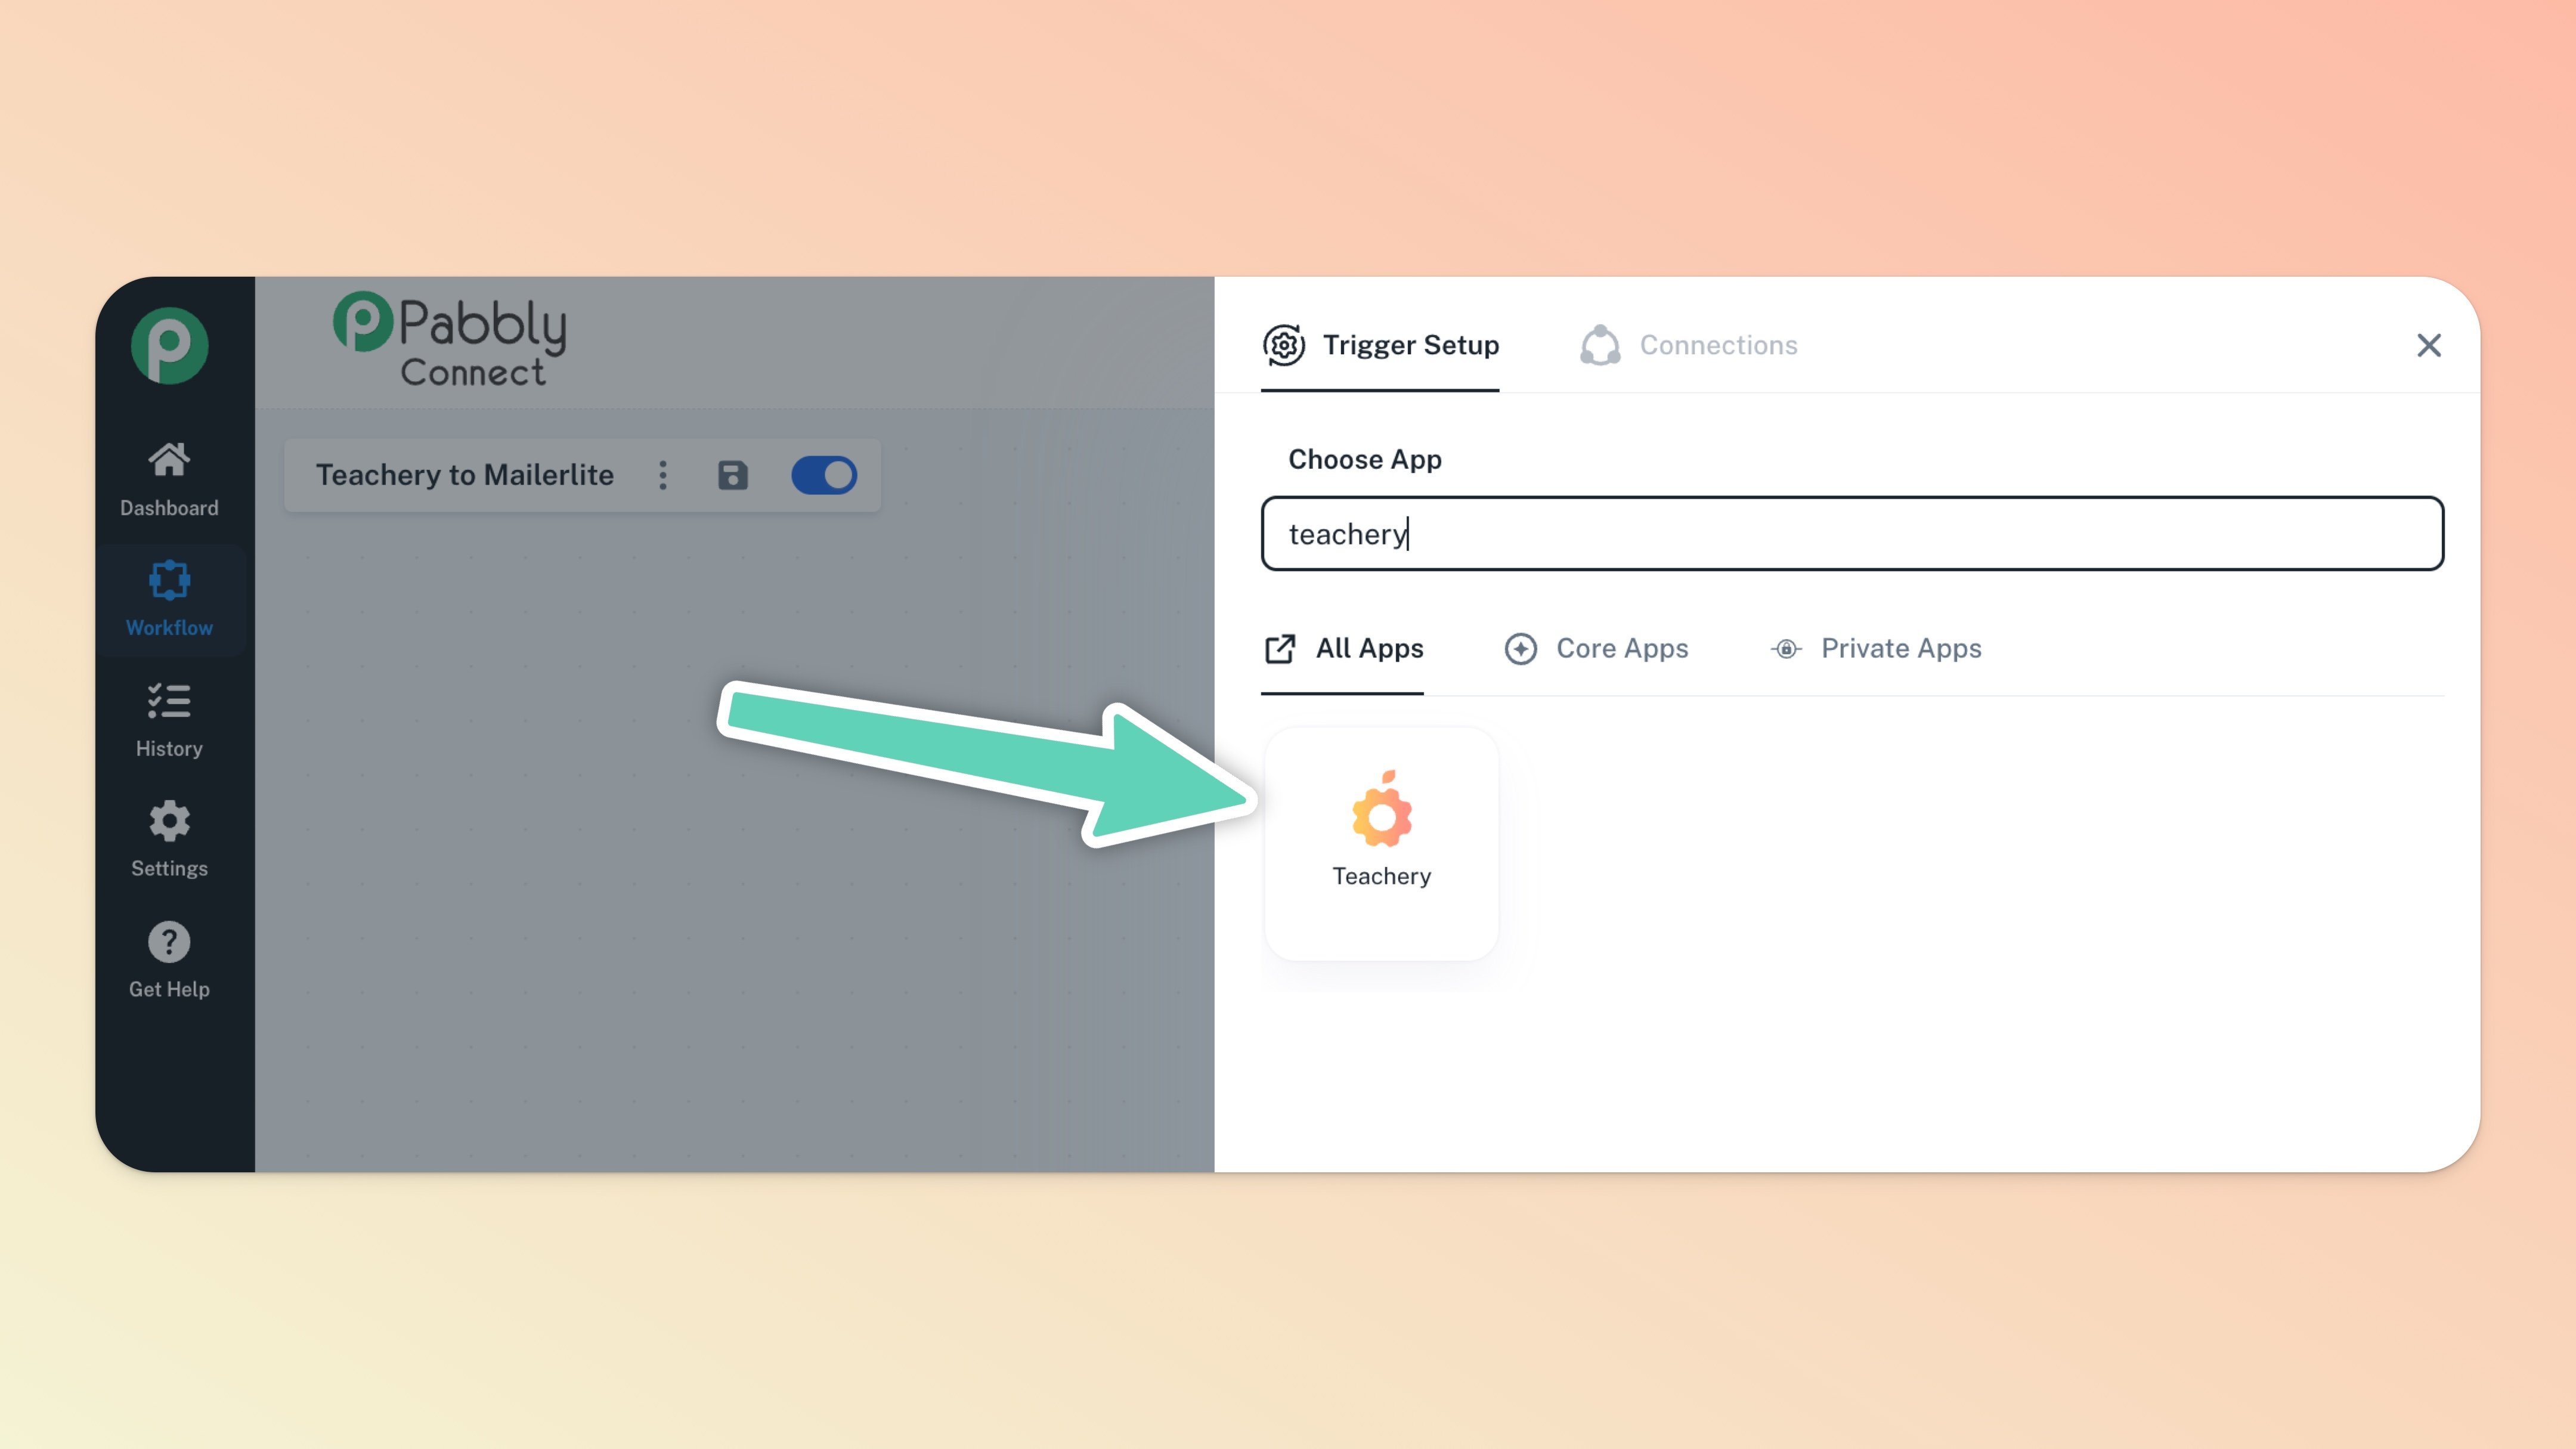
If you're going to pull customer data FROM Teachery, then Teachery will likely be the first step (Trigger) in your Workflow. Find Teachery via the app search and select it.
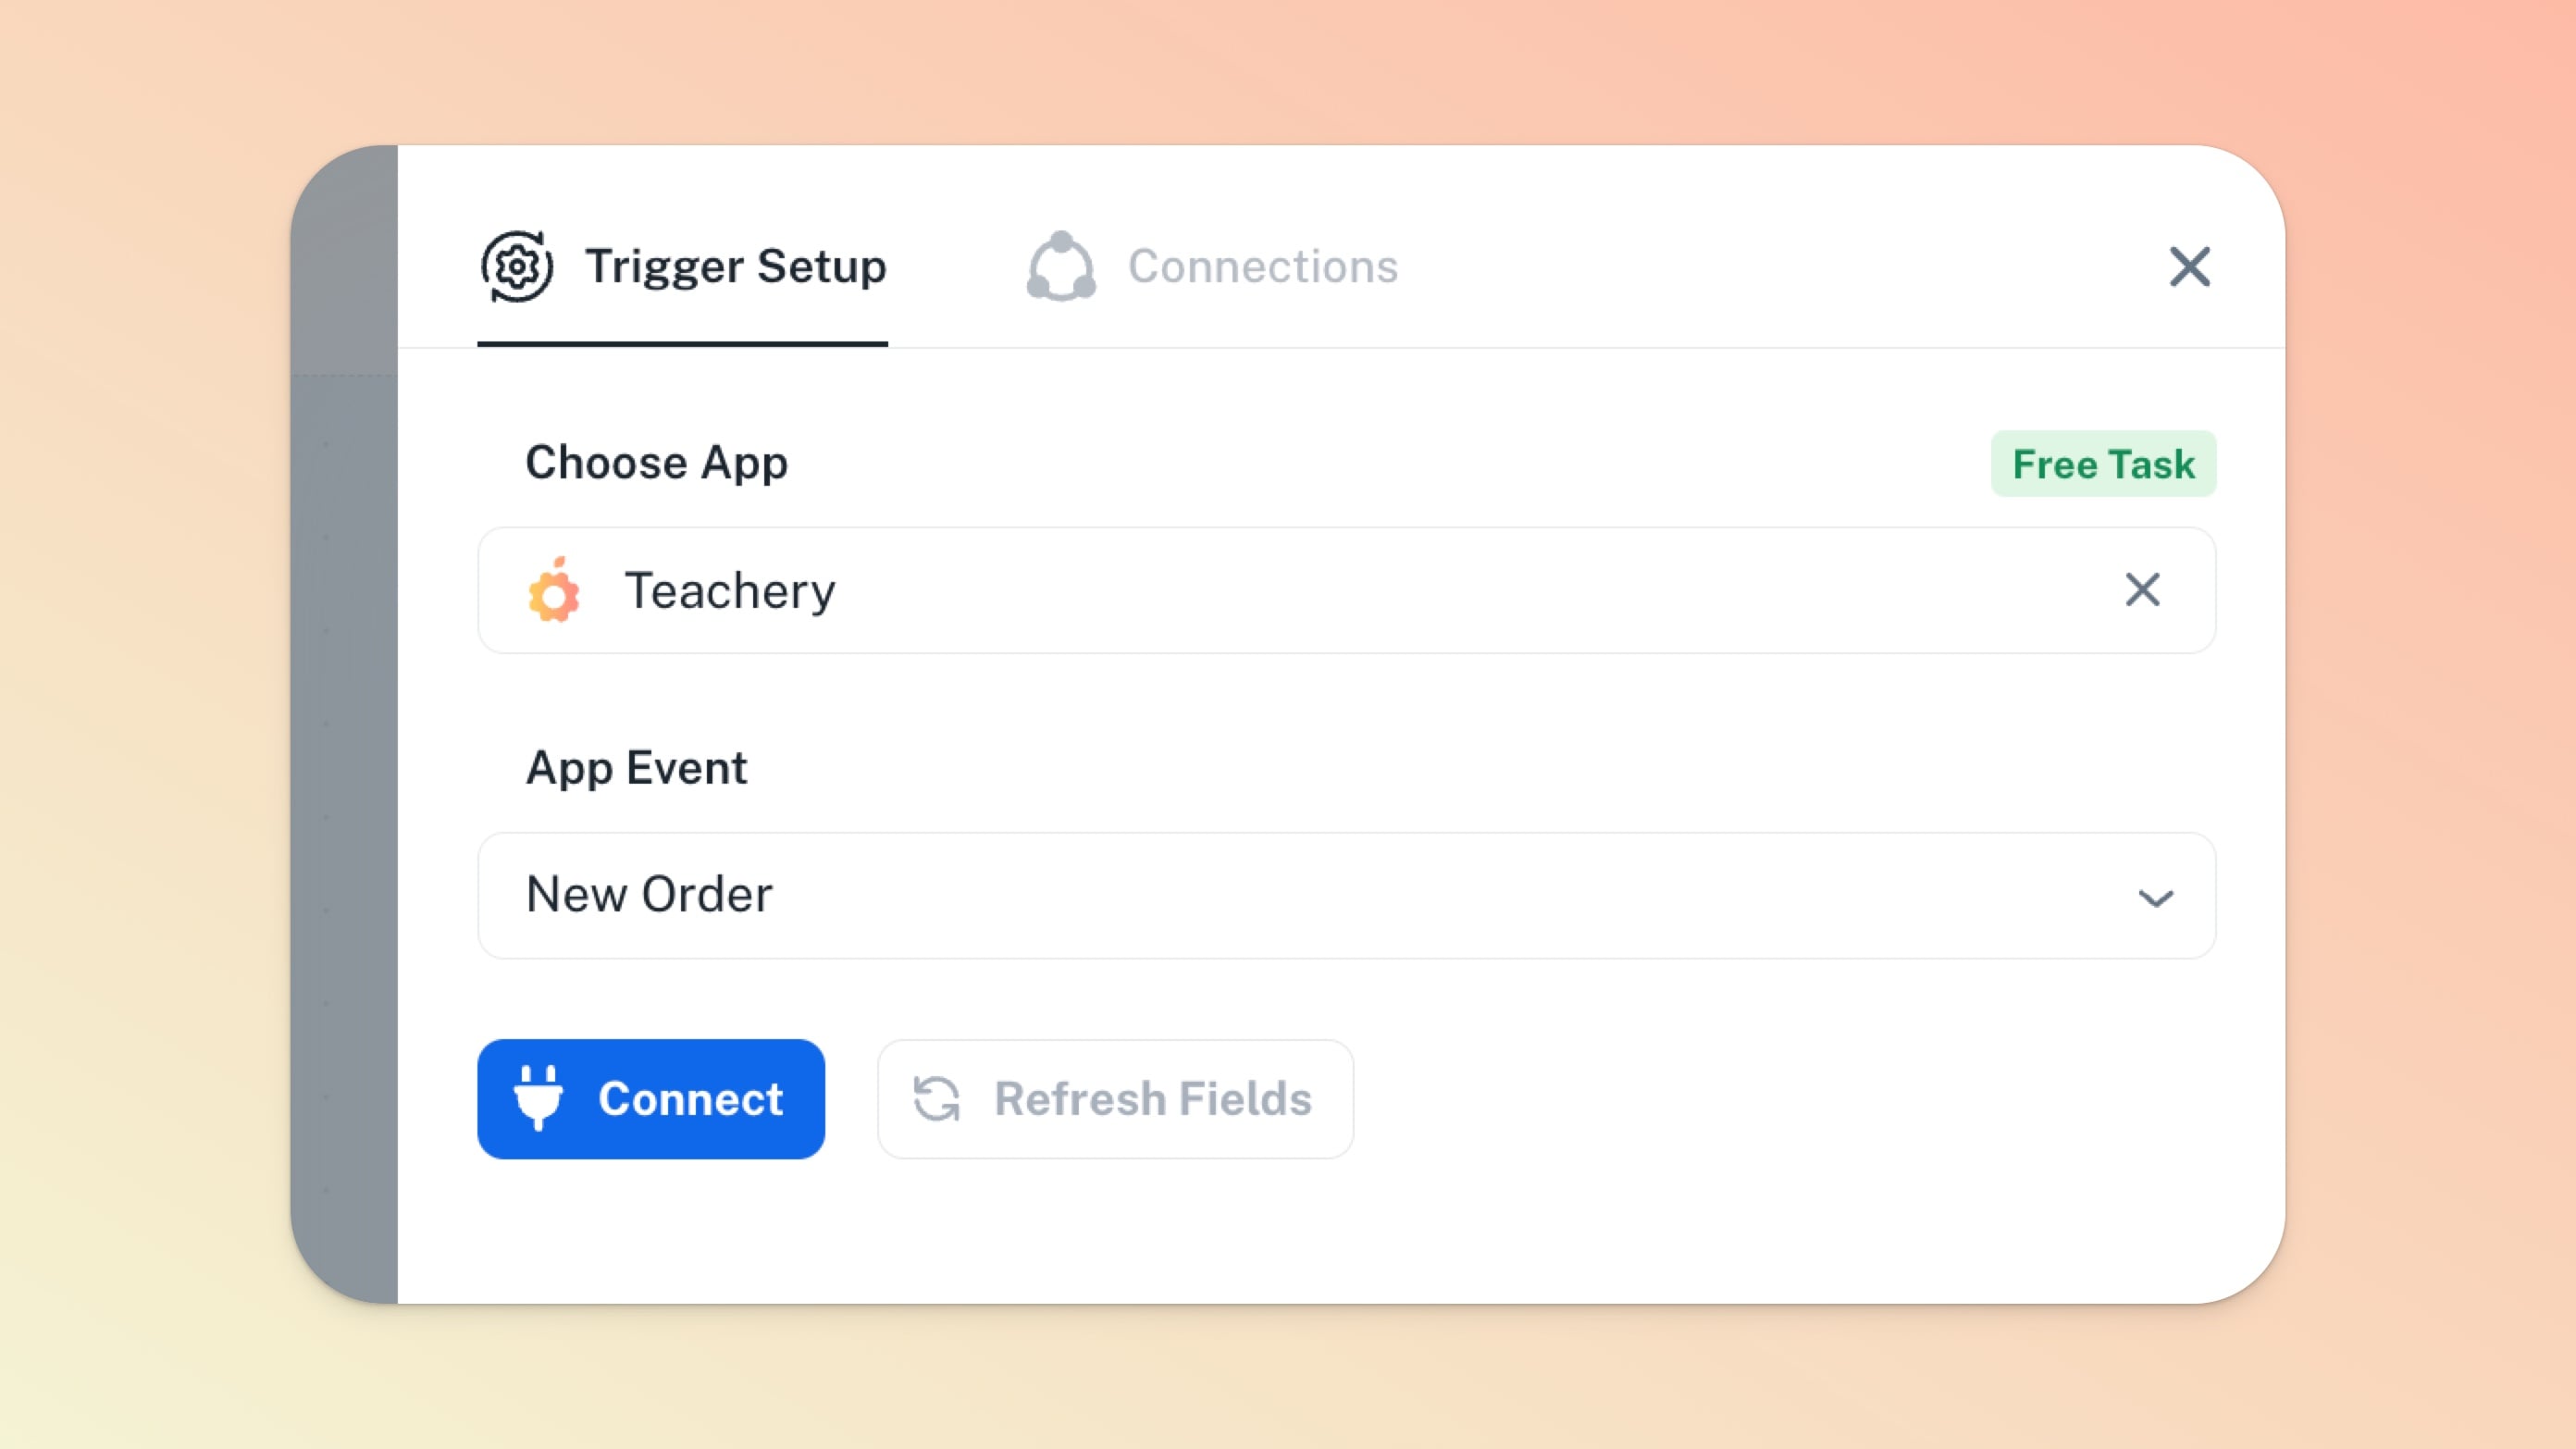
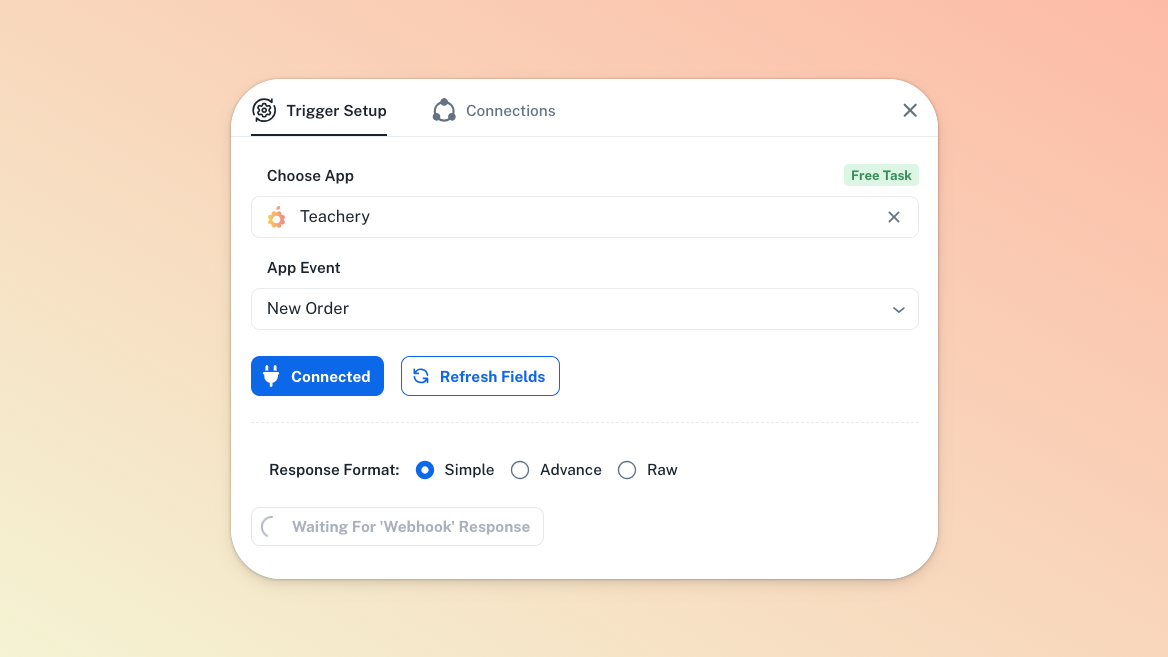
Once Teachery is selected, you’ll want to set your App Event. The available Teachery App Events or Triggers are:
New Order: triggers when a new order is created
New Lead: triggers when a new email lead is created
Completed Course: triggers when a course is completed
In our working example, we’re selecting New Order.
Click the Connect button and jump to the next step below.
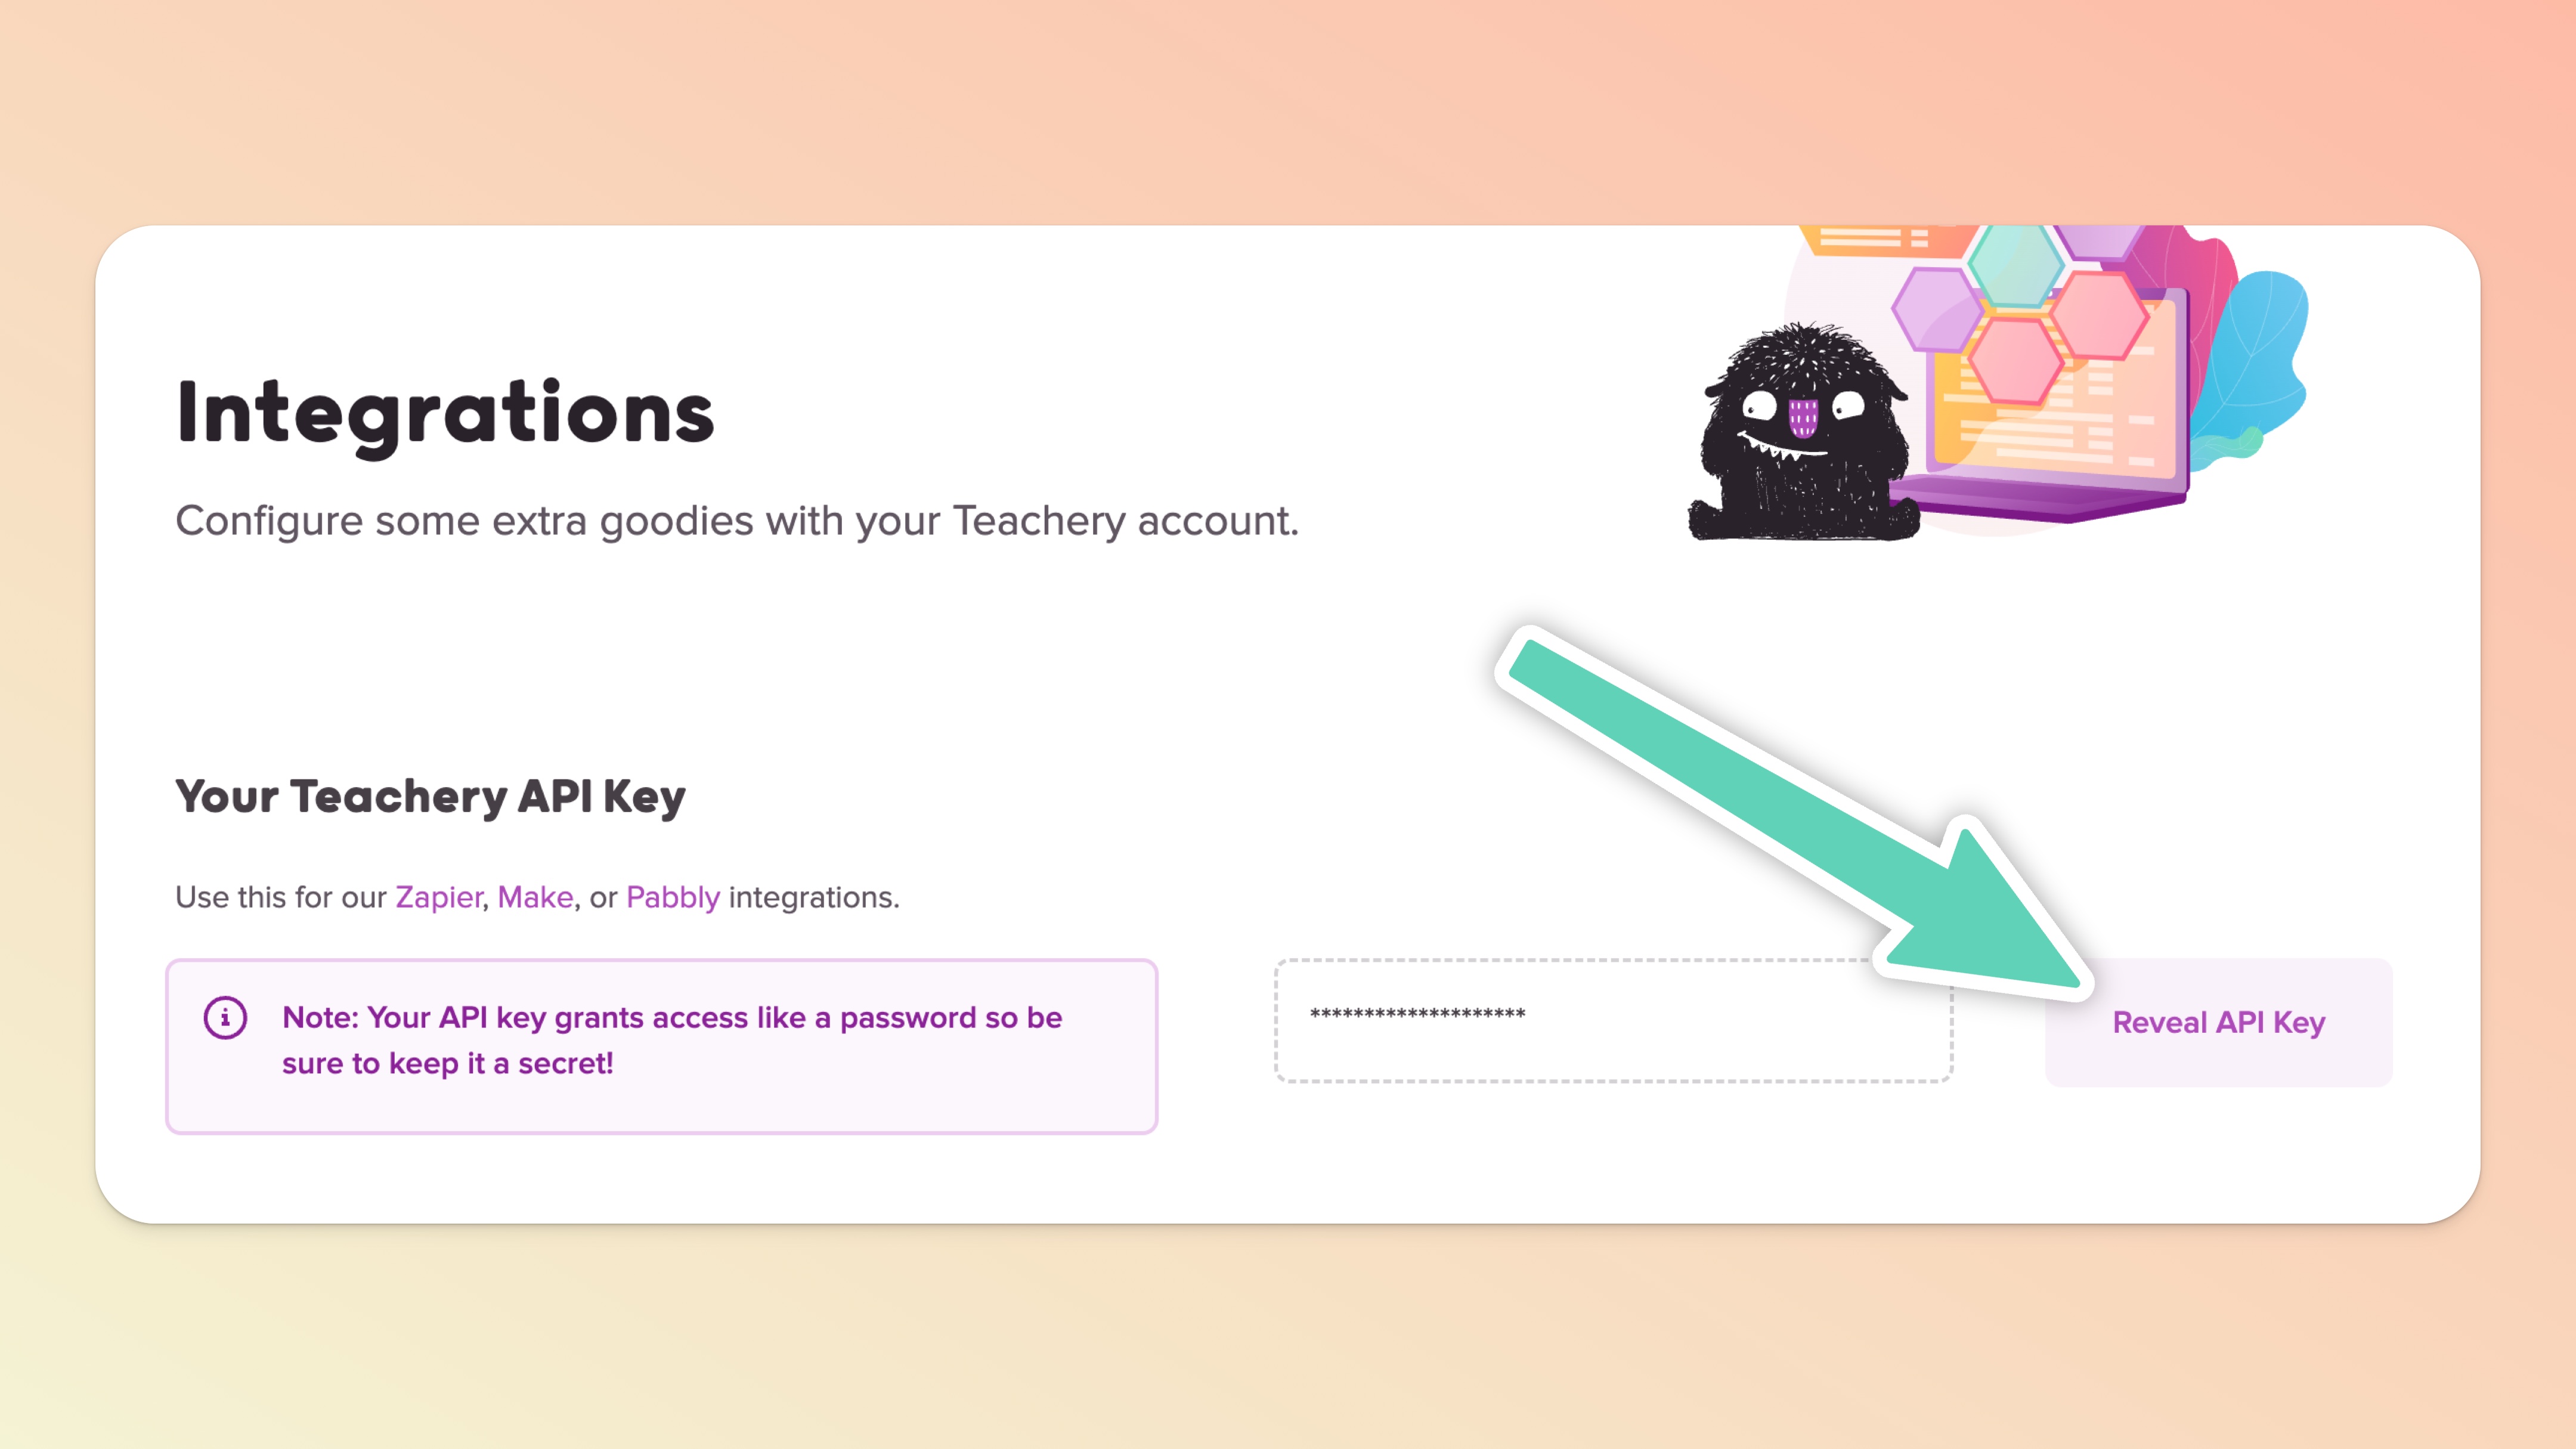
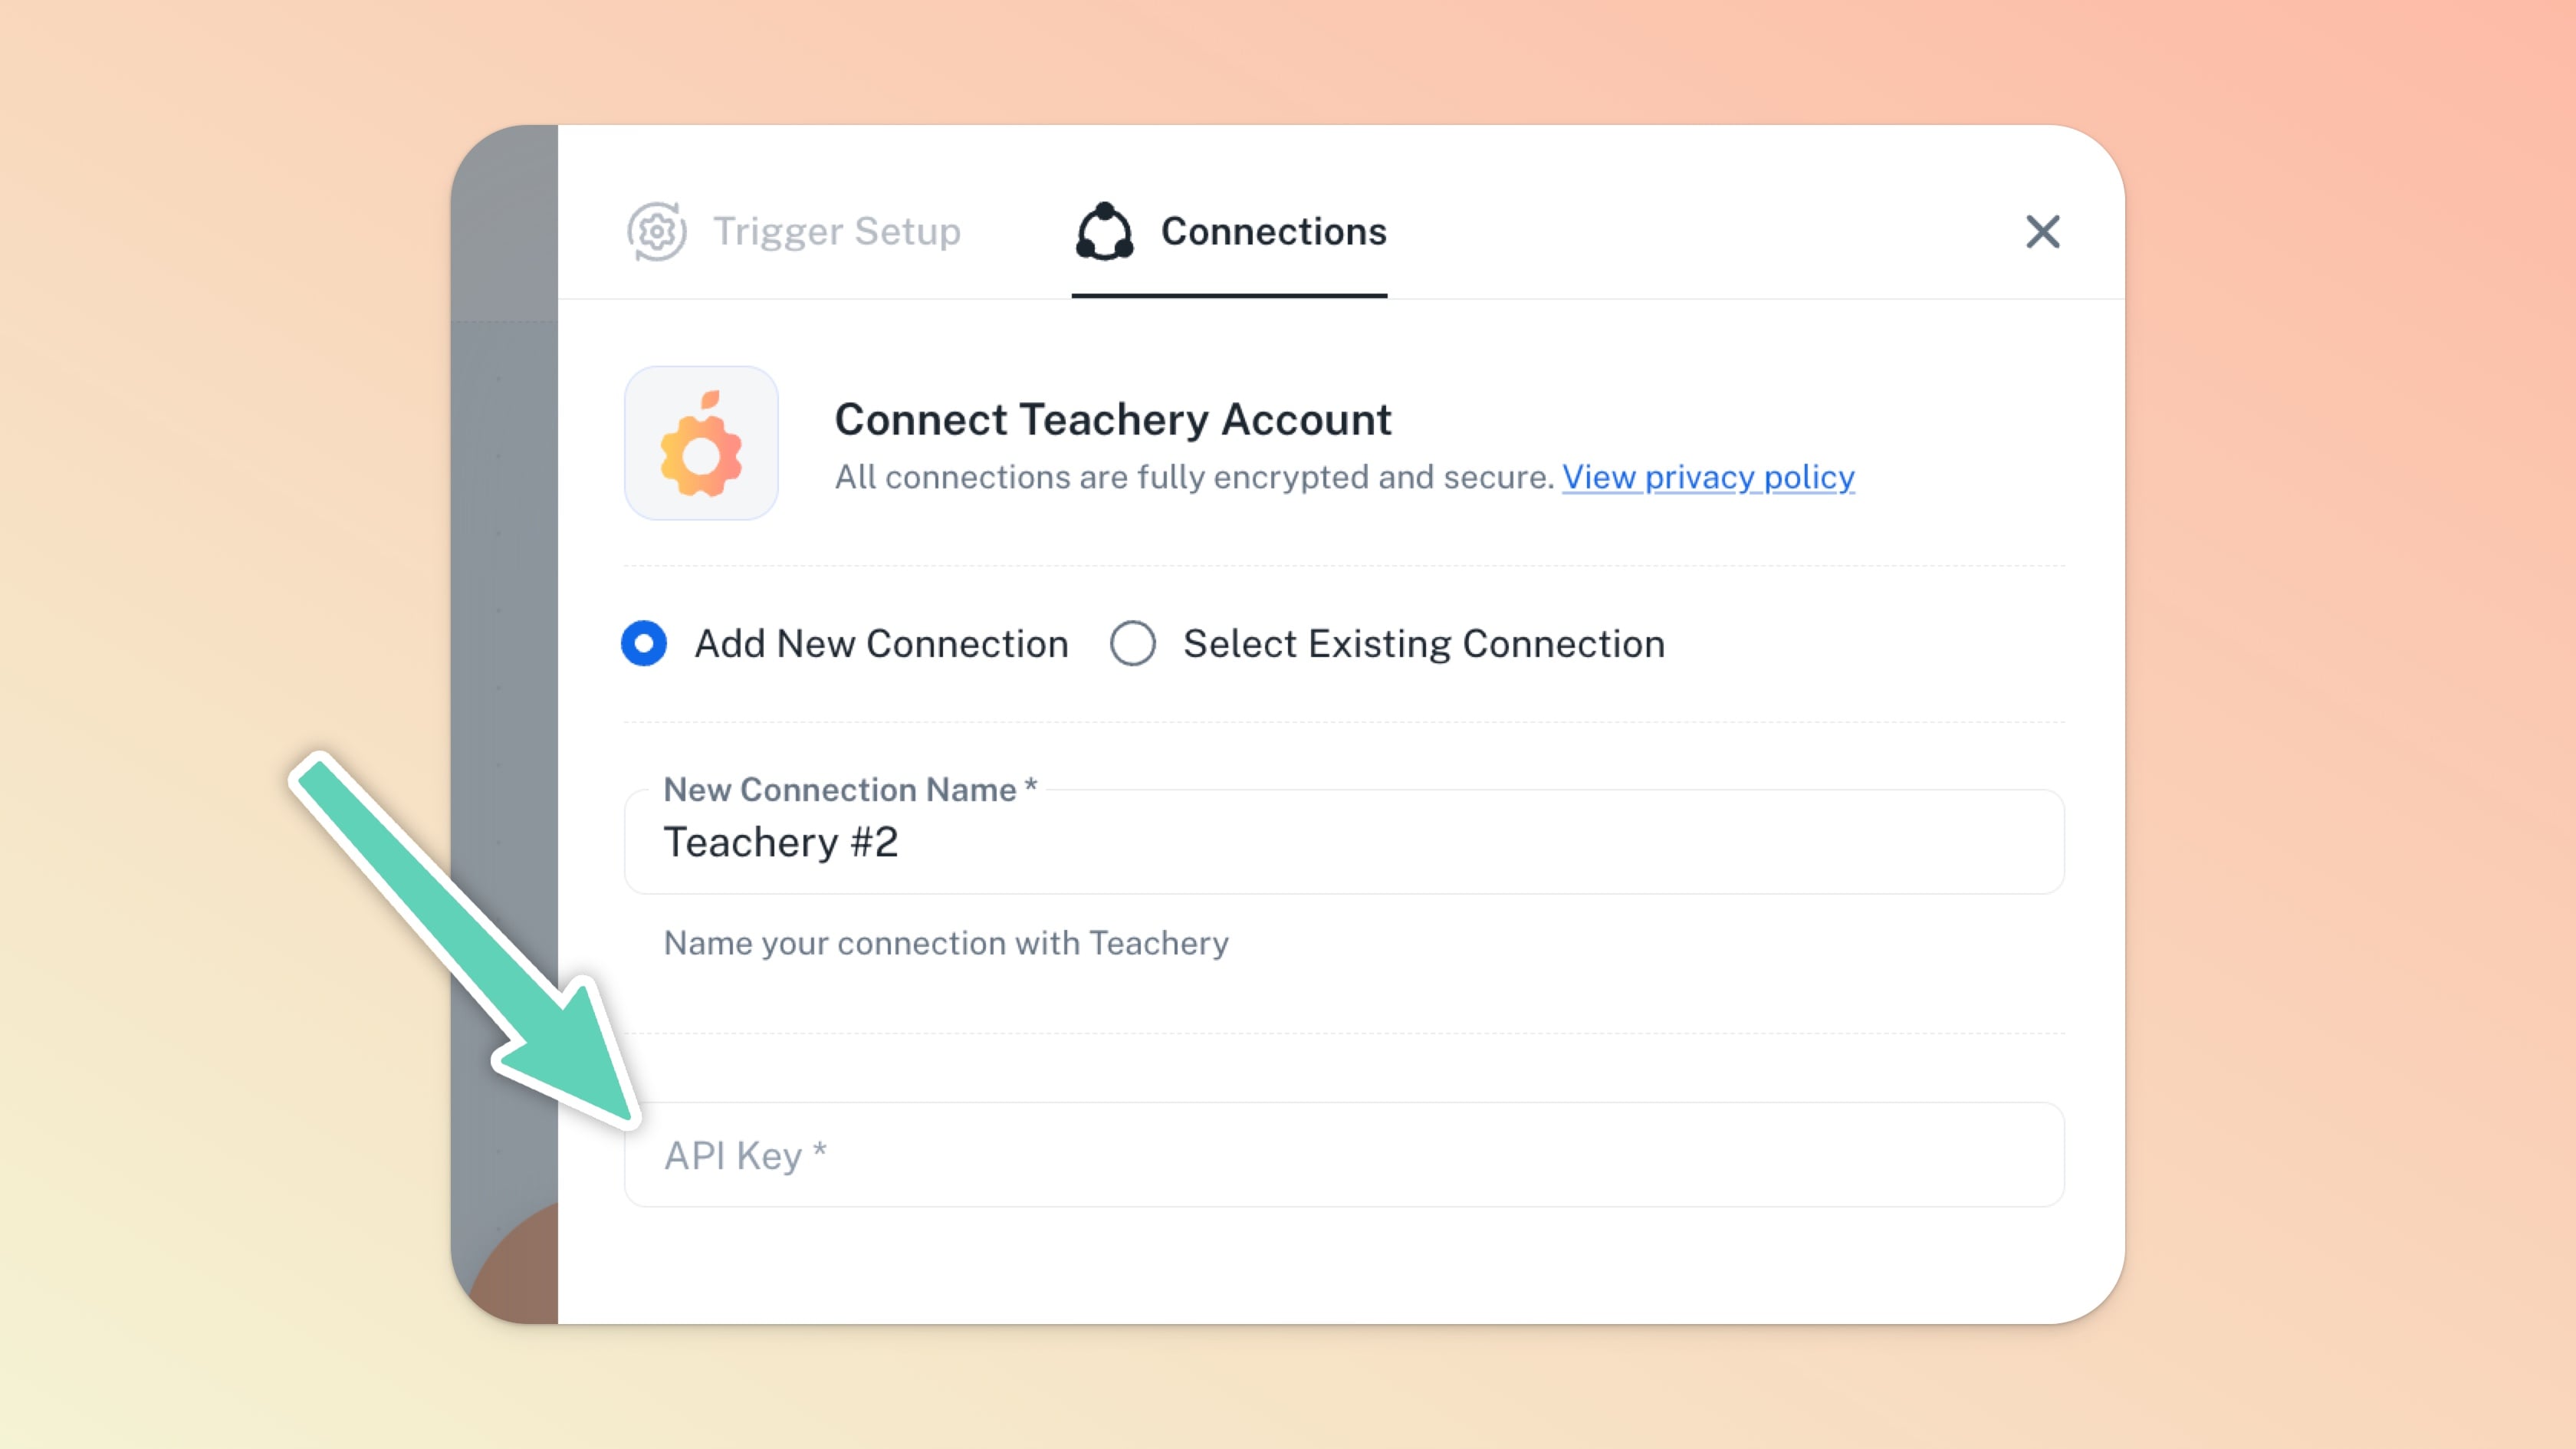
You'll need to grab your Teachery API Key from the Integrations section of your Accounts page in Teachery.
Back in Pabbly, paste your Teachery API Key into the Connections tab in Teachery’s settings panel and feel free to name the connection or leave the Connection Name generic if you only have one Teachery account.
Once you've added your API Key and chosen the New Order App Event/Trigger, you'll click the "Save & Send Test Request" button.
This is telling Pabbly that you are going to create a NEW customer for Pabbly to pull in from Teachery (it will NOT pull in existing customer data from Teachery).
If you see the "Save & Send..." button be replaced with a "Waiting For Webhook Response" message, it means that Pabbly is waiting for you to create customer data in Teachery.
(We wish Pabbly could automatically pull in existing customer data from your Teachery account, but alas, they do not offer that functionality. 😩)
To manually add a test customer to Teachery, head over to your Customers page and click the "+ Add Customer to Course or Theme" button to get the Add Customer modal window.


Make sure to add a First Name, Last Name, Email, and then choose a Course/Theme. Remember, this is just test data that Pabbly needs to create the Workflow.
Once you’ve added your customer in Teachery, go back to Pabbly and you should see the previous message in the Teachery settings panel change to "Re-Capture Webhook Response" and a new "Response Received" dropdown field will appear. You can close the Teachery settings panel at this point.
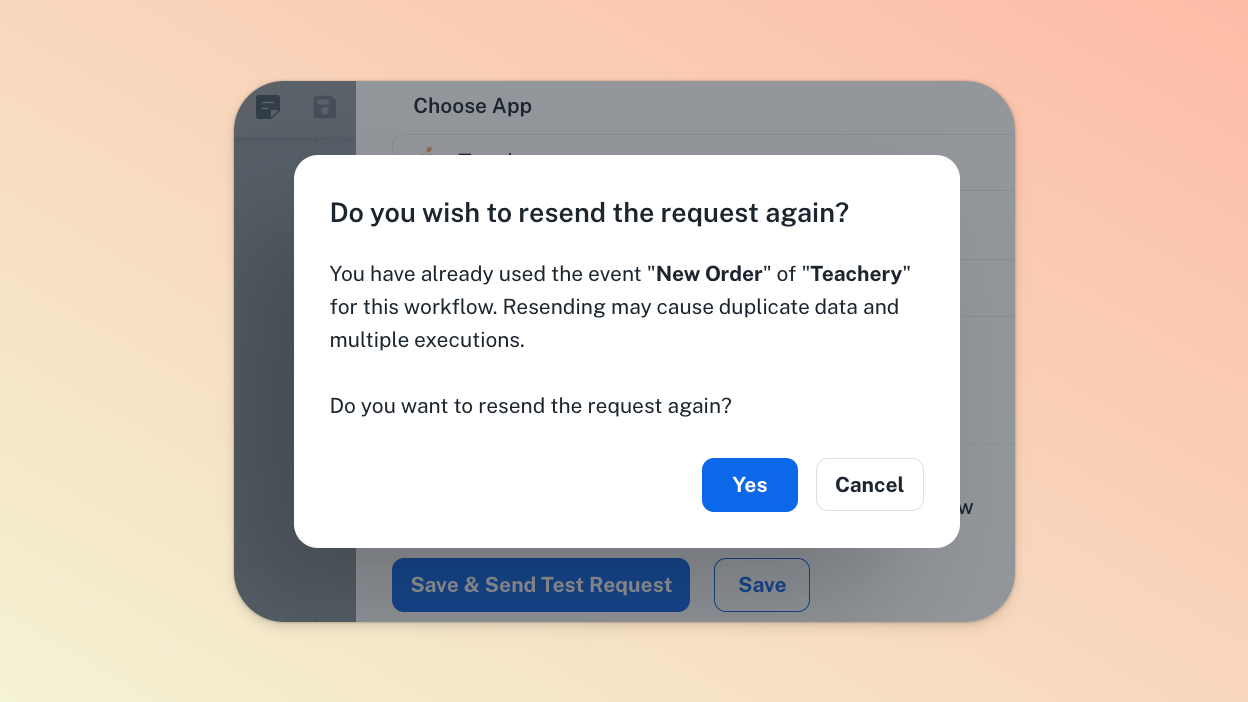
If you don’t see these changes (because Pabbly timed out), click the "Save & Send Test Request" button again and attempt to add another test customer in Teachery.
If you get the popup below, you can select Yes.
In this example Workflow, if we want ALL new Teachery Customers that purchase ANY course in Teachery to get added to our MailerLite account then the Filter step is not needed.
However, if you have multiple courses in Teachery, you'll likely want to create a Filter that only allows customers of a specific Course, Theme, purchase price, etc. to move forward in the Workflow.
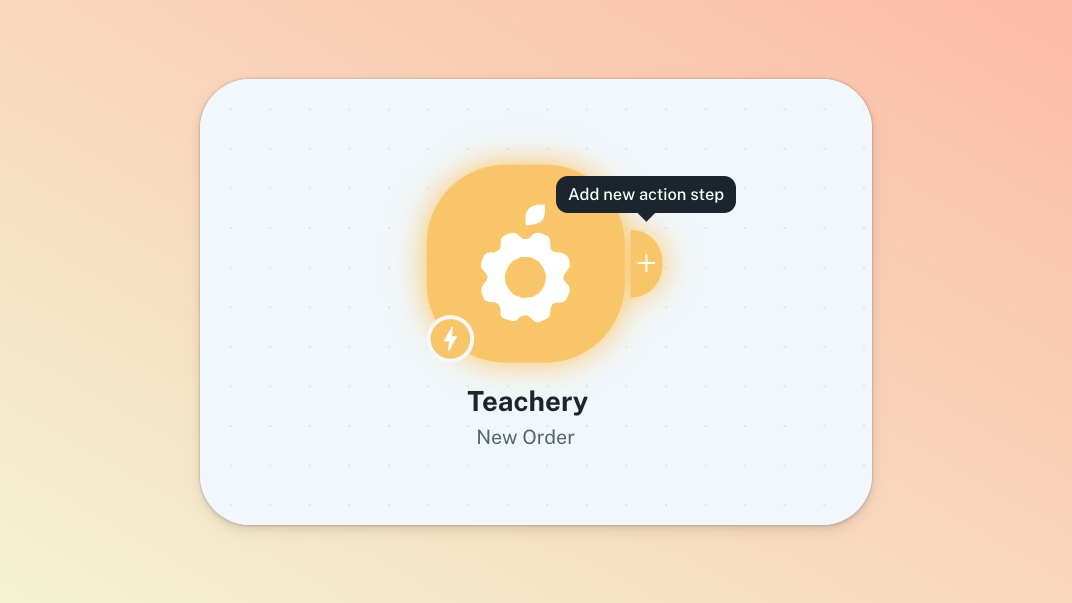
Hover over the Teachery step and click the + icon that appears in order to add a new action step.
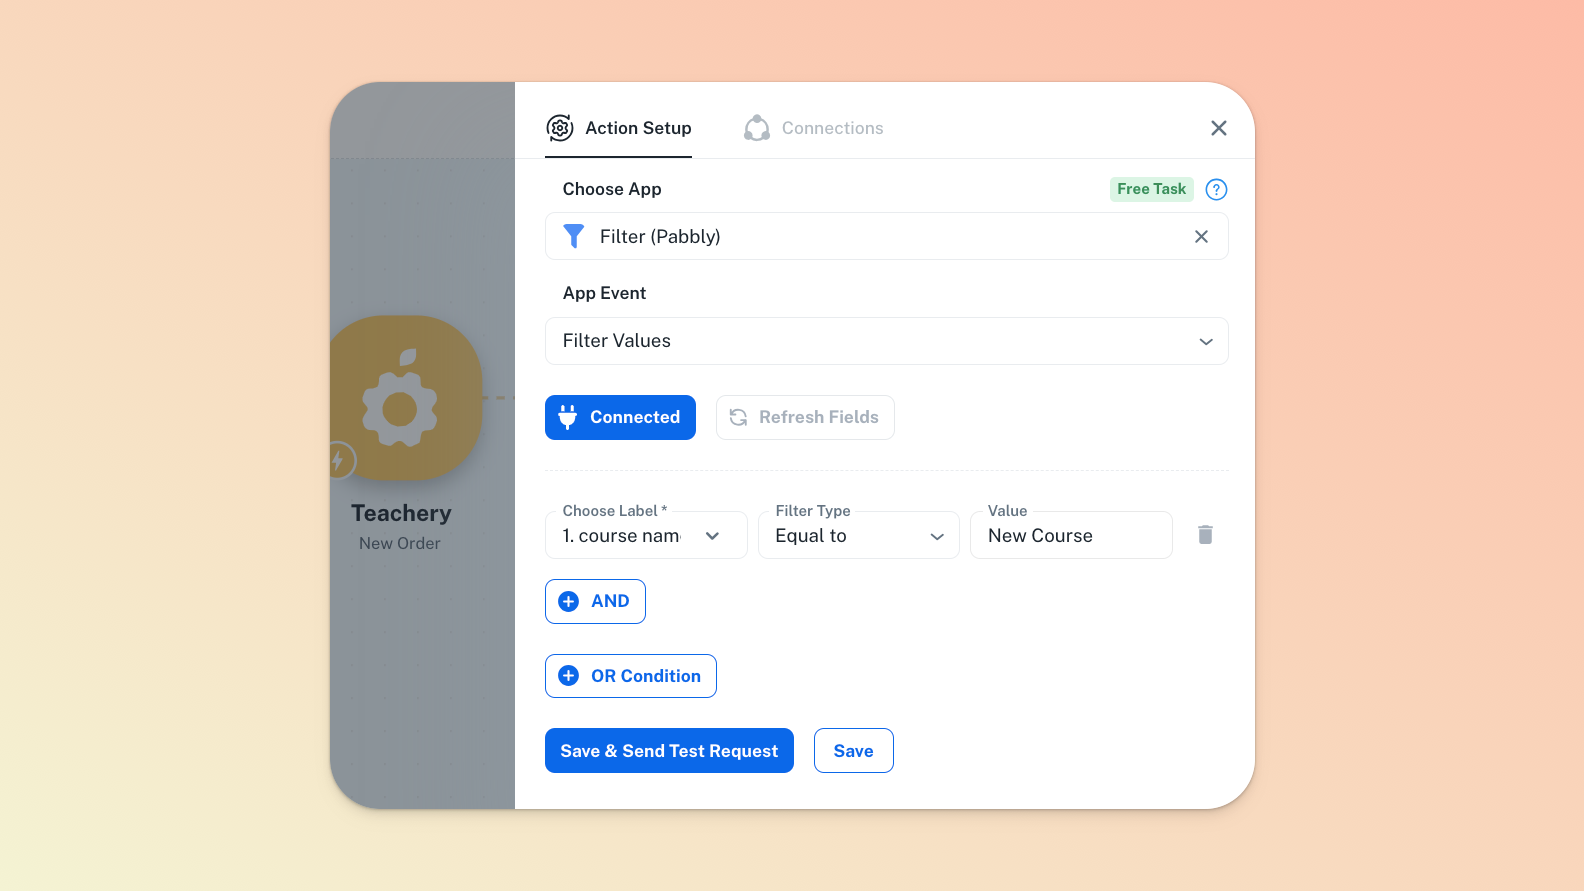
Search for Filter in the app search box that will appear in the panel that opens and select the Filter (Pabbly) option. Select the relevant Teachery field you need in the Choose Label dropdown and then define the remainder of your filter.
In our working example, we only want data relevant to the course named “New Course”.
Click the "Save & Send Test Request" button and see what result Pabbly provides in the "Response Received" dropdown field that will appear. If successful, you can now close this Filter’s panel.
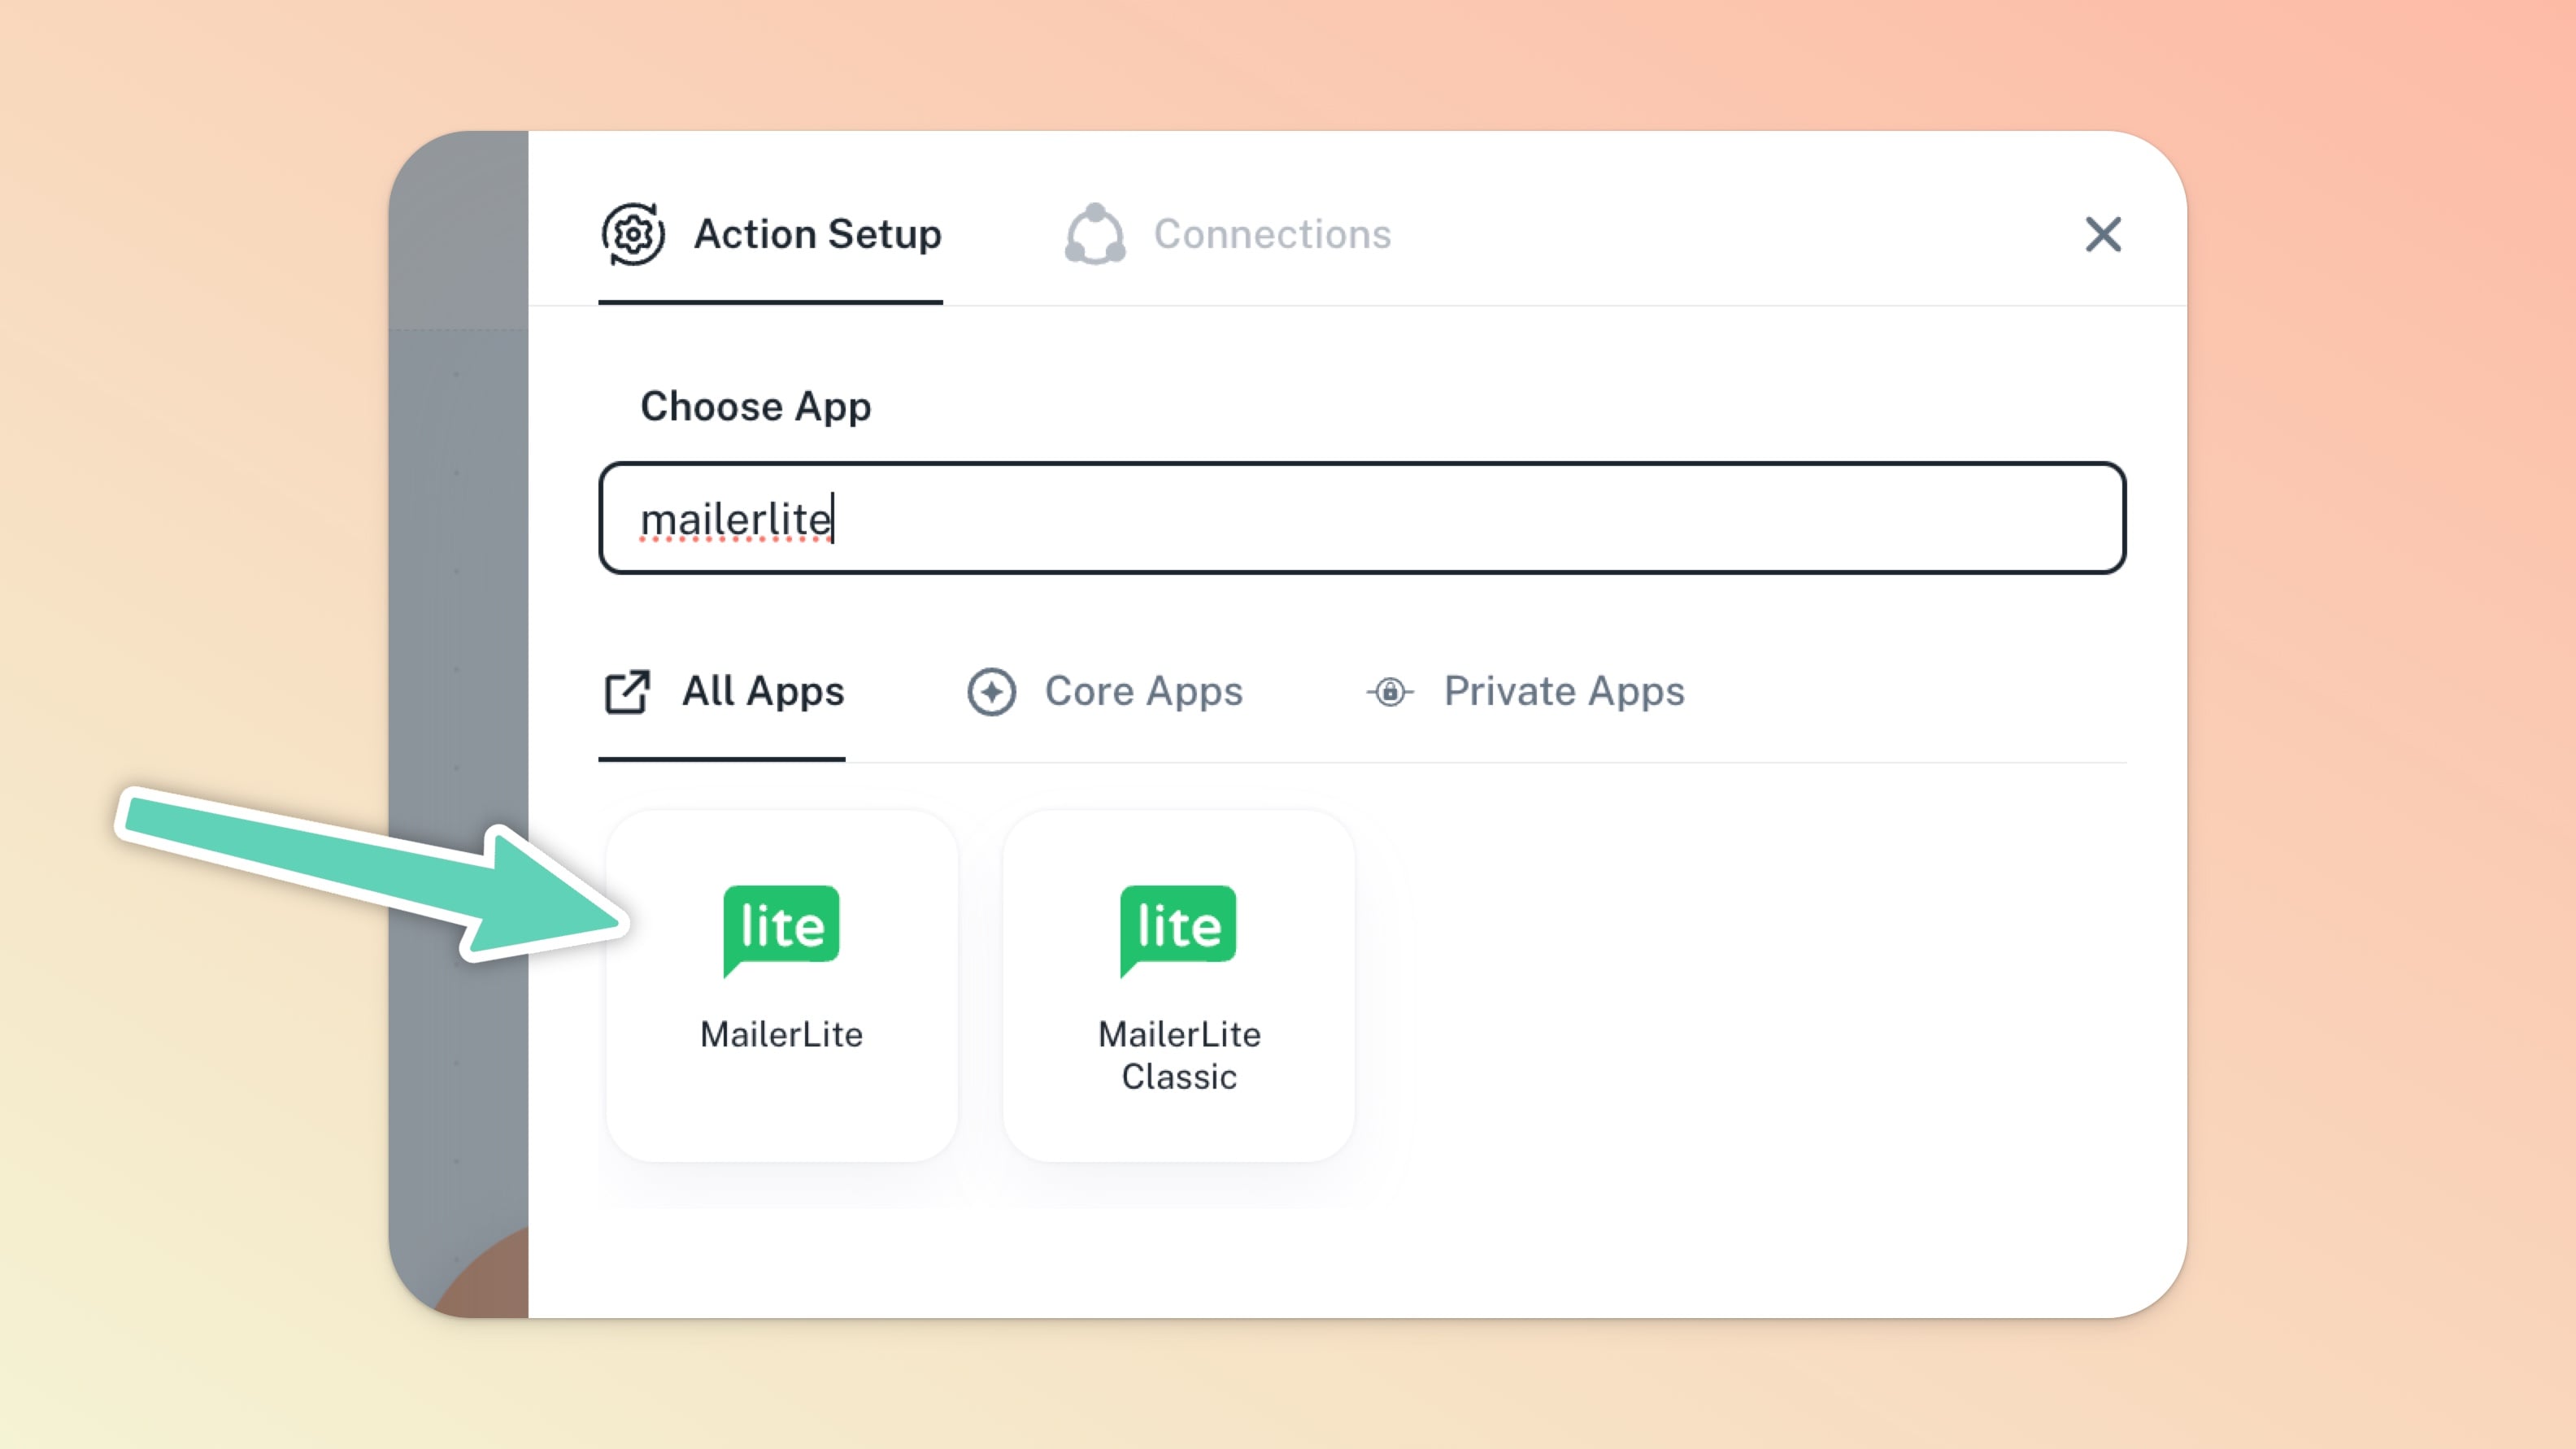
Now, hover over the Filter step (or Teachery step, if you didn’t make use of a filter) and click the + icon that appears in order to add a new action step for your other application (in our case, MailerLite).
Once you’ve followed the typical steps to successfully connect your second application, you'll want to toggle on the fields for which you’ll want to pull data out of Teachery and into, in this case, MailerLite.
That's it for our example Workflow! Any new Teachery customer that purchases the specified course in the Filter step will be added as a new subscriber in MailerLite.
Remember, Teachery can be the first trigger in a Pabbly Workflow (taking customer data FROM Teachery and sending it to another application -- like the example shown above) or Teachery can be the second (or later) trigger (taking customer data and PUSHING it into your Teachery account).
If you're taking payment outside of Teachery using PayPal, Thrivecart, etc, then those applications would be first in the Workflow and Teachery would be second (or later).
Enjoy the automation fun!
