
Sales Mode: This is the default and it will display one or two buying boxes on the page. These buying boxes can be linked to Teachery Payment Pages OR to external checkout pages you create outside of Teachery.
Email Capture Mode: With the click of one button, you can toggle the same Landing Page into Email Capture Mode. The buying boxes will be replaced by an email form (more on this below).
You can create as many Landing Pages as you like in Teachery and you can quickly and easily duplicate them.
Here's a walkthrough to get you started with Landing Pages:
While we've laid out a Landing Page with a specific structure in mind, you do not have to follow our layout and you can customize and add content wherever you like.
If you aren't familiar with creating sales pages, we'd recommend following the layout of our page and simply slotting in content in the areas as we've set things up.
As we admitted earlier, our Landing Pages do not offer the ability to add more sections, buttons, etc. You can get creative by making your own images as buttons and simply hyperlinking them to whatever you want wherever you want on the page!
We only offer two payment boxes at this time. If you want to offer a third buying option, feel free to use the content area below the two payment boxes as a creative solution.
If you are previewing your Landing Page and the either payment box is NOT appearing, it's because you didn't use the "Edit Payment Page" button to set the button's link to something. 😉
Watch the video below if you'd like to learn all the tips and tricks of editing a Landing Page.
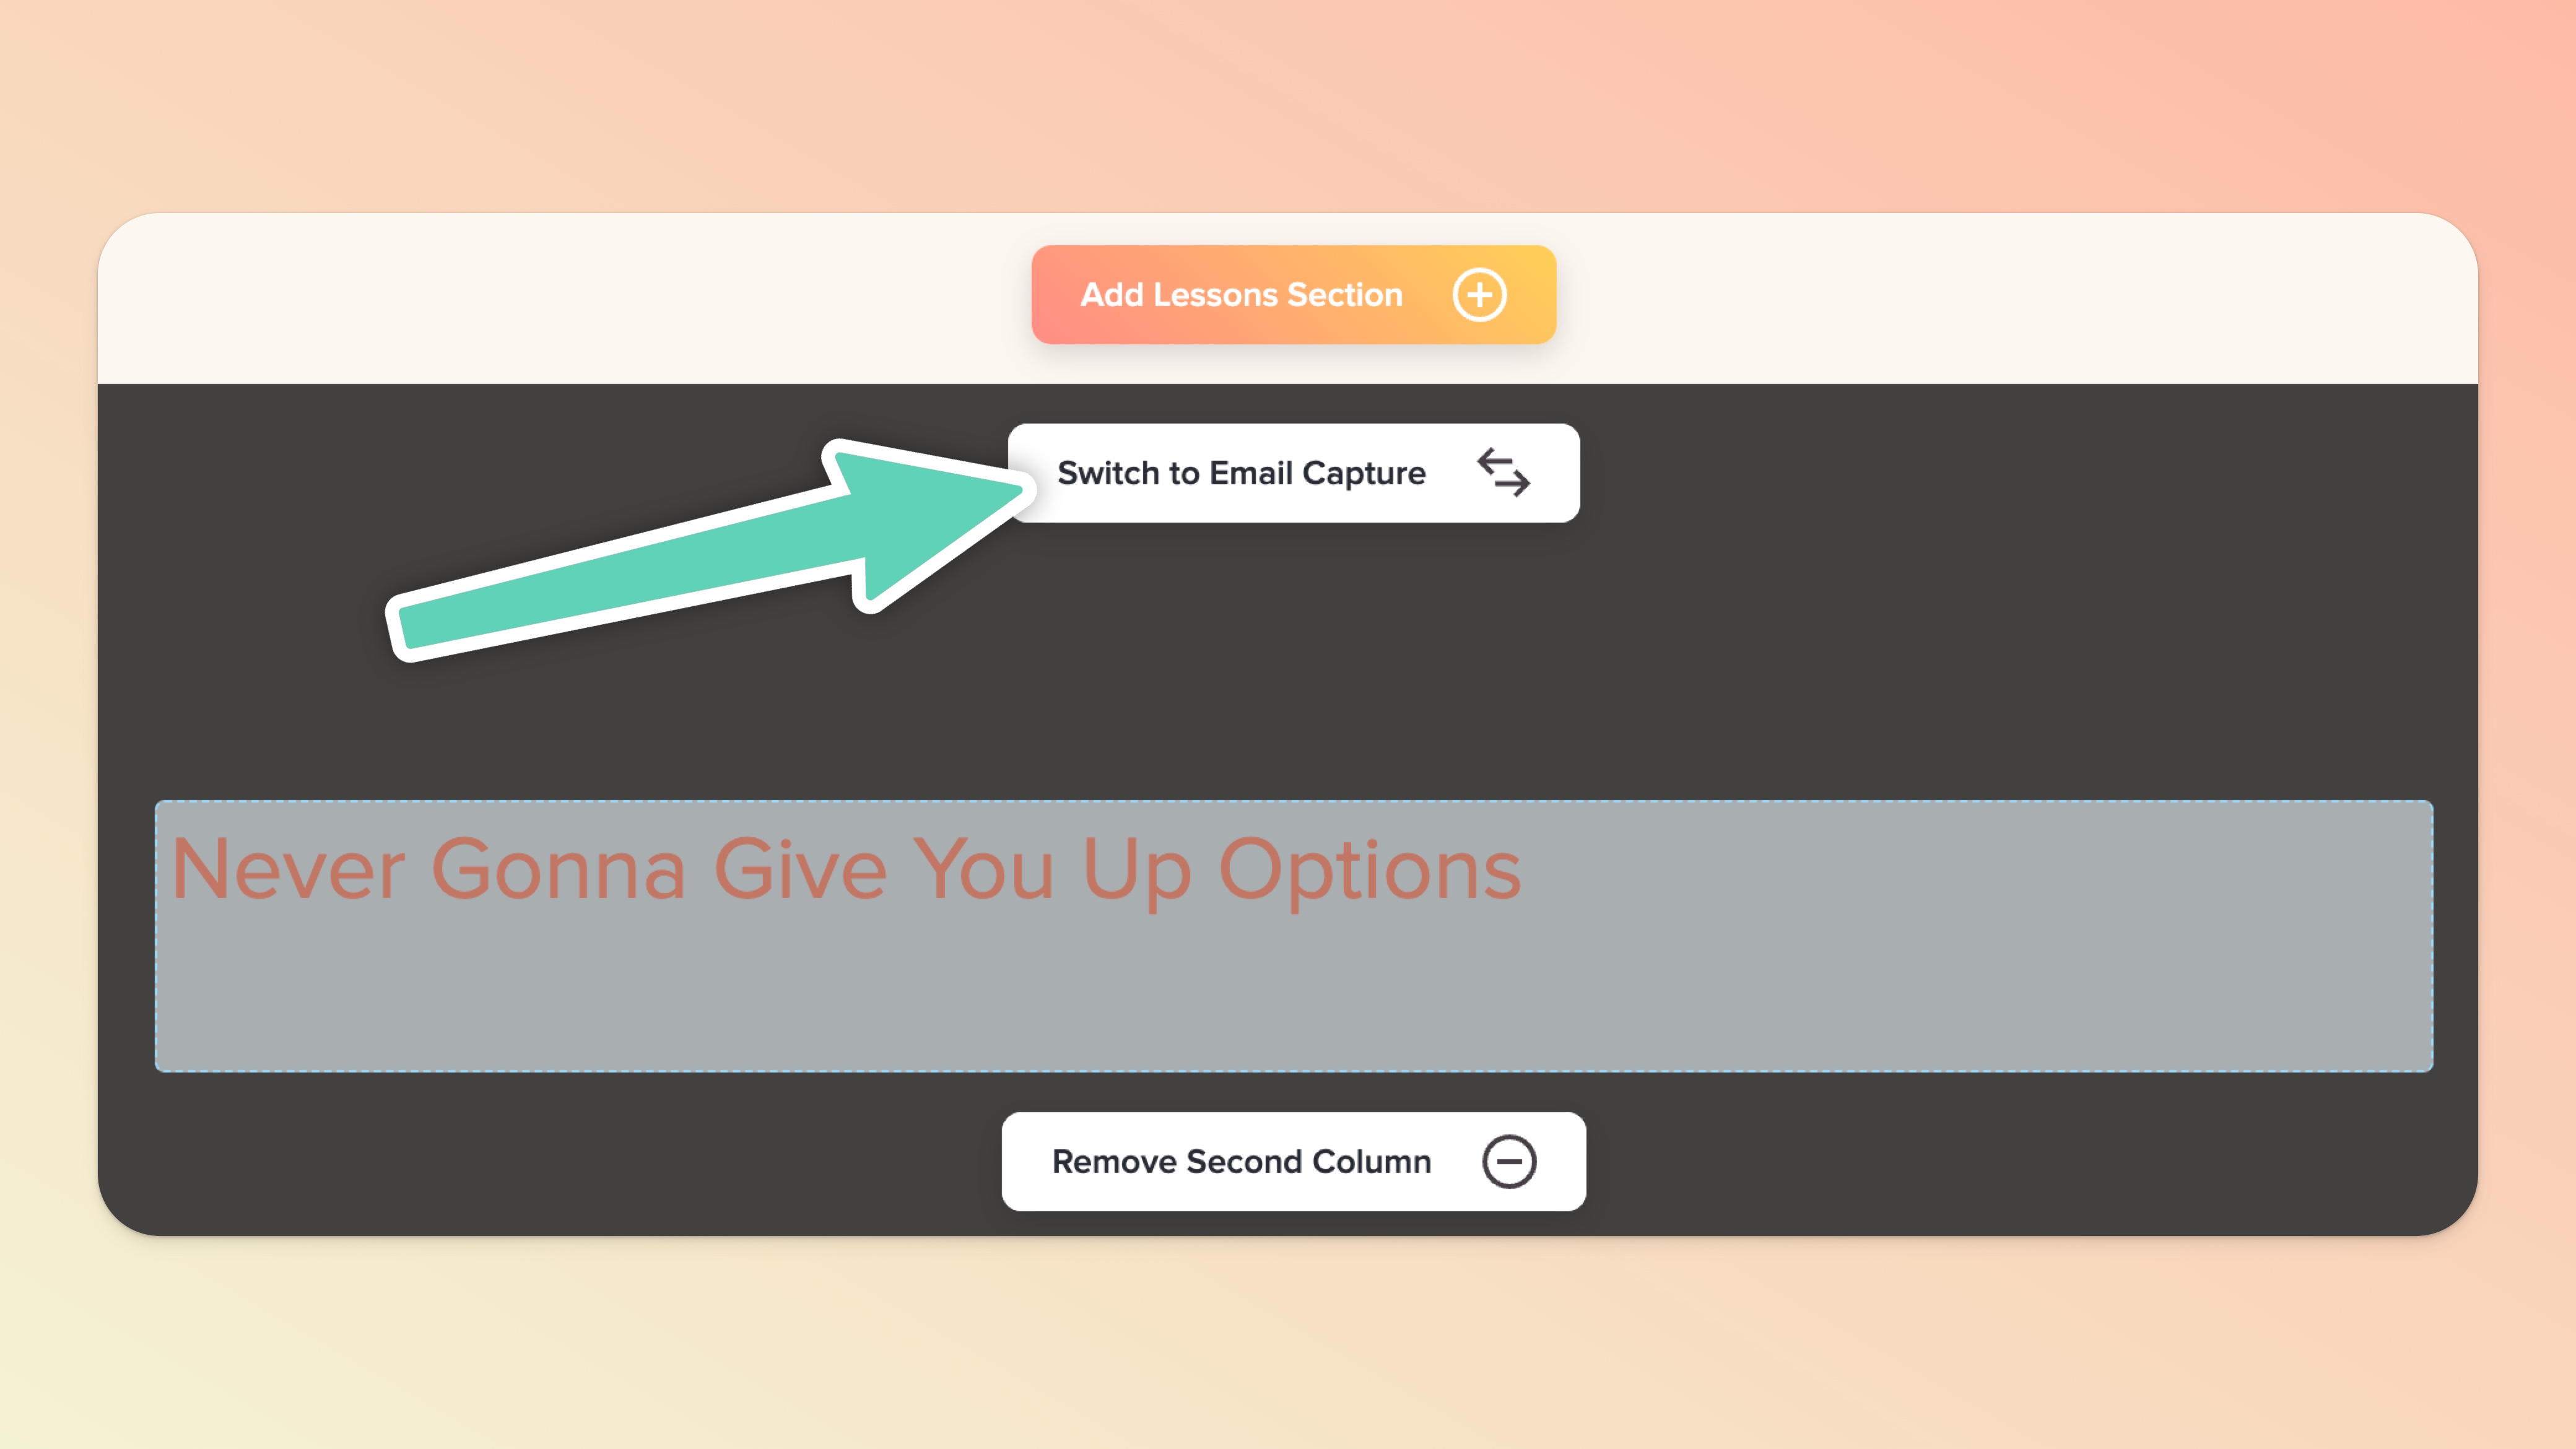
With ONE click of your mouse, you can turn any Landing Page from Sales Mode (default setting) to Email Capture Mode.
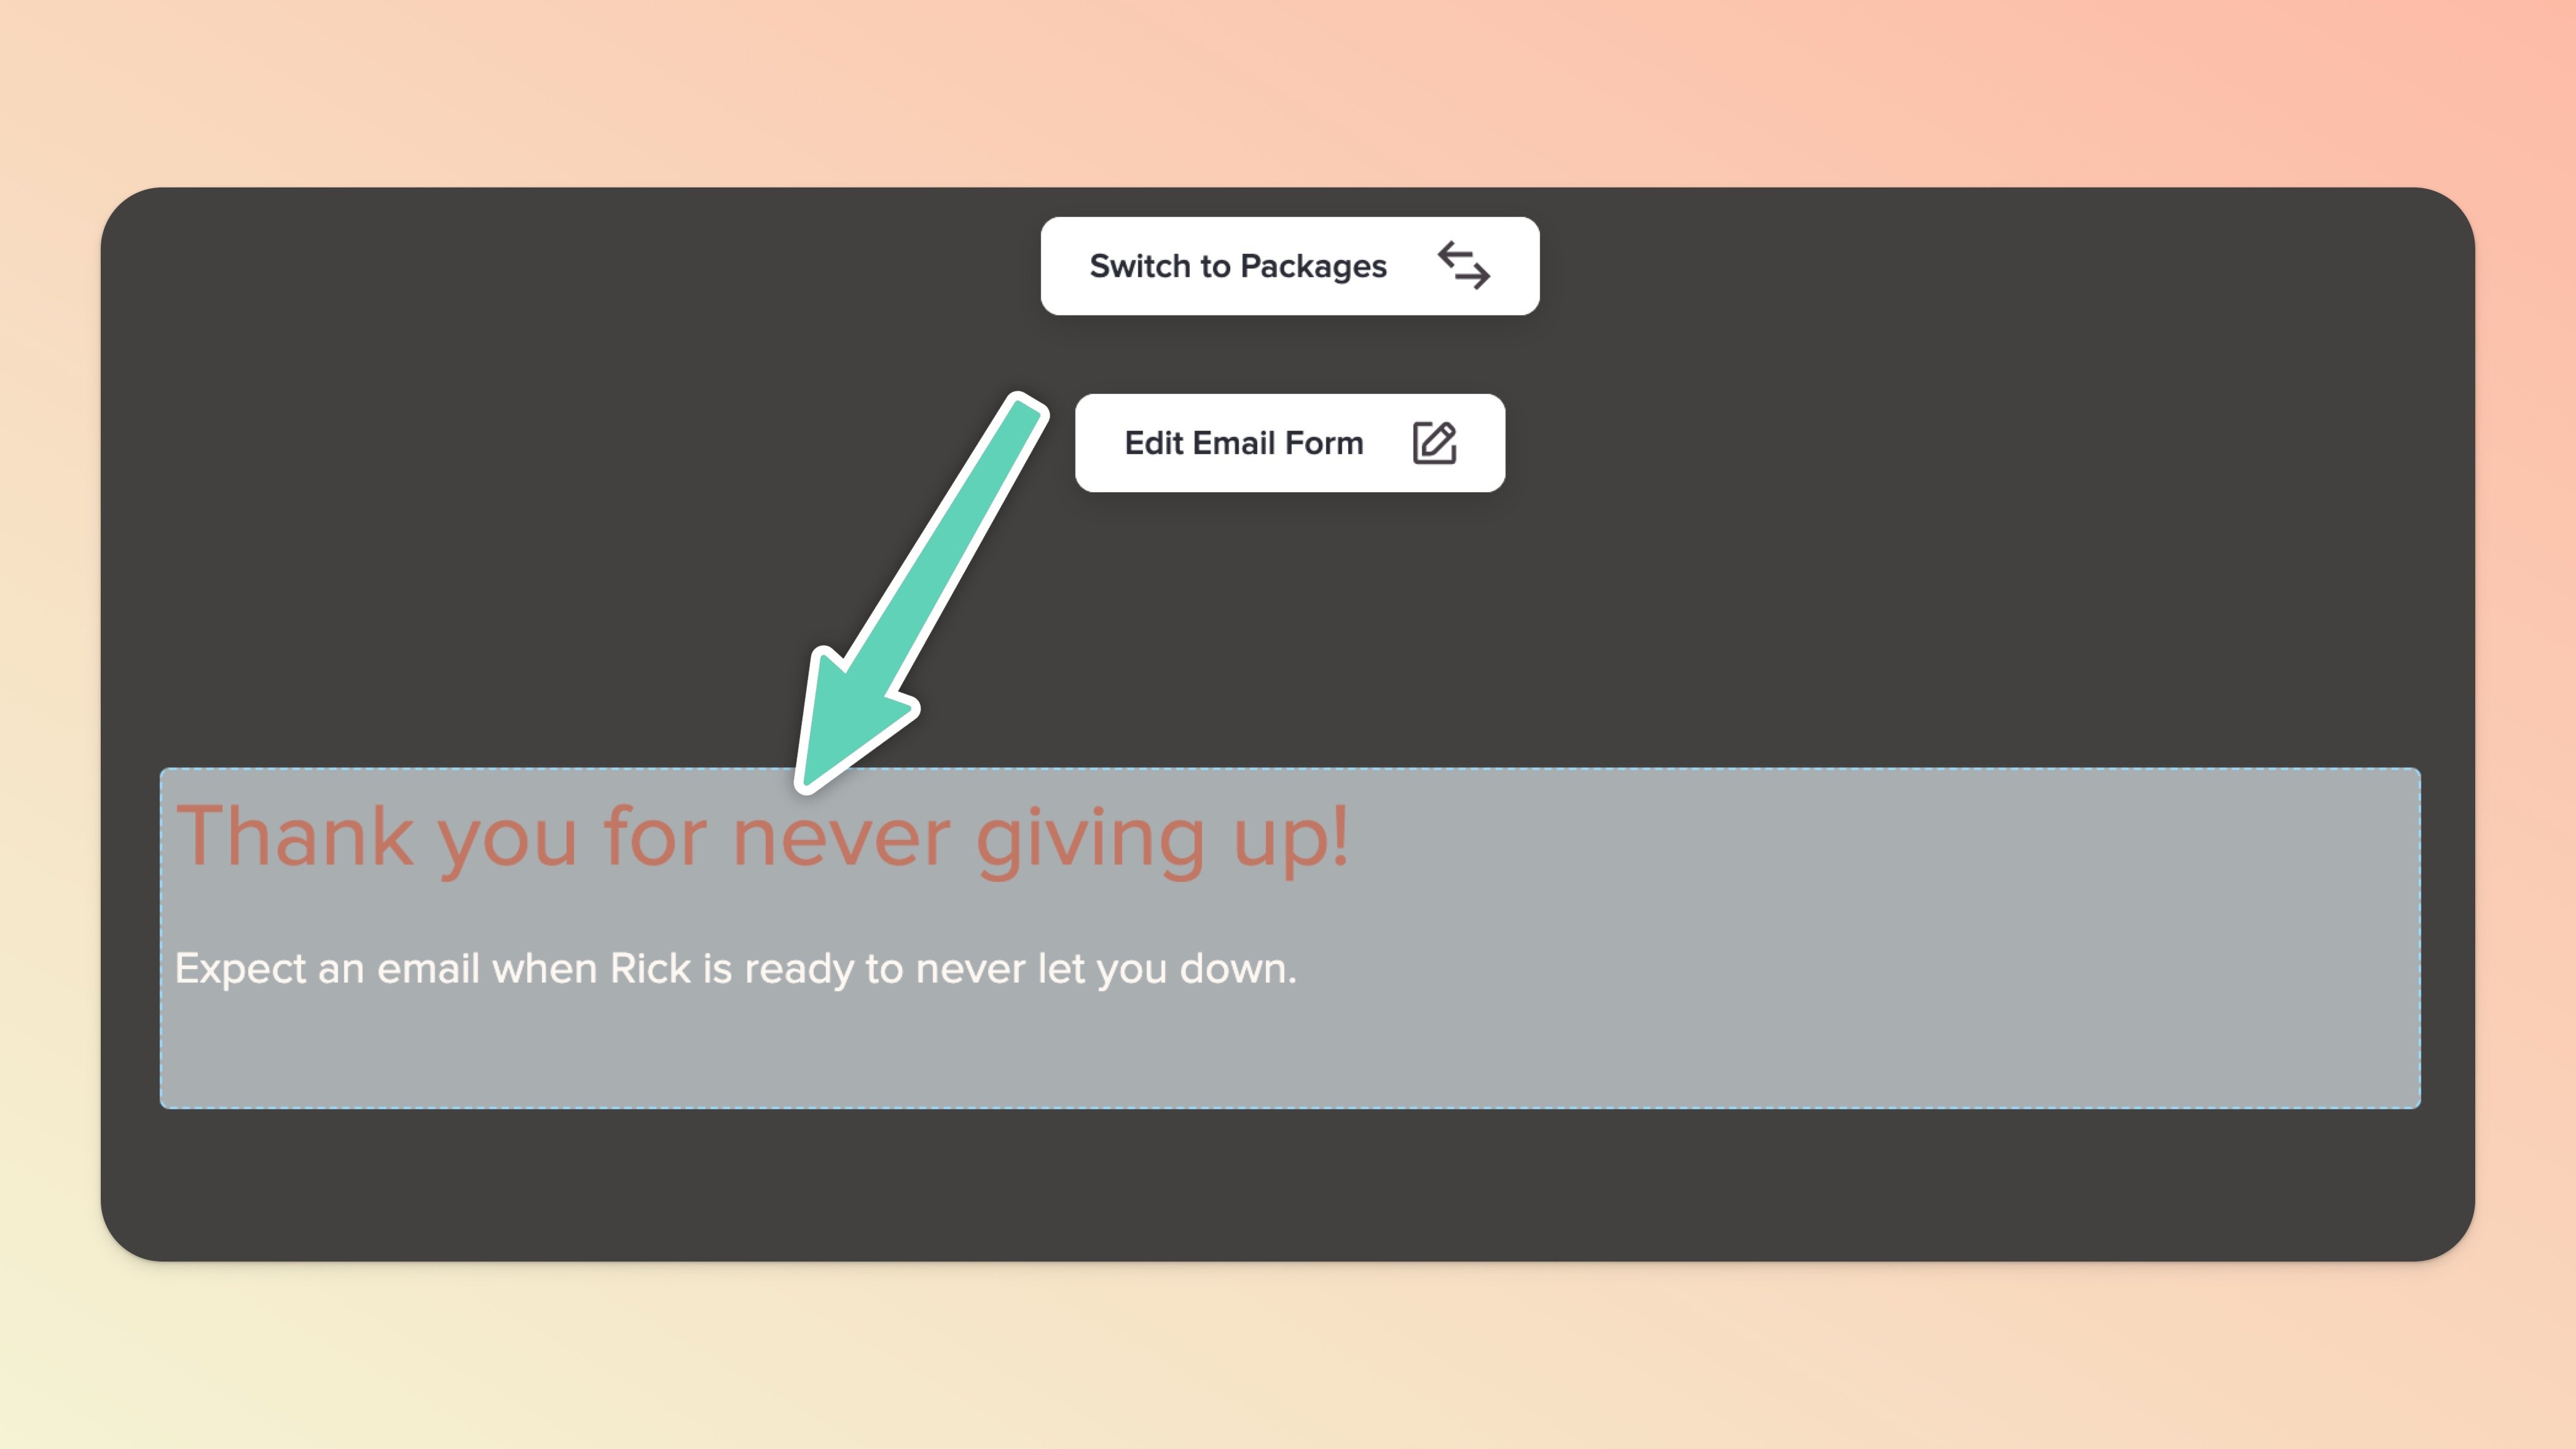
All you have to do is click the Switch To Email Capture button and you've done it! To switch back to Sales Mode (which will allow you to display buying/pricing boxes with links to payment pages), click the Switch to Packages button.
Once you've switched to Email Capture, make sure to click the Edit Thank You Message button to customize the thank you message when someone submits their email info.
If you want the emails captured to automatically be added to your Mailchimp, Kit, Flodesk, or Mailerlite account, make sure to click the Connect Email Provider button in the Actions menu.
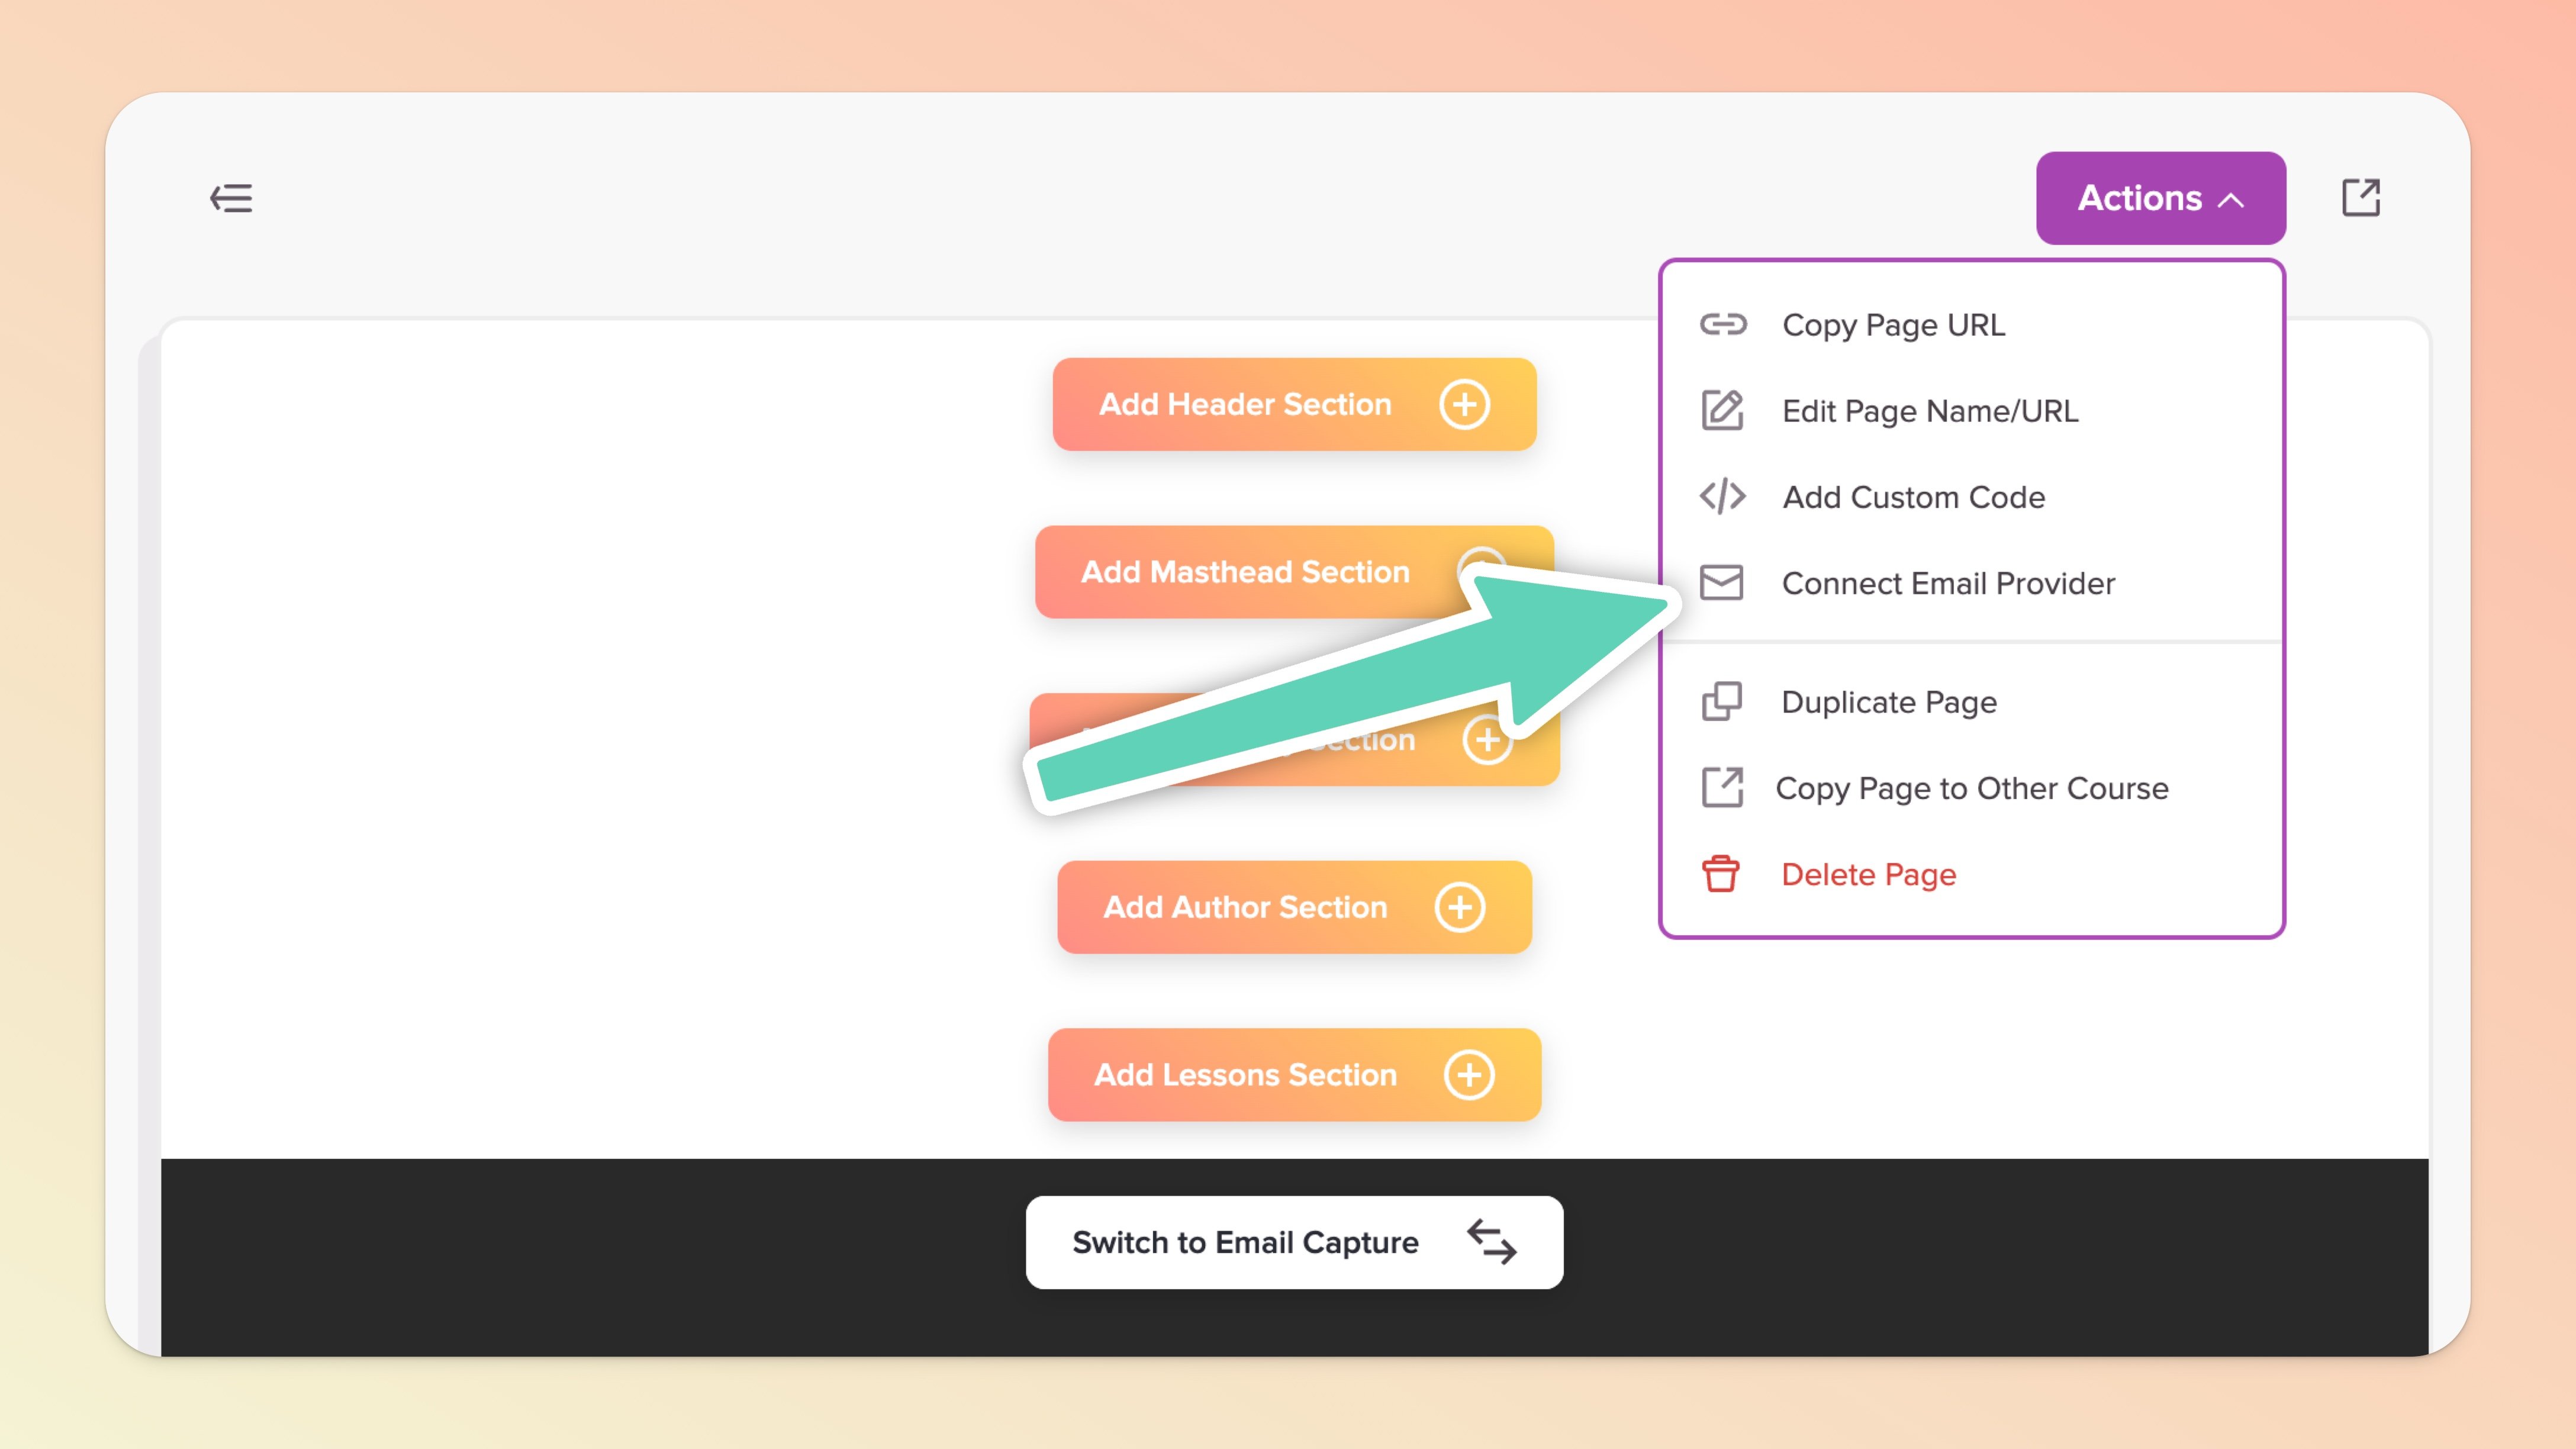
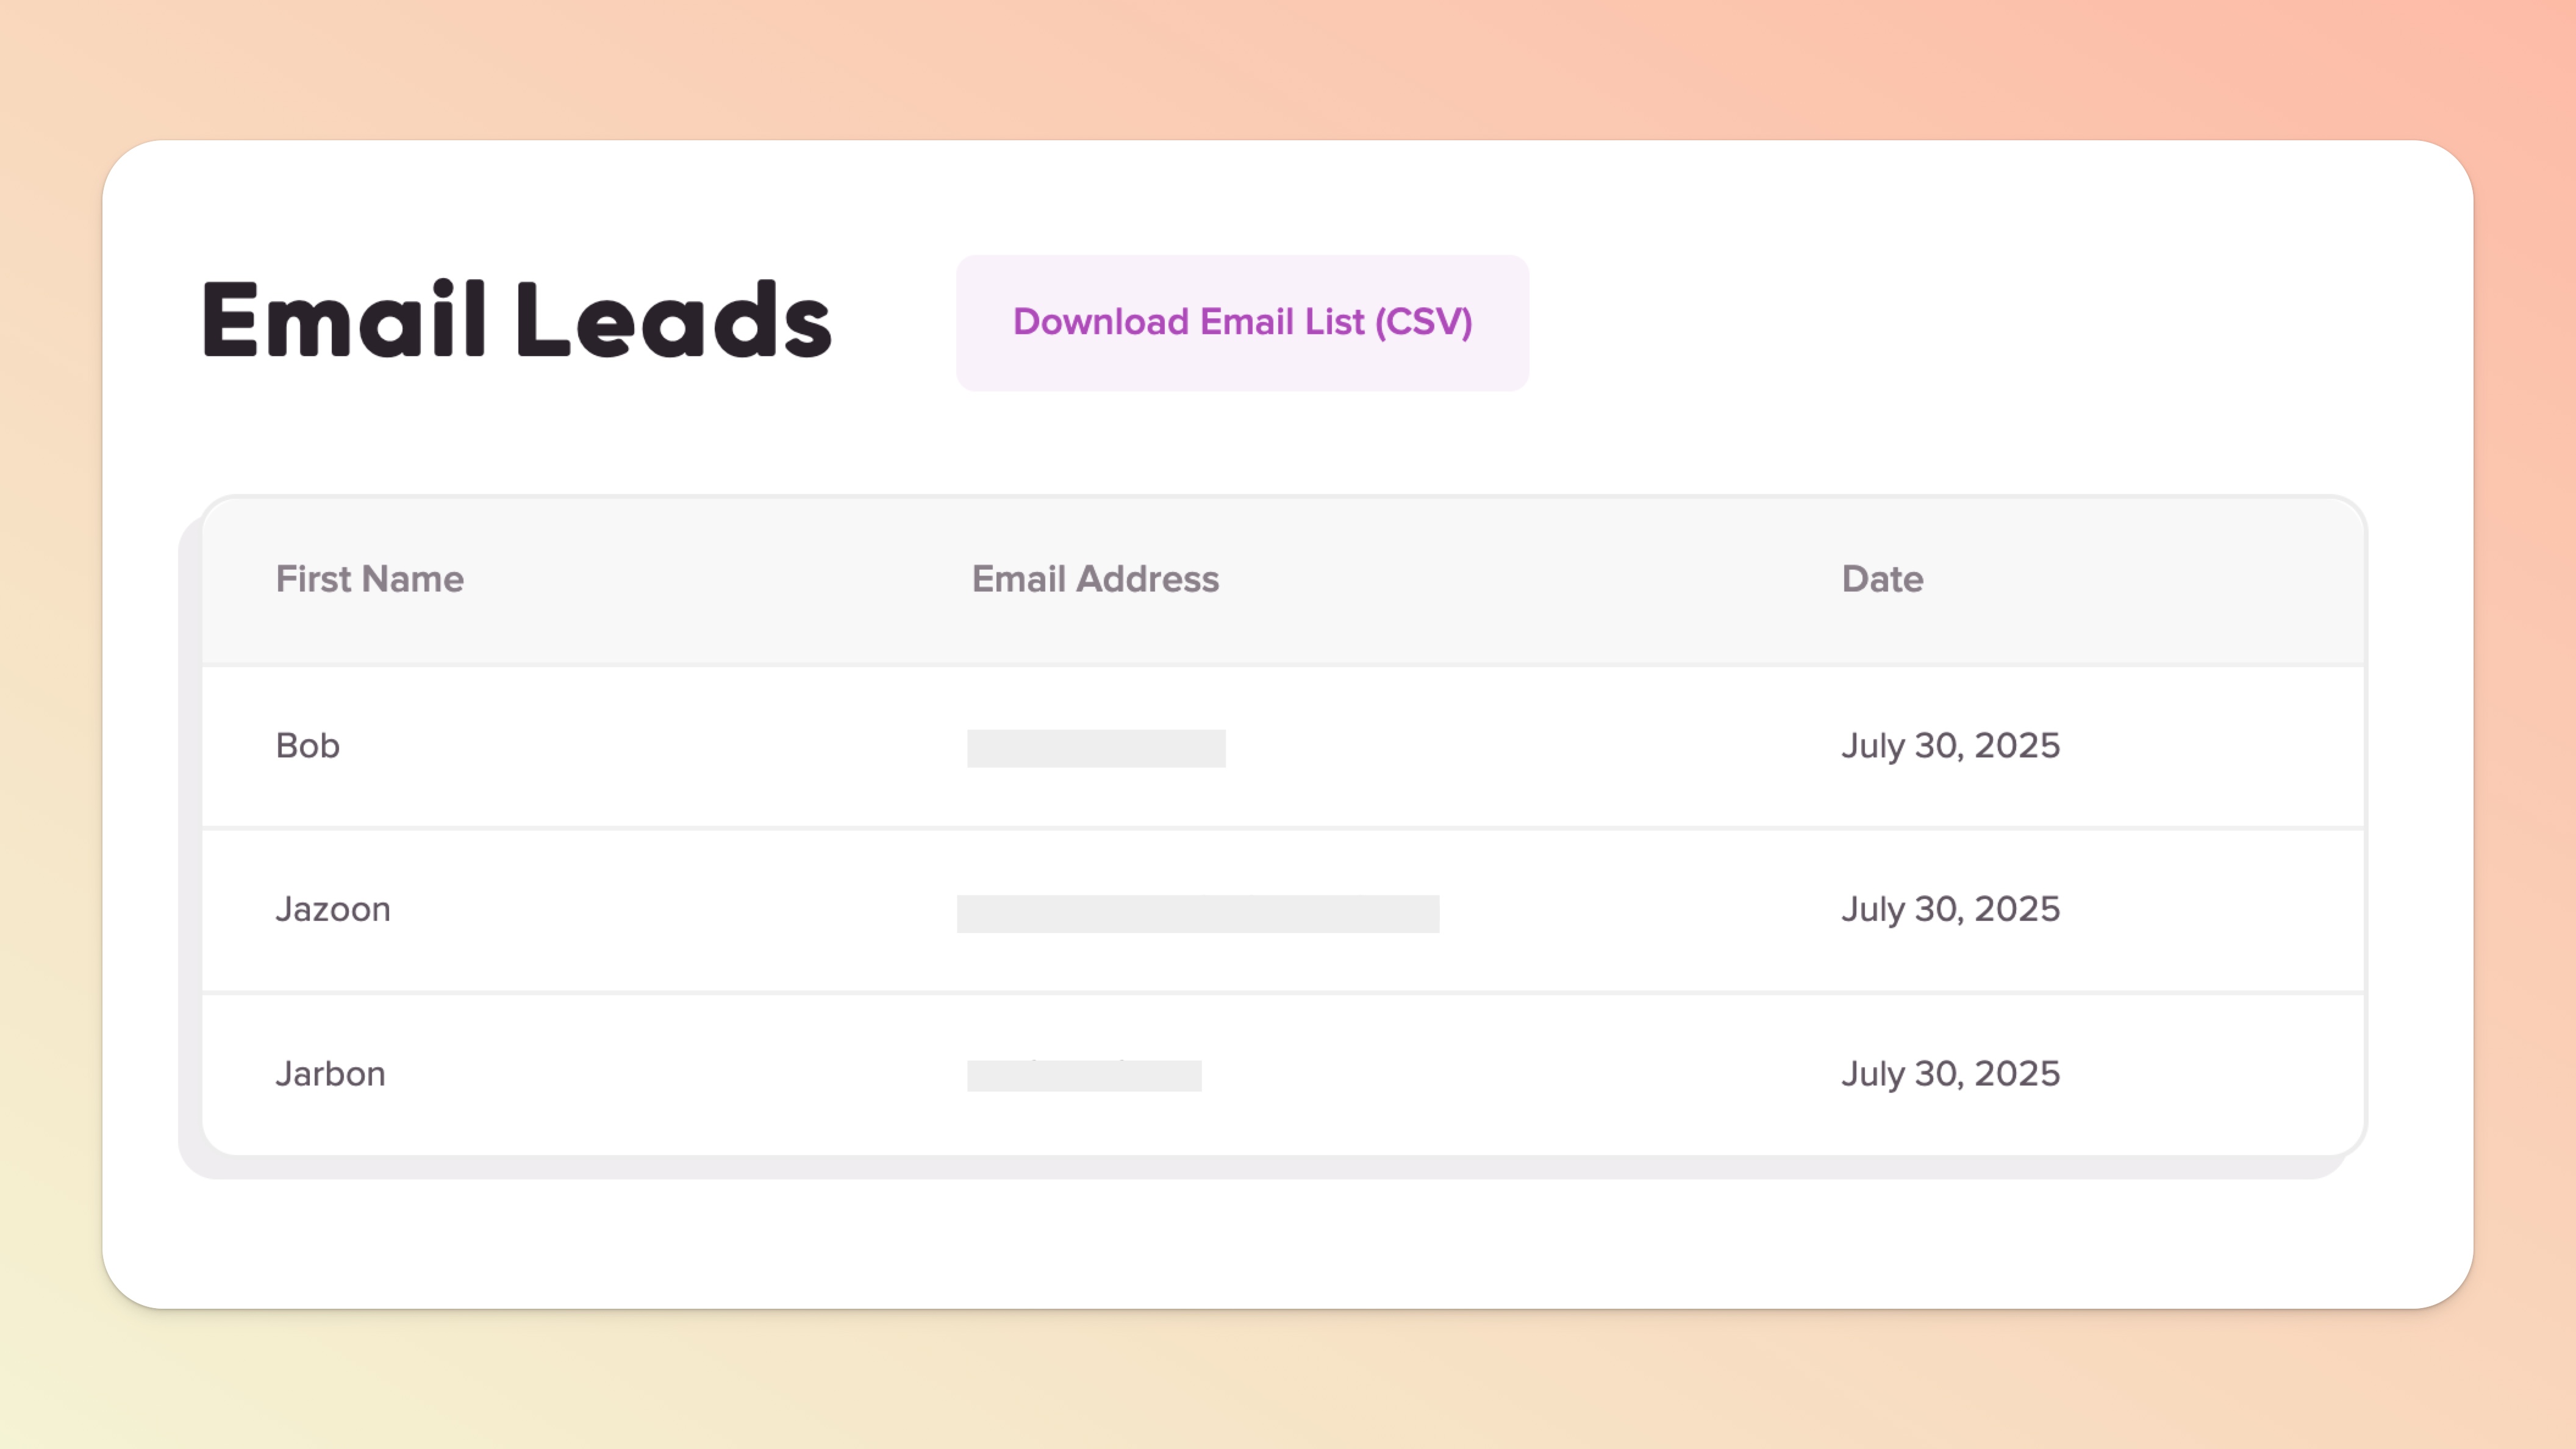
We'll collect the emails for you in a page called "Email Leads" saved under the Landing Page in the Actions menu available on the Landing Page. You can export your CSV of email leads OR you can use Zapier, Pabbly, or Make to automate this for any other email provider or action.
If you want to watch a video walking you through switching Landing Pages to Email Capture Mode we've got you covered:
