If you ever wanted to showcase a handful of your courses (and/or themes and products) on ONE page, hubs is the feature for you! You can create an unlimited number of hubs, from storefronts to membership hubs.
In this help doc, we’re going to walk you through setting up a hub as well as a few creative ideas for how to use hubs.
📌 Related help doc: How to set up the Buy All Courses button in a Course Hub
And if you’re looking for our advanced tip on how to hide Buy or Login buttons in a hub you can click here to jump to the bottom of this help doc.
You can watch the full walkthrough video or scroll down to read the step-by-step instructions.

This one is easy! Simply navigate to Hubs and click the + Create new hub button. You’ll create a name for your hub, which you can always change at a later date.
A hub can showcase as many courses, themes, products and other items as you like.
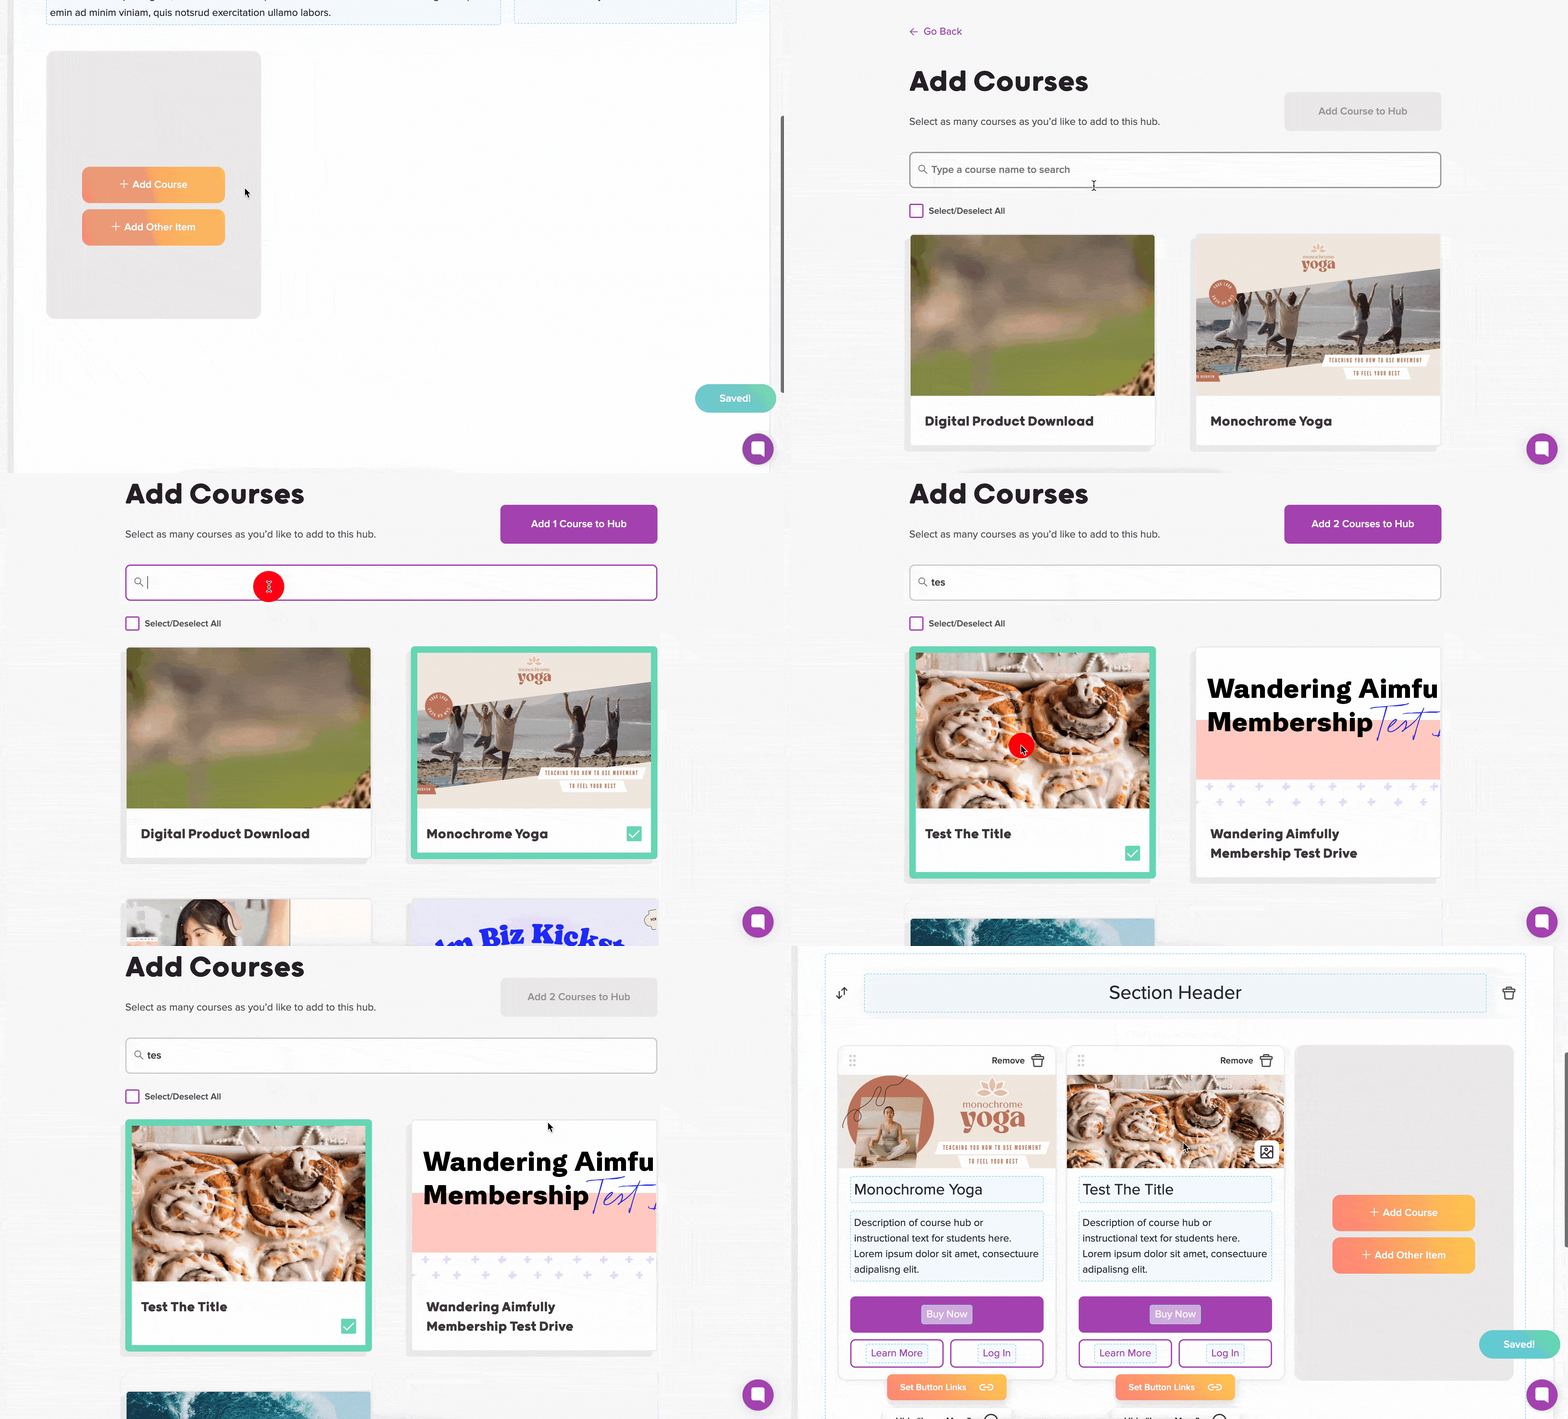
Click the + Add Course button to start choosing courses/themes. You can scroll through all your courses and themes OR you can search by name and then select them. To add a product, use the + Add Product button and to add any external resource, select + Add Other Item.
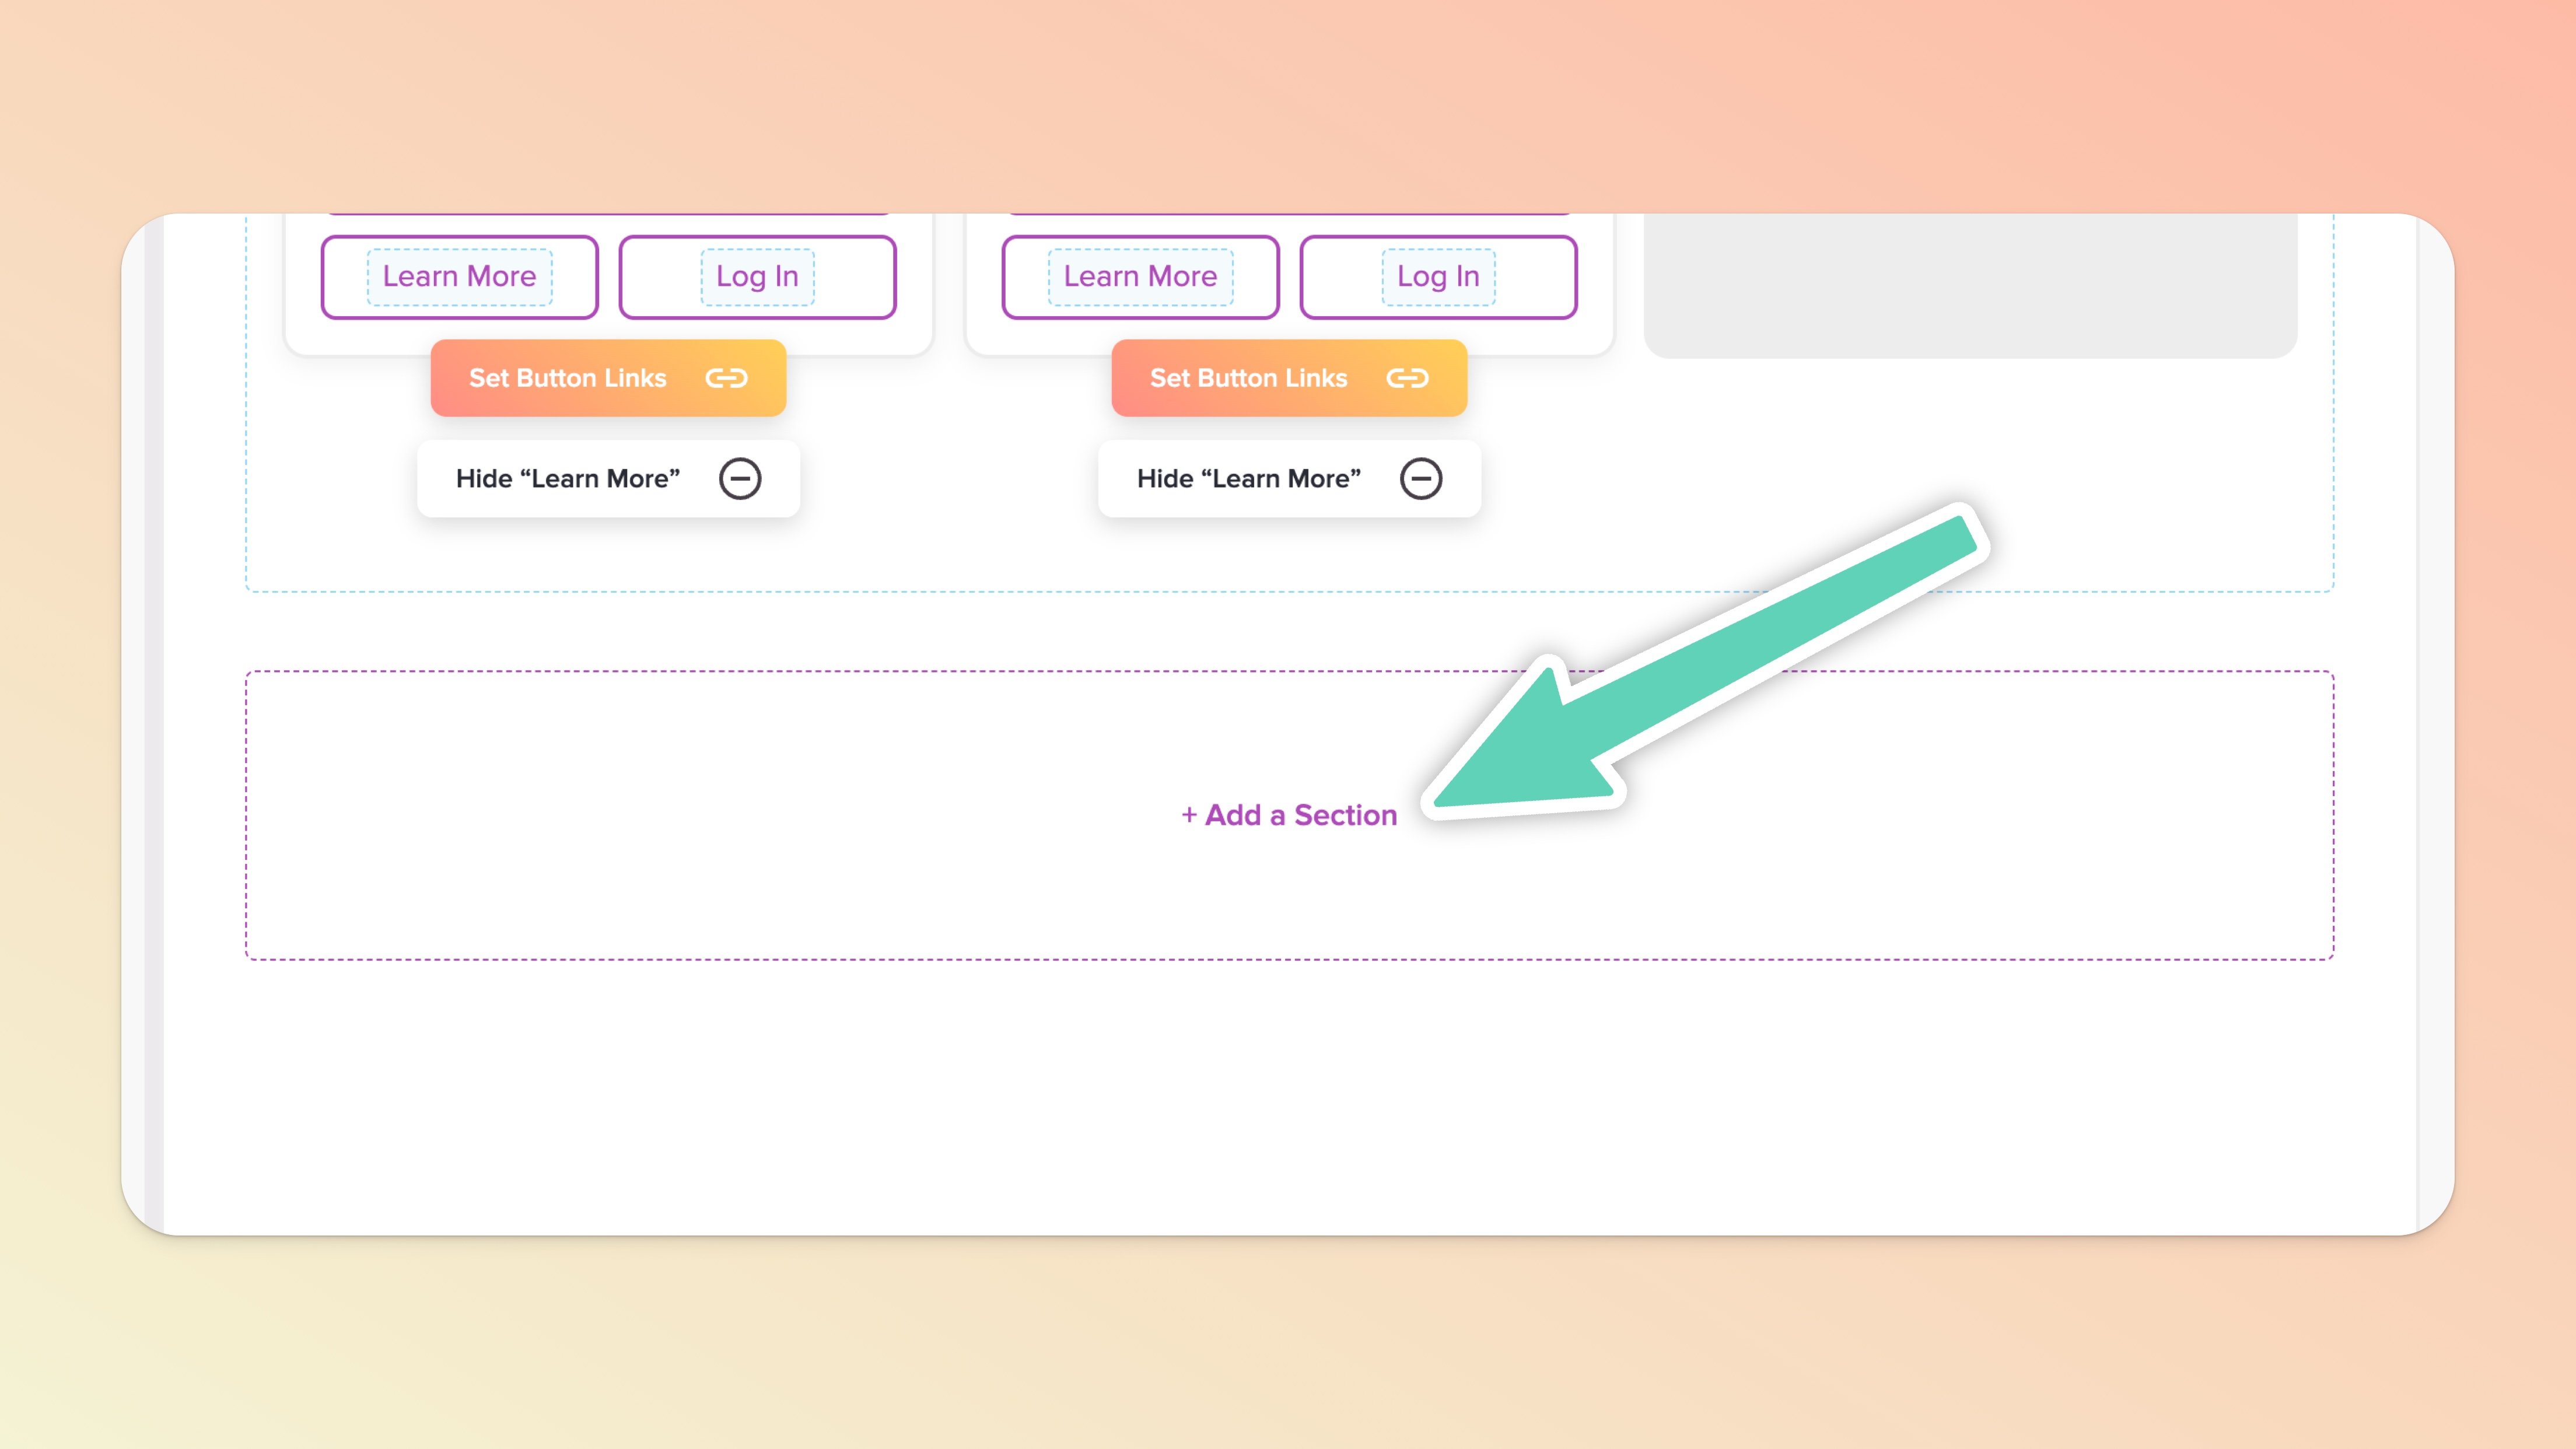
You’ll see the + Add a Section block at the bottom of your Hub.
When you add a new section you can drag and drop any course, etc. into that section OR you can directly add any course, etc. to it with the + Add Course, etc. button.
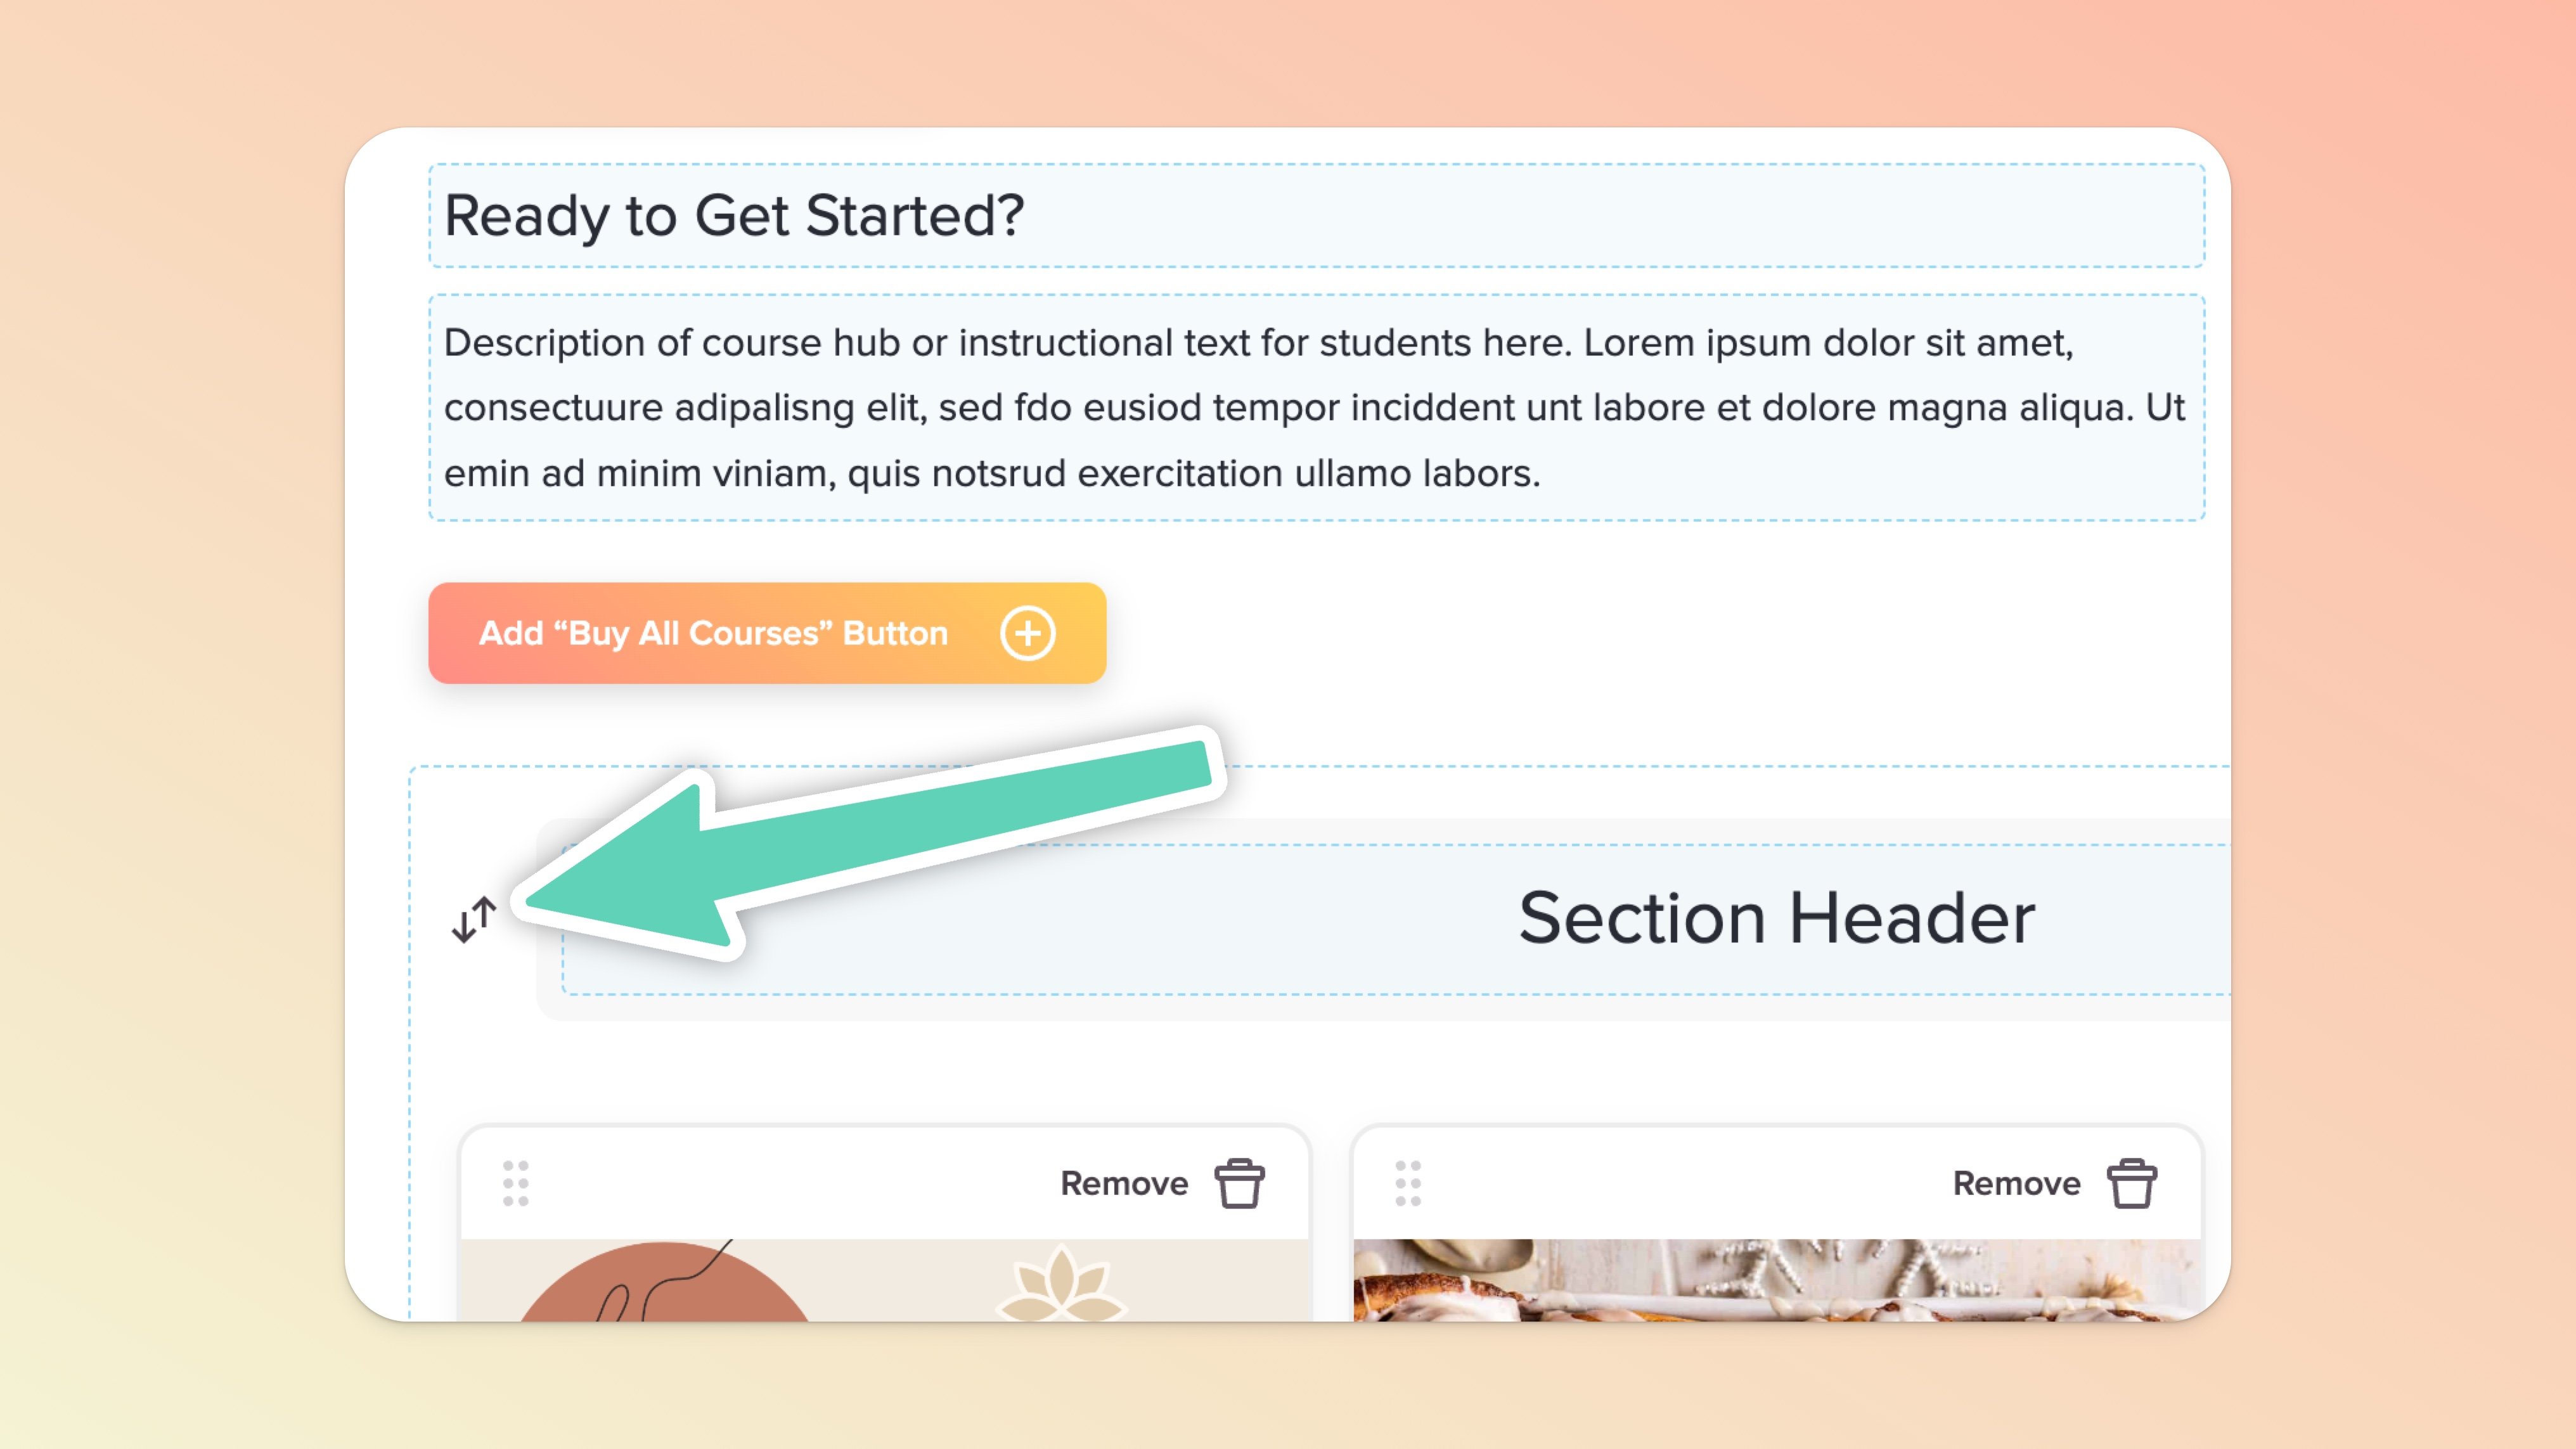
If you want to move a section up or down in your hub, you can drag an entire section quickly and easily using the up/down ⬆ ⬇ arrow icon.
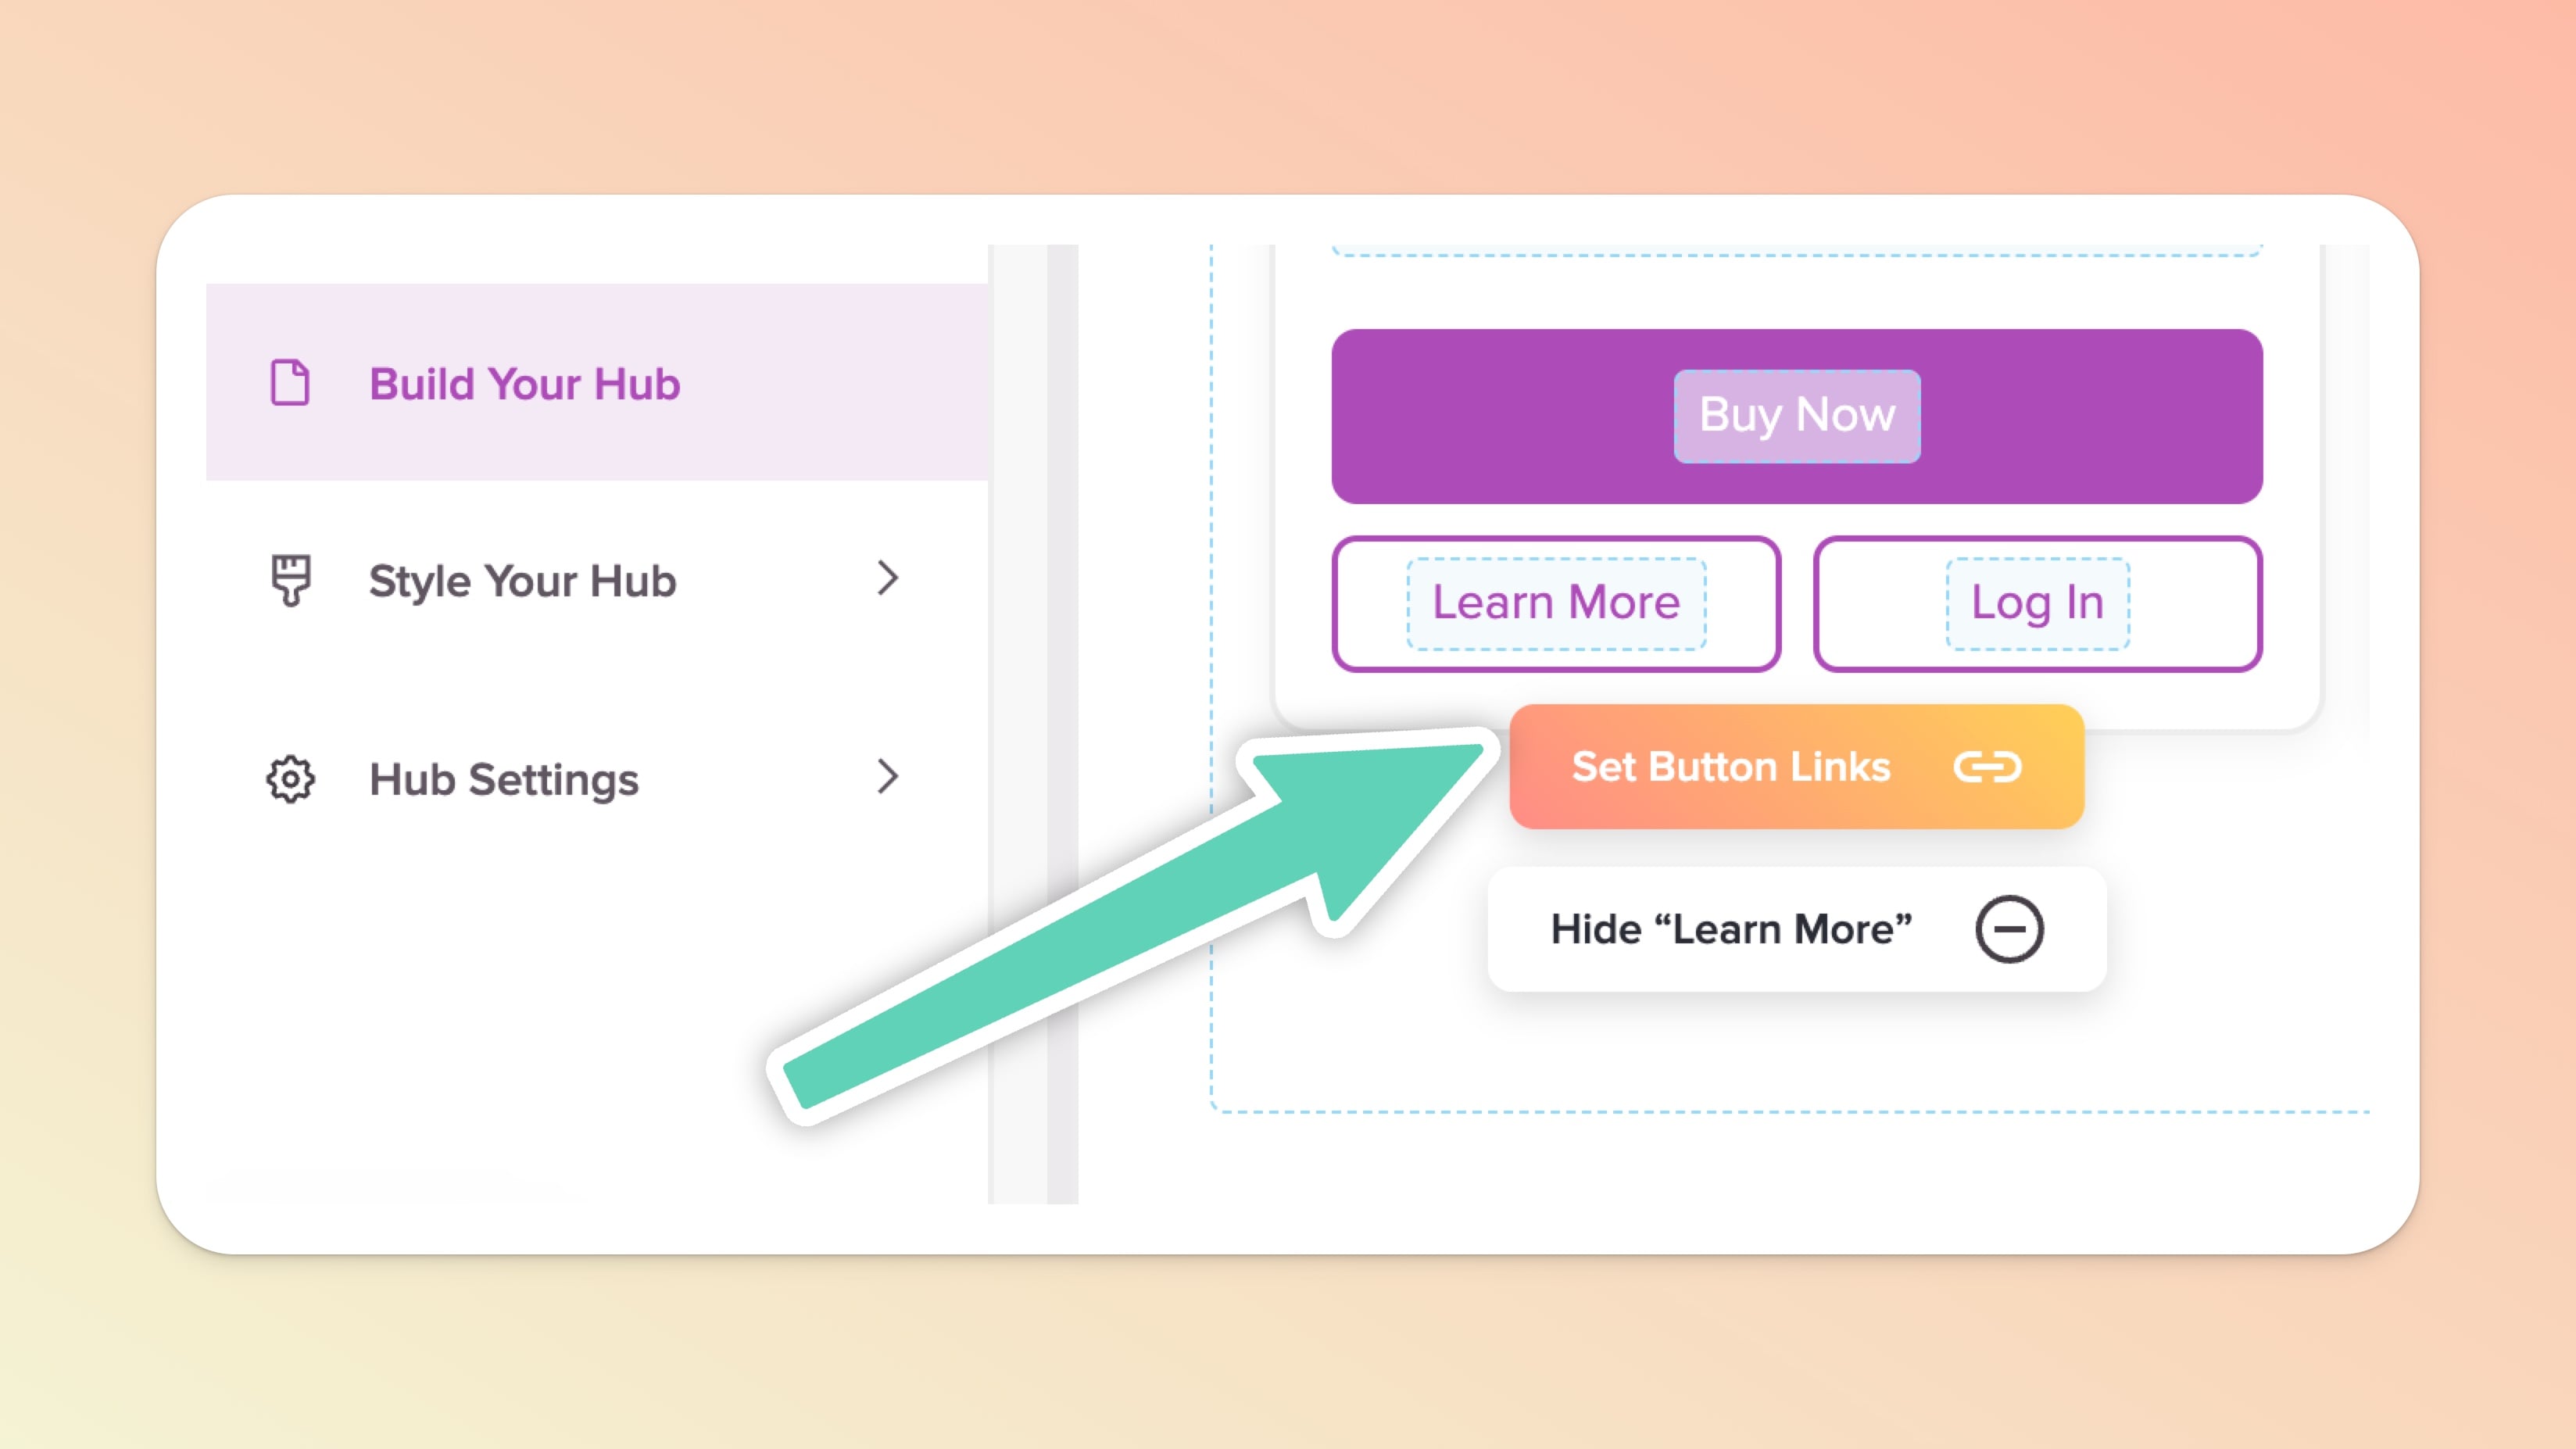
Once you’ve added items to your hub, there are 3 button options you can use/display for each:
Buy Button (link to a payment page within Teachery OR an external provider)
Learn More Button (link to a landing page within Teachery OR an external provider)
Login Button (you cannot change the destination of this URL, it is done automatically and note that login buttons do not apply to or appear for Products.)
You’ll notice you can also change the text on each individual button for maximum customization and flexibility.
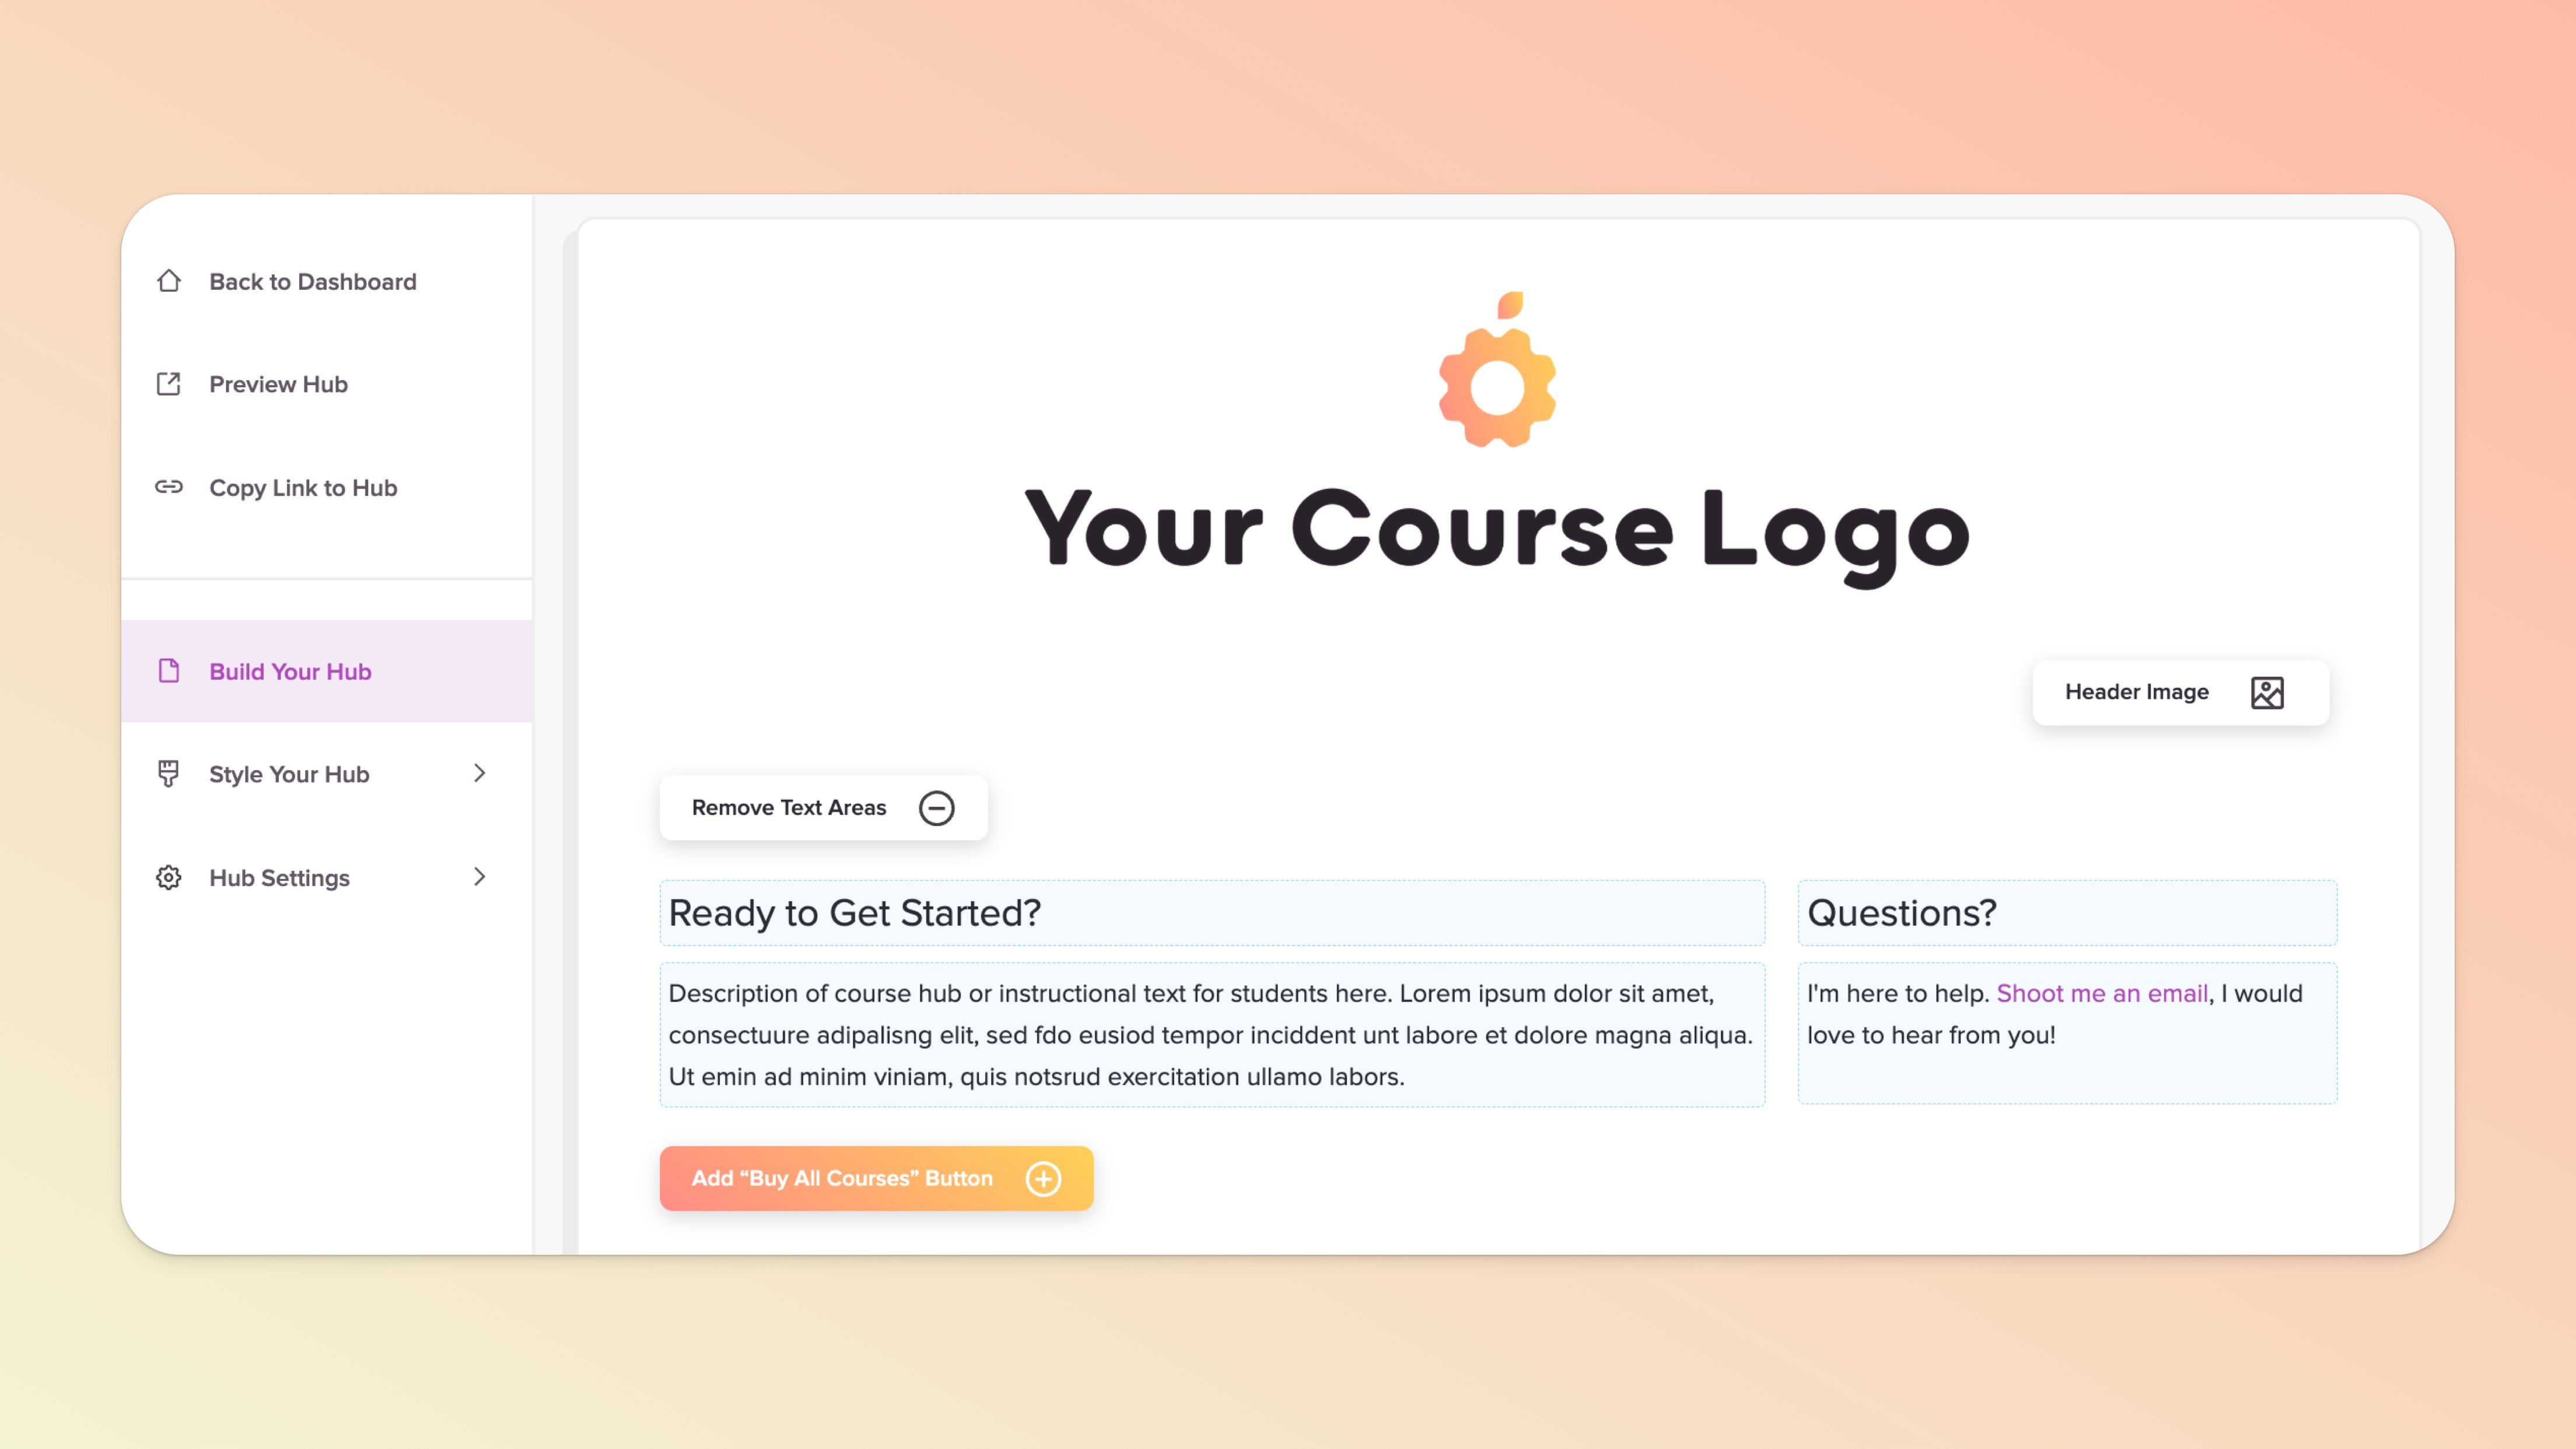
The space at the top of your hub should look very familiar. 😉
You can add a header image, exactly like our header image feature within a course or theme (setting it to full-width or column-width).
There are also multiple text areas at the top of your hub you can change and update to your liking.
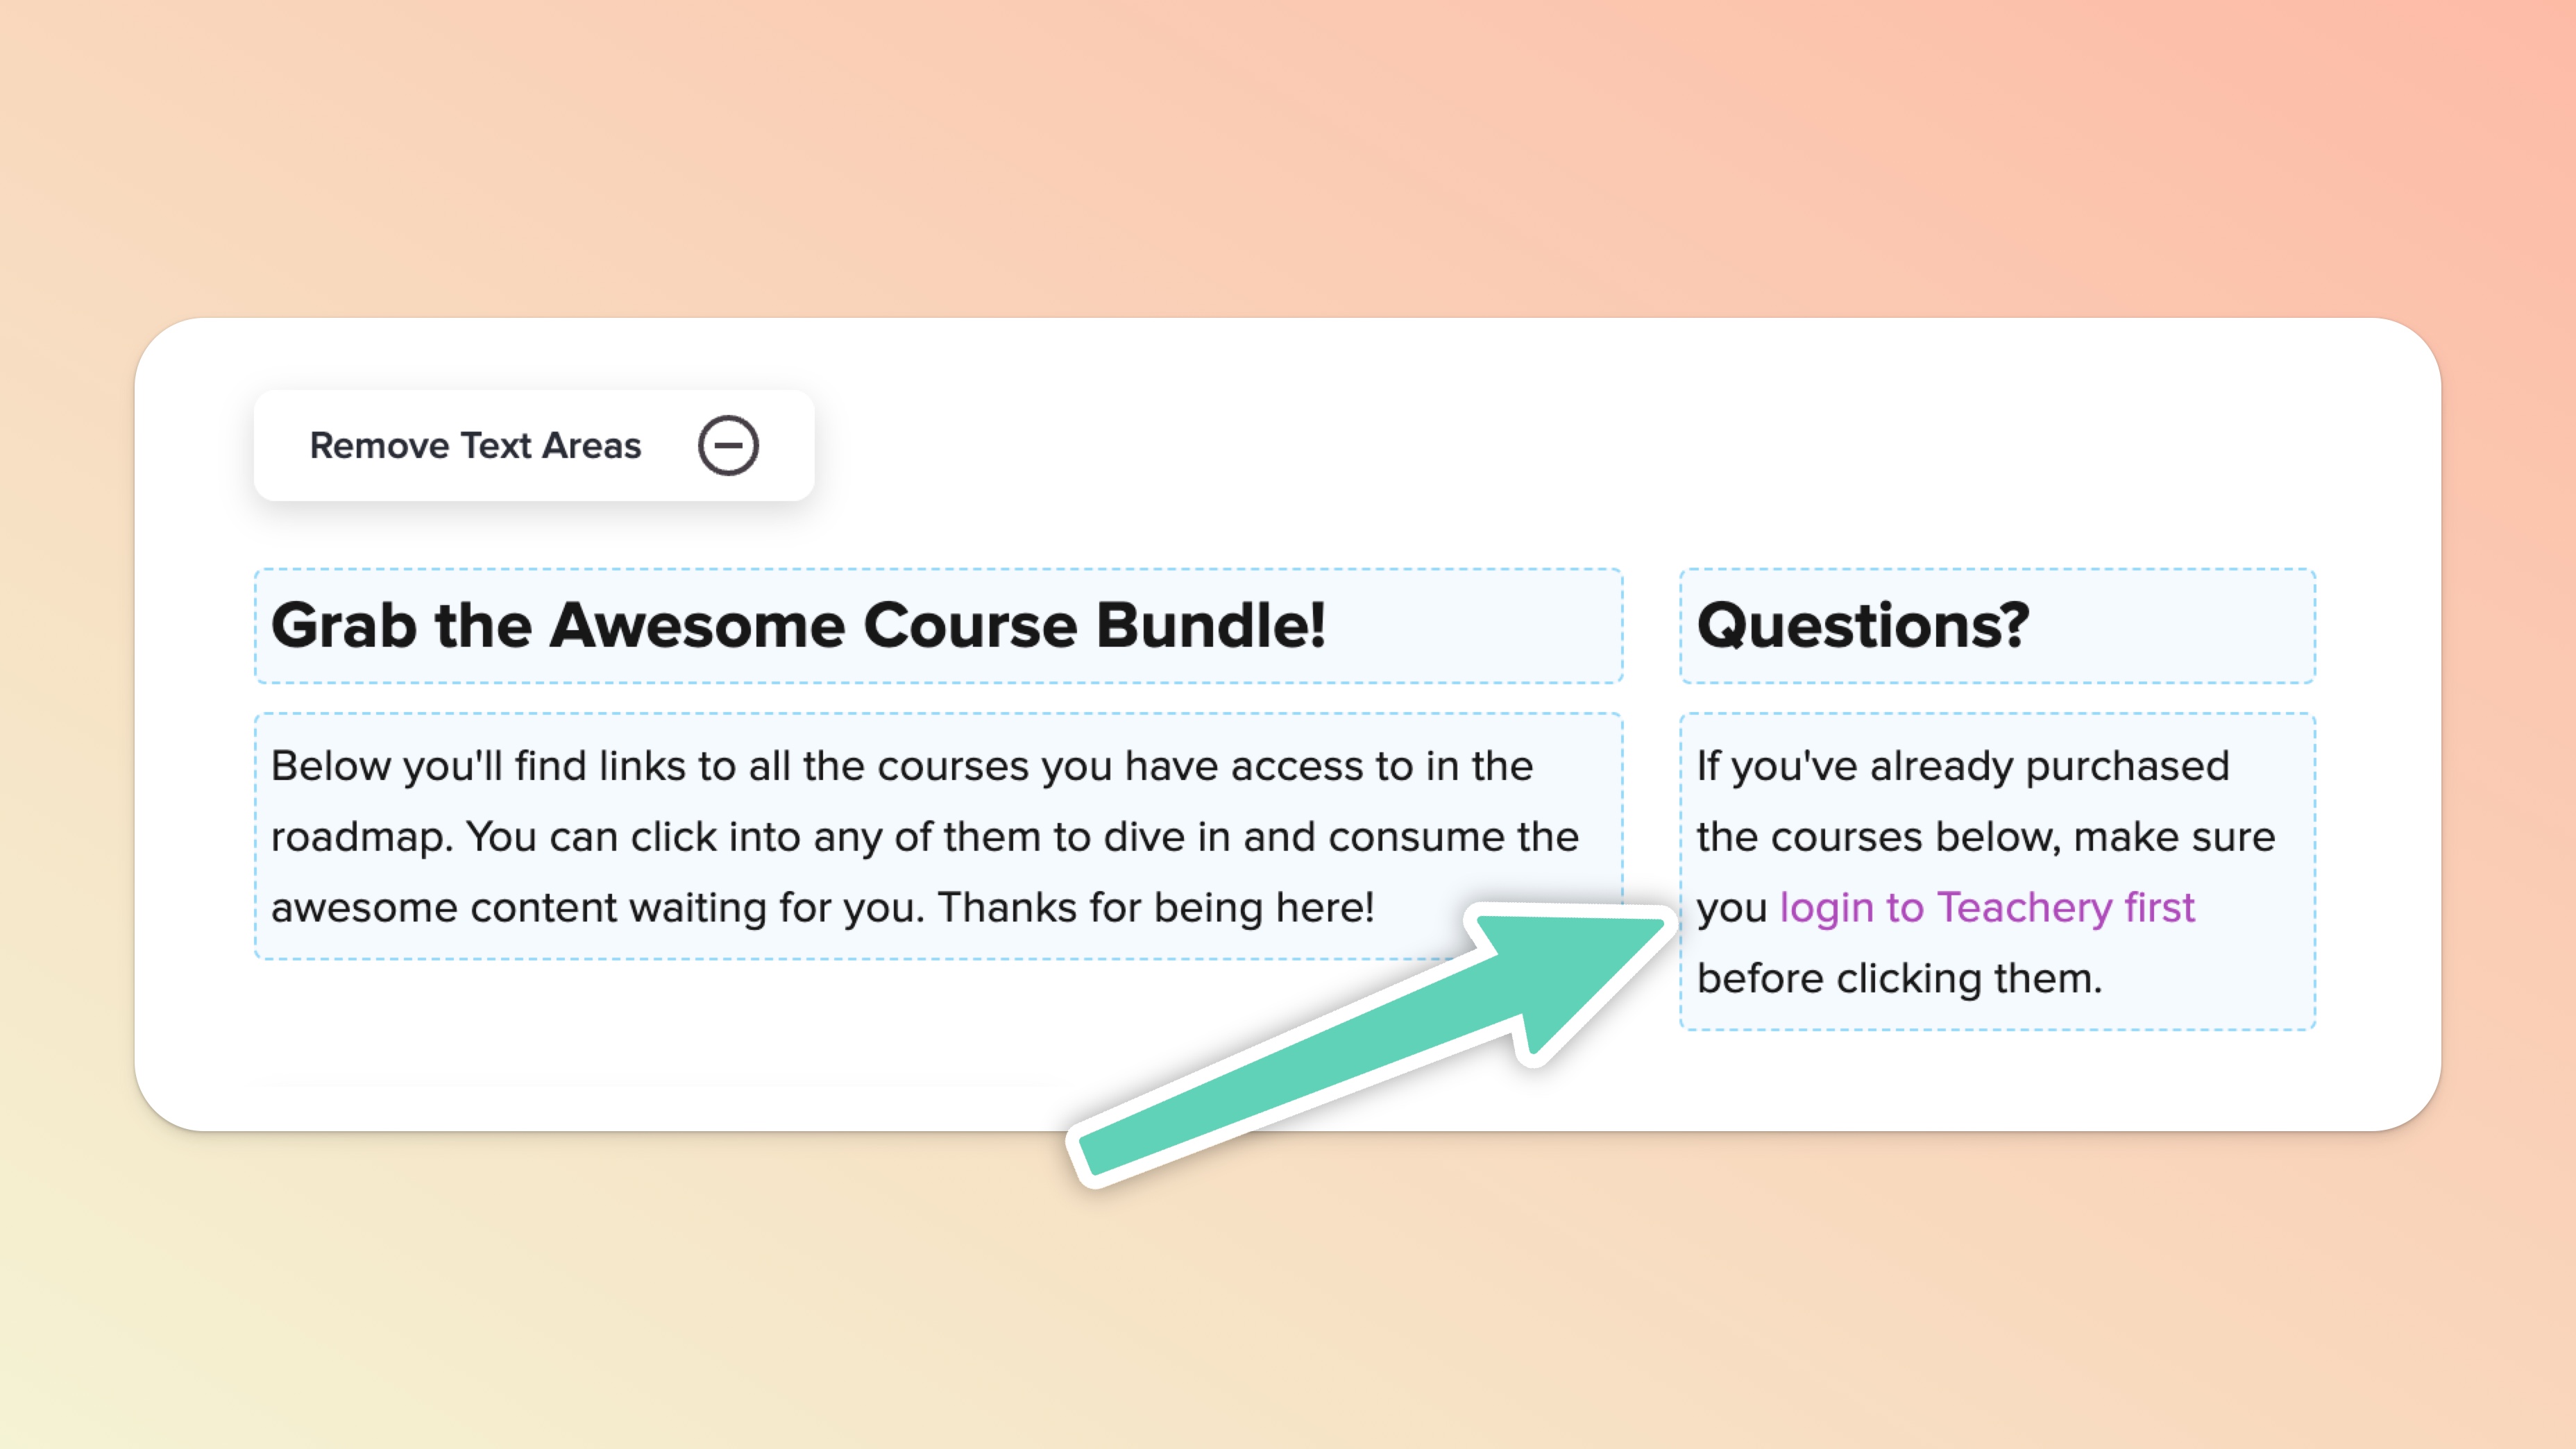
Want to make sure it’s a good experience for customers who may have already purchased items in your hub?
We recommend adding a line of text somewhere at the top of your hub instructing your customers to log into Teachery with the email address and password they’ve used to purchase any item from you (that is, the same login credentials are used throughout Teachery).
Below is an example of a simple way to execute this (the linked text shown below is hyperlinked with https://www.teachery.co/learn, which will first prompt customers to log in - if they haven’t already). The Learn page is a dedicated page for customers/students to find all their purchased courses from all creators.
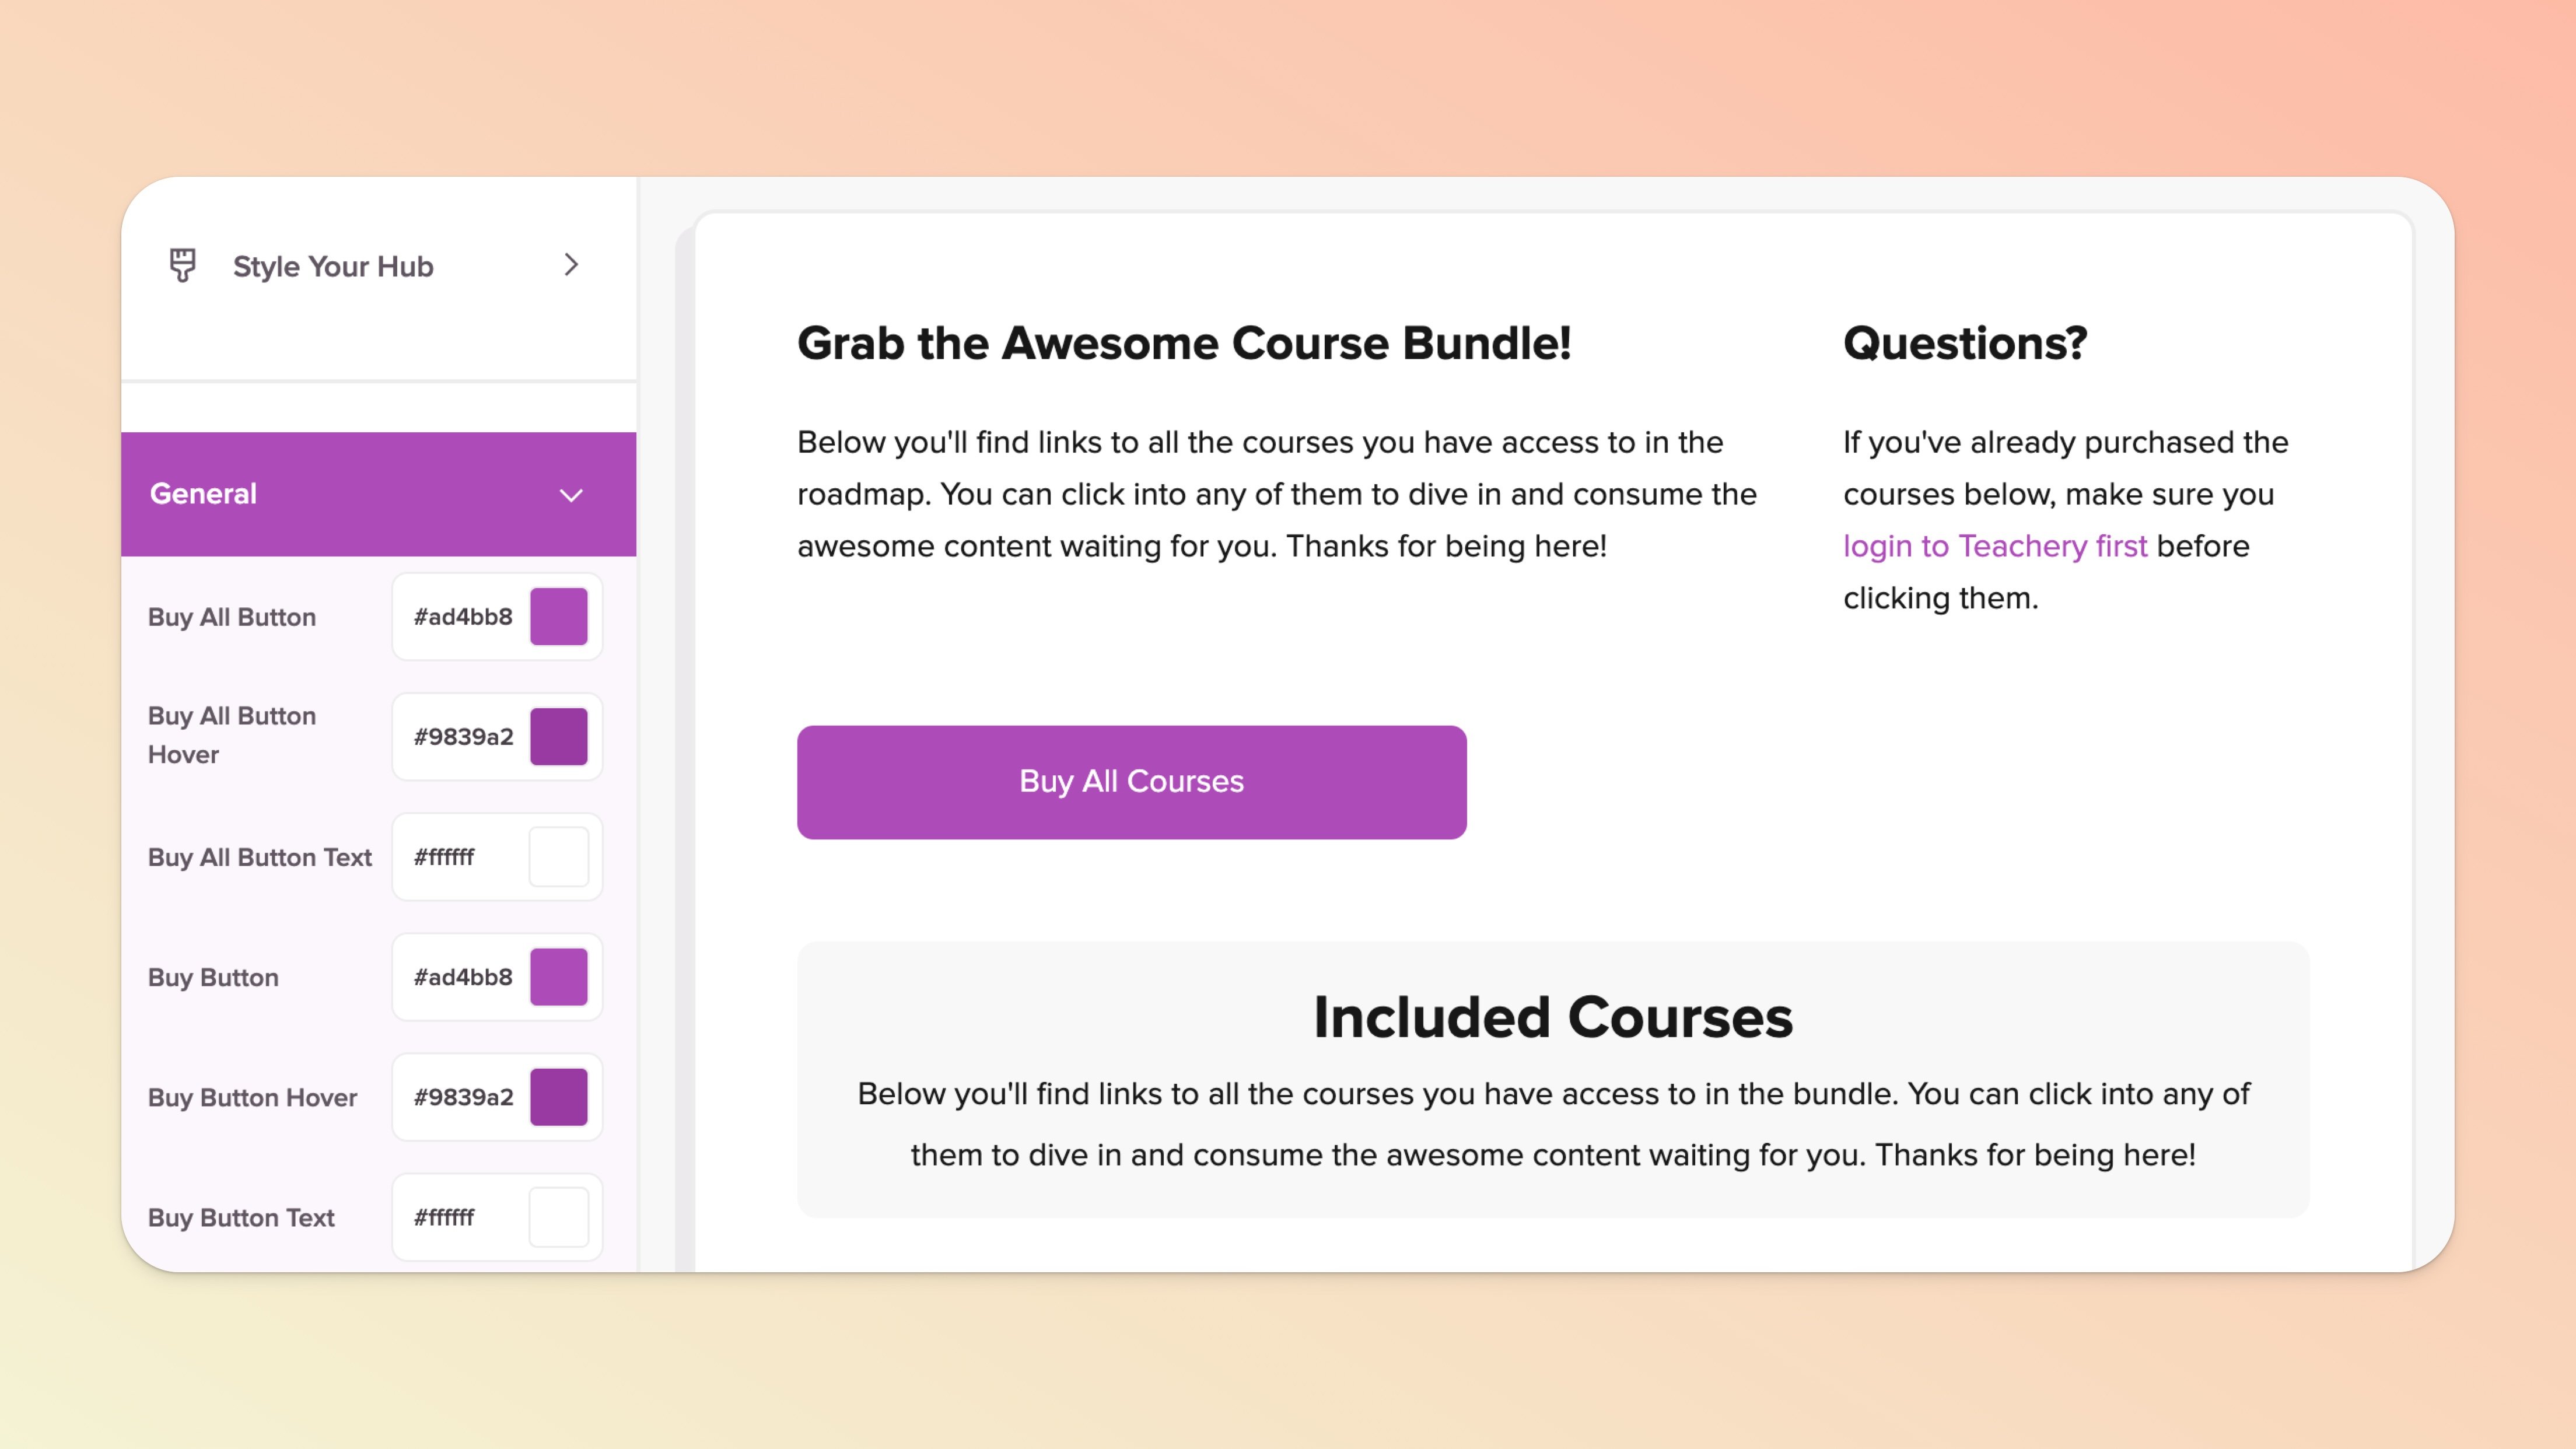
Hubs come with their own Style Editor and Custom CSS area.
If you only want to change the colors of buttons and other small things, you’ll find these items in the Style Your Hub section of the left sidebar editor.
Want to get wild 🧑🎤👨🎤 with your customization? Have fun using our Add Custom CSS section (🚧 just be careful and remember we are not responsible for incorrectly-added code/CSS).
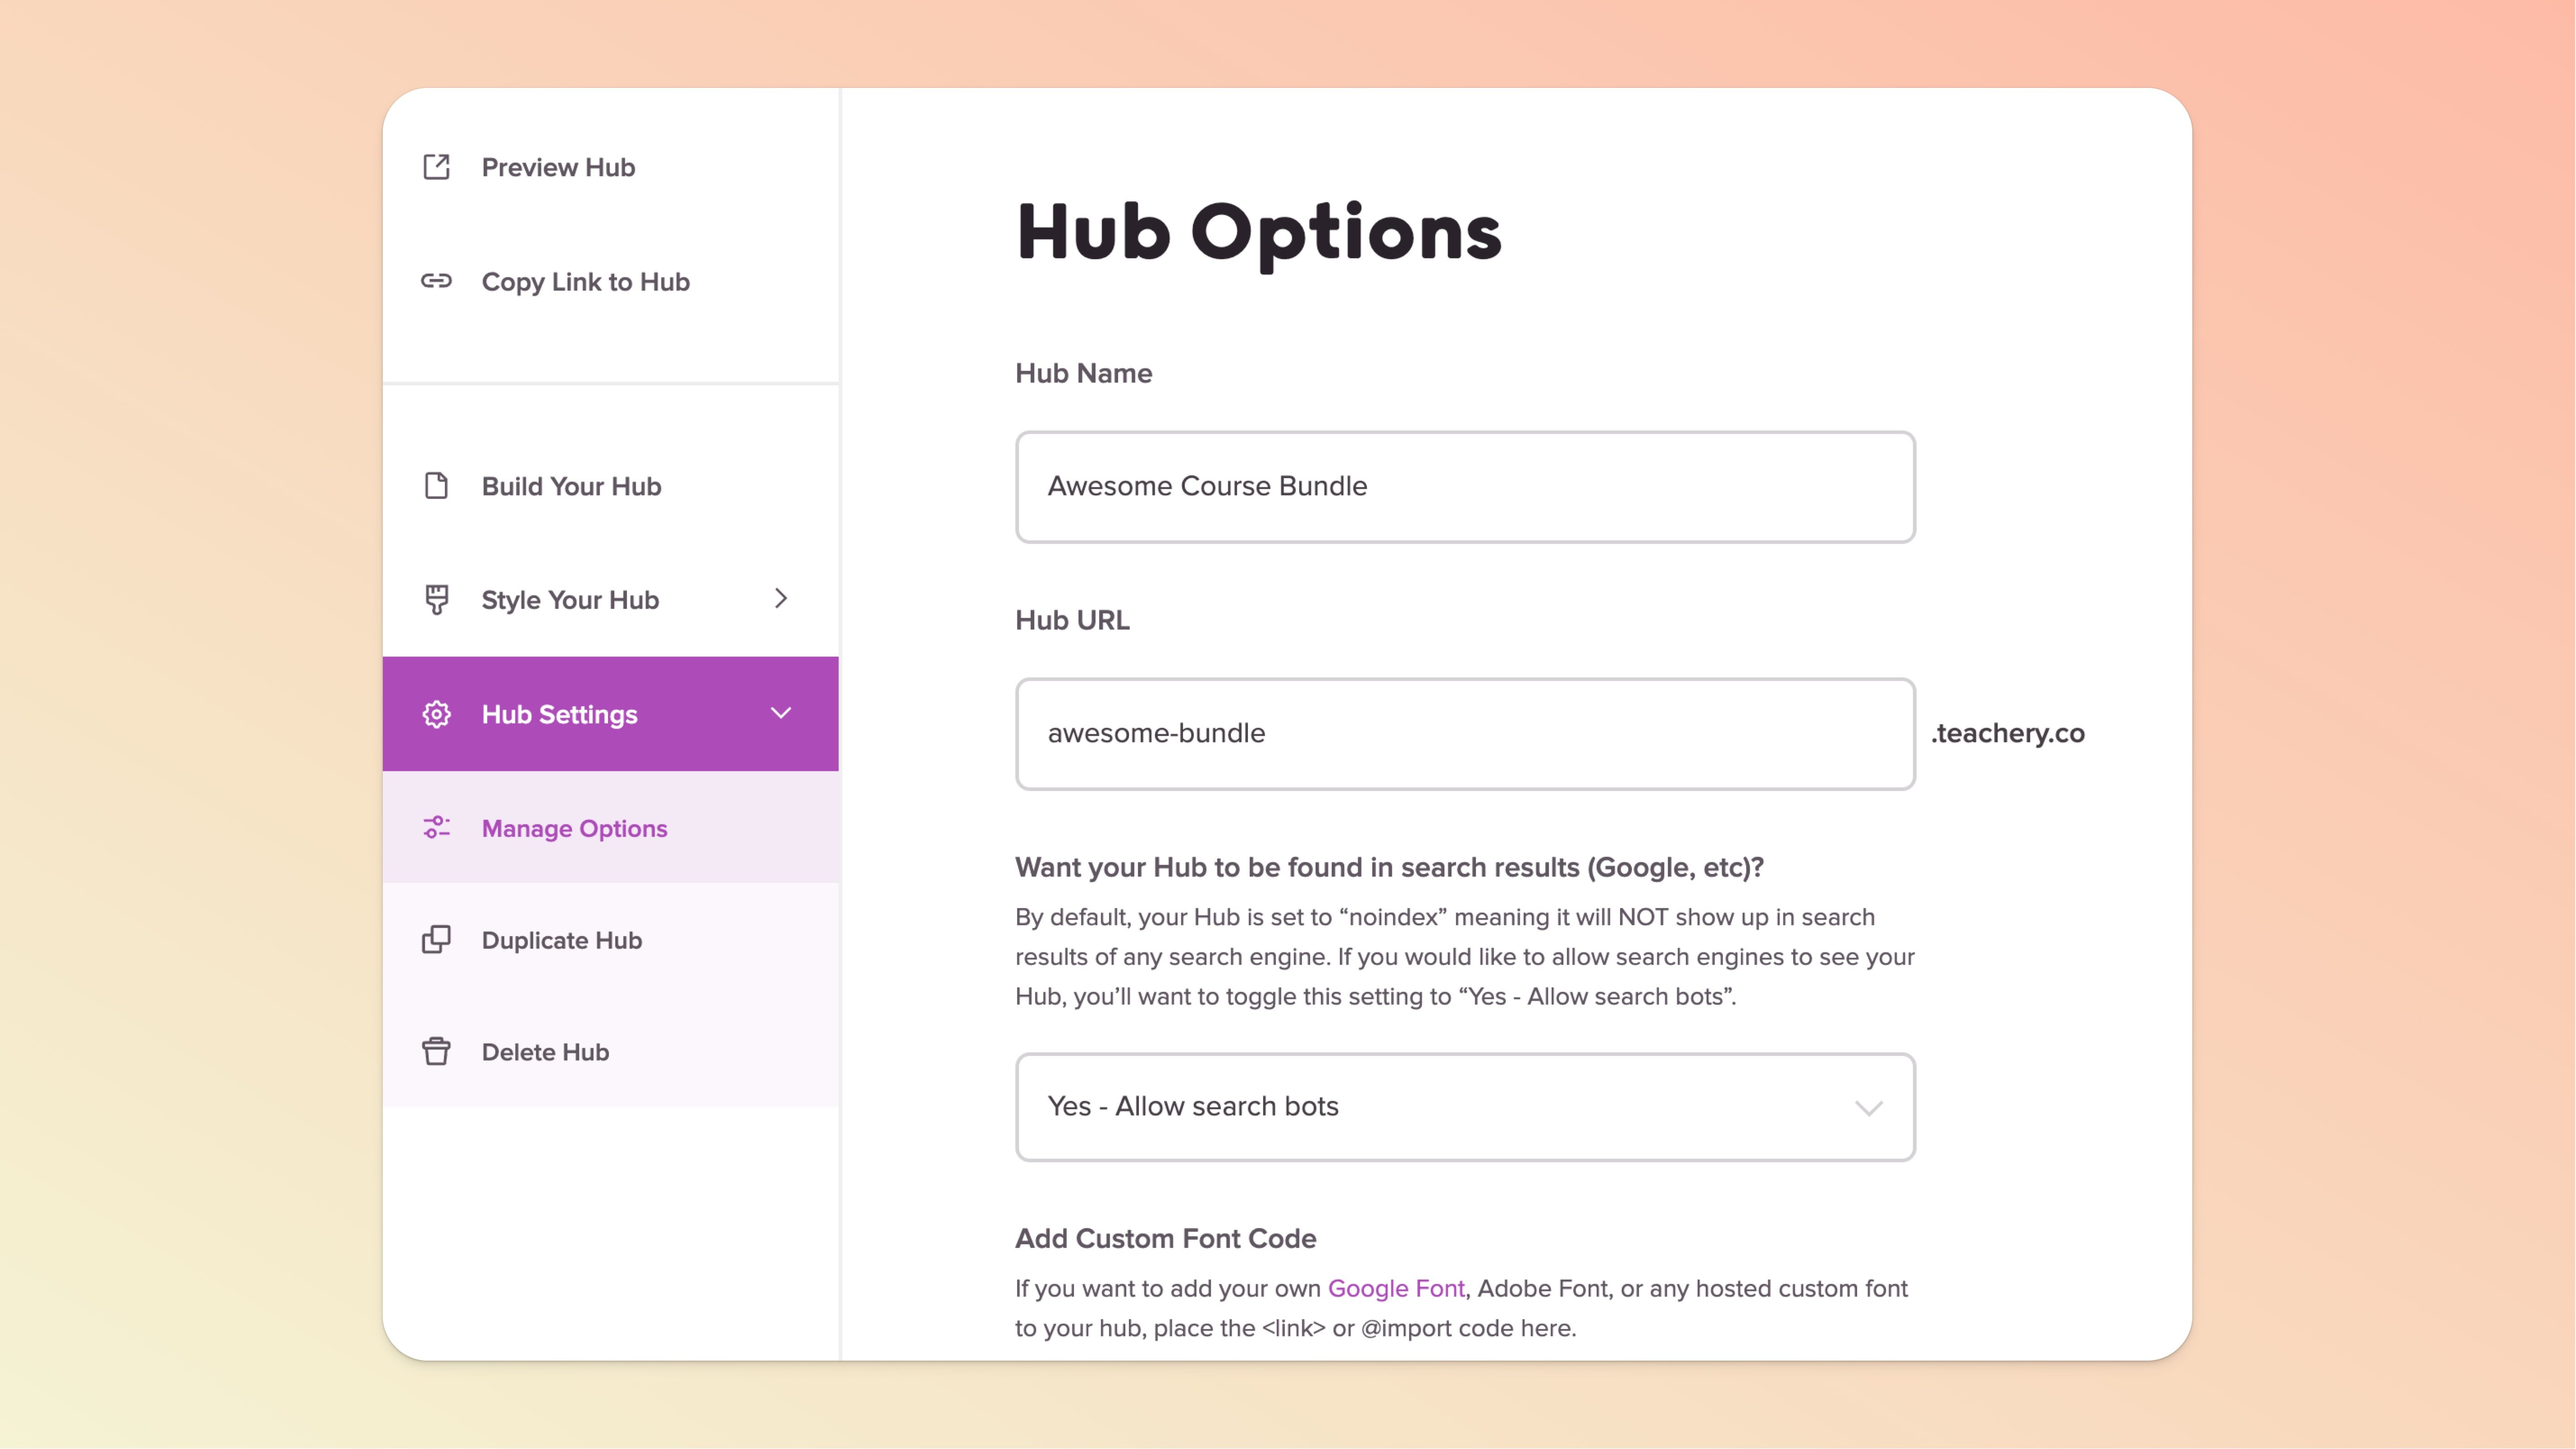
Within the Hub Settings section of the left sidebar, you can navigate to the Manage Options page. Inside this page, you’ll find the following settings:
Hub Name (this will display at the top of a browser window)
Hub URL (use our default hubname.teachery.co URLs)
Select Font (over 30 Google Fonts to choose from to customize your Hub further!)
Head Tag Injection and Body Tag Injection areas (add scripts or a custom favicon)
Custom Domain (use our Custom Domain or Custom Subdomain help docs)
Turn Hub ON/OFF (if you want to close a Hub down at a later date, but still keep it)
You’ll notice in the left sidebar under Hub Settings there are also options to Duplicate Hub and Delete Hub (🚧 again, take care, this is not reversible).
That’s it, friend! Your hub is ready to be shared with the world.
There is NO publish button, simply use the handy 🔗 Copy Link to Hub in the left sidebar of the Hub editor (or use the Copy Link to Hub button on the hub dashboard page) to share your hub URL wherever you like.
There’s nothing fancy about this idea. 😉 If you’re a Teachery user with many courses or products, creating a one-stop-shop hub is going to be useful for you.
This will give you ONE simple URL to share with your customers to access or purchase items.
The idea is very simple:
Create a hub
Add all the items you’re actively selling
Separate them with sections
Set all your button links
Once your hub is complete, grab the hub URL and place it prominently on your website, in your marketing content, AND* in your other courses, themes, and products.
*This is a great way to market and promote the other things you create and sell using Teachery, but cross-promoting your hub in existing courses, etc.
Do you work 1-on-1 with clients? You can use a hub as a place to link to helpful resources that you and your client work on together that are created within (or outside of) Teachery.
Let’s say you have a course in Teachery where you work directly with your client. And maybe you have a second course that’s a collection of resources or assets you’ve built for your client?
You can add these two courses to your hub. BUT, imagine you want to add a third external item to the hub, simply choose to + Add Other Item and set the button links as required.
Use the advanced tip below to hide any Login and Learn More buttons as needed.
Imagine you ONLY want to show courses, etc. and the login buttons for them. Using the advanced tip below, hide the Buy buttons and then toggle OFF all the Learn More buttons. This will leave you with a hub that serves as a starting point for customers to just log into any item they need. A reminder that login buttons do not apply to or appear for Products.
The Learn More buttons have a simple toggle option in the hub editor, so you don’t need any custom code for those.
However, we didn’t want to add too many on/off button toggles in the hub editor, plus the Buy and Login buttons are core functionality. To hide the Buy or Login buttons, you’ll need to use custom CSS.
🚧 Please proceed with caution. We cannot assist with correcting incorrectly-added code.
Grab this snippet of CSS code and add it in the Style Your Hub > Add Custom CSS section. Make sure to Apply Changes AND Publish Changes. In the Custom CSS editor, you should see the Buy buttons disappear from all the items shown in your hub.
#course-background #hub-background .hub-sections-container .hub-courses-grid
.hub-course .hub-course-btns-container .hub-buy-btn {display: none;}Grab this snippet of CSS code and add it in the Style Your Hub > Add Custom CSS section. Make sure to Apply Changes AND Publish Changes. In the Custom CSS editor, you should see the Login buttons disappear from all the items shown in your hub.
NOTE: This CSS will also hide the Learn More buttons, so just be aware of that. 👀
#course-background #hub-background .hub-sections-container .hub-courses-grid
.hub-course .hub-additional-btn {display: none;}