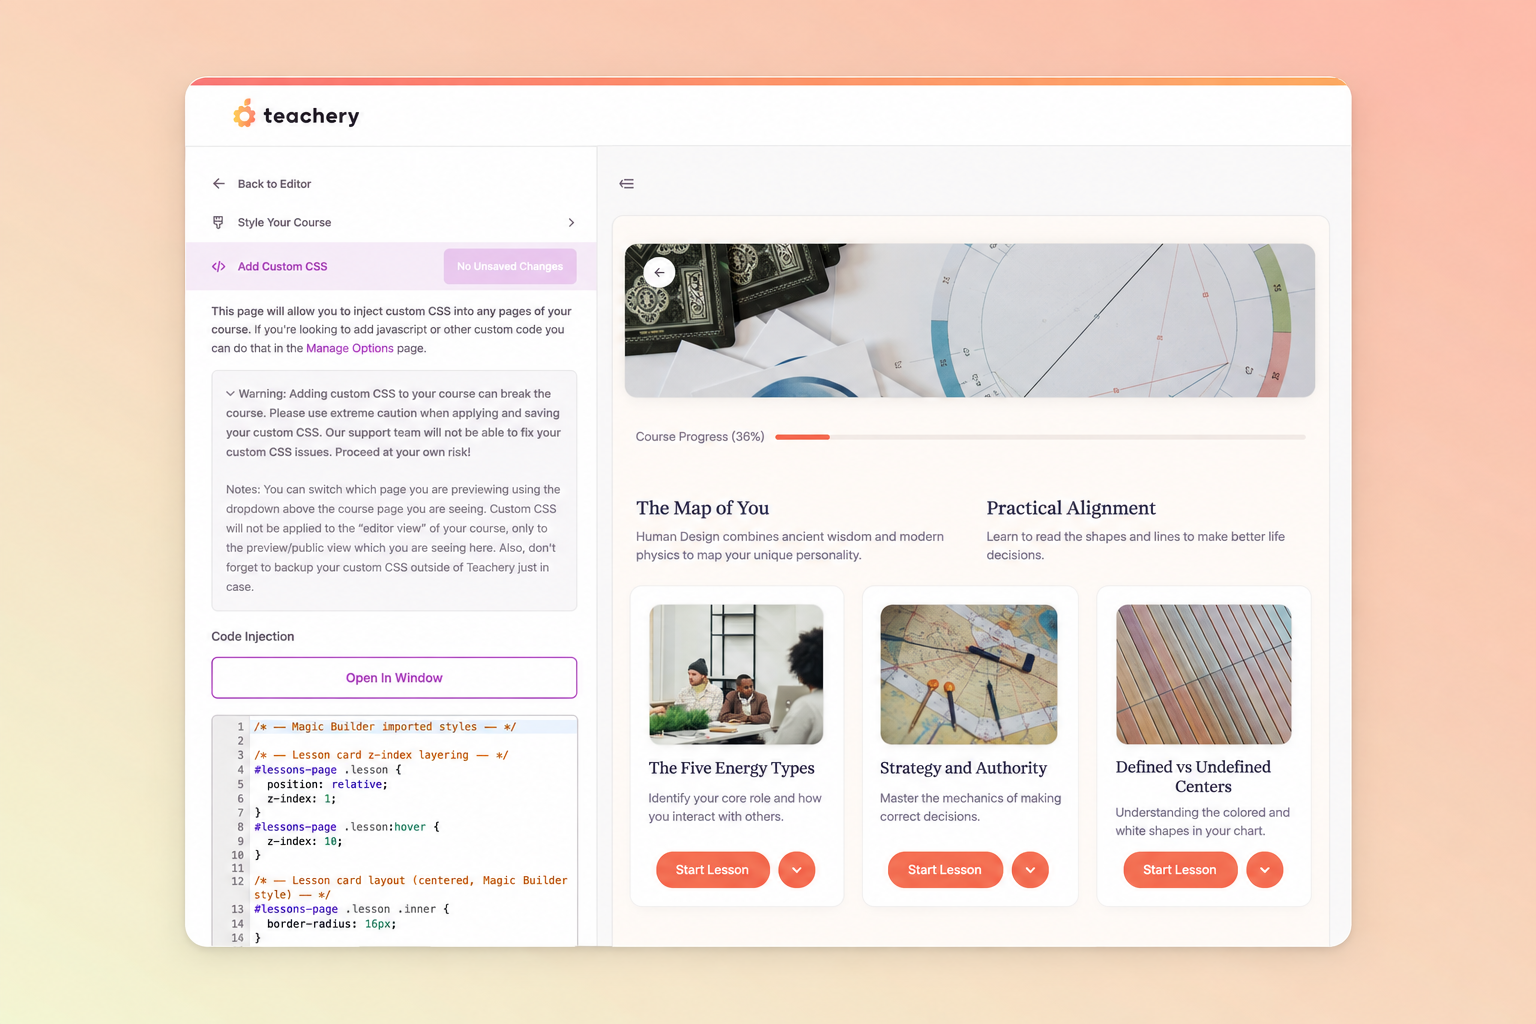
Staring at a blank course is the hardest part of creating one. The Magic Course Builder takes that part off your plate. 🪄 Tell it what your course is about, and in seconds you'll have a full course to play with: a title, an intro, 6 lessons with sublessons, images, and a design to match.
Head to the Magic Course Builder to get started. No login needed until you're ready to bring your course into Teachery!
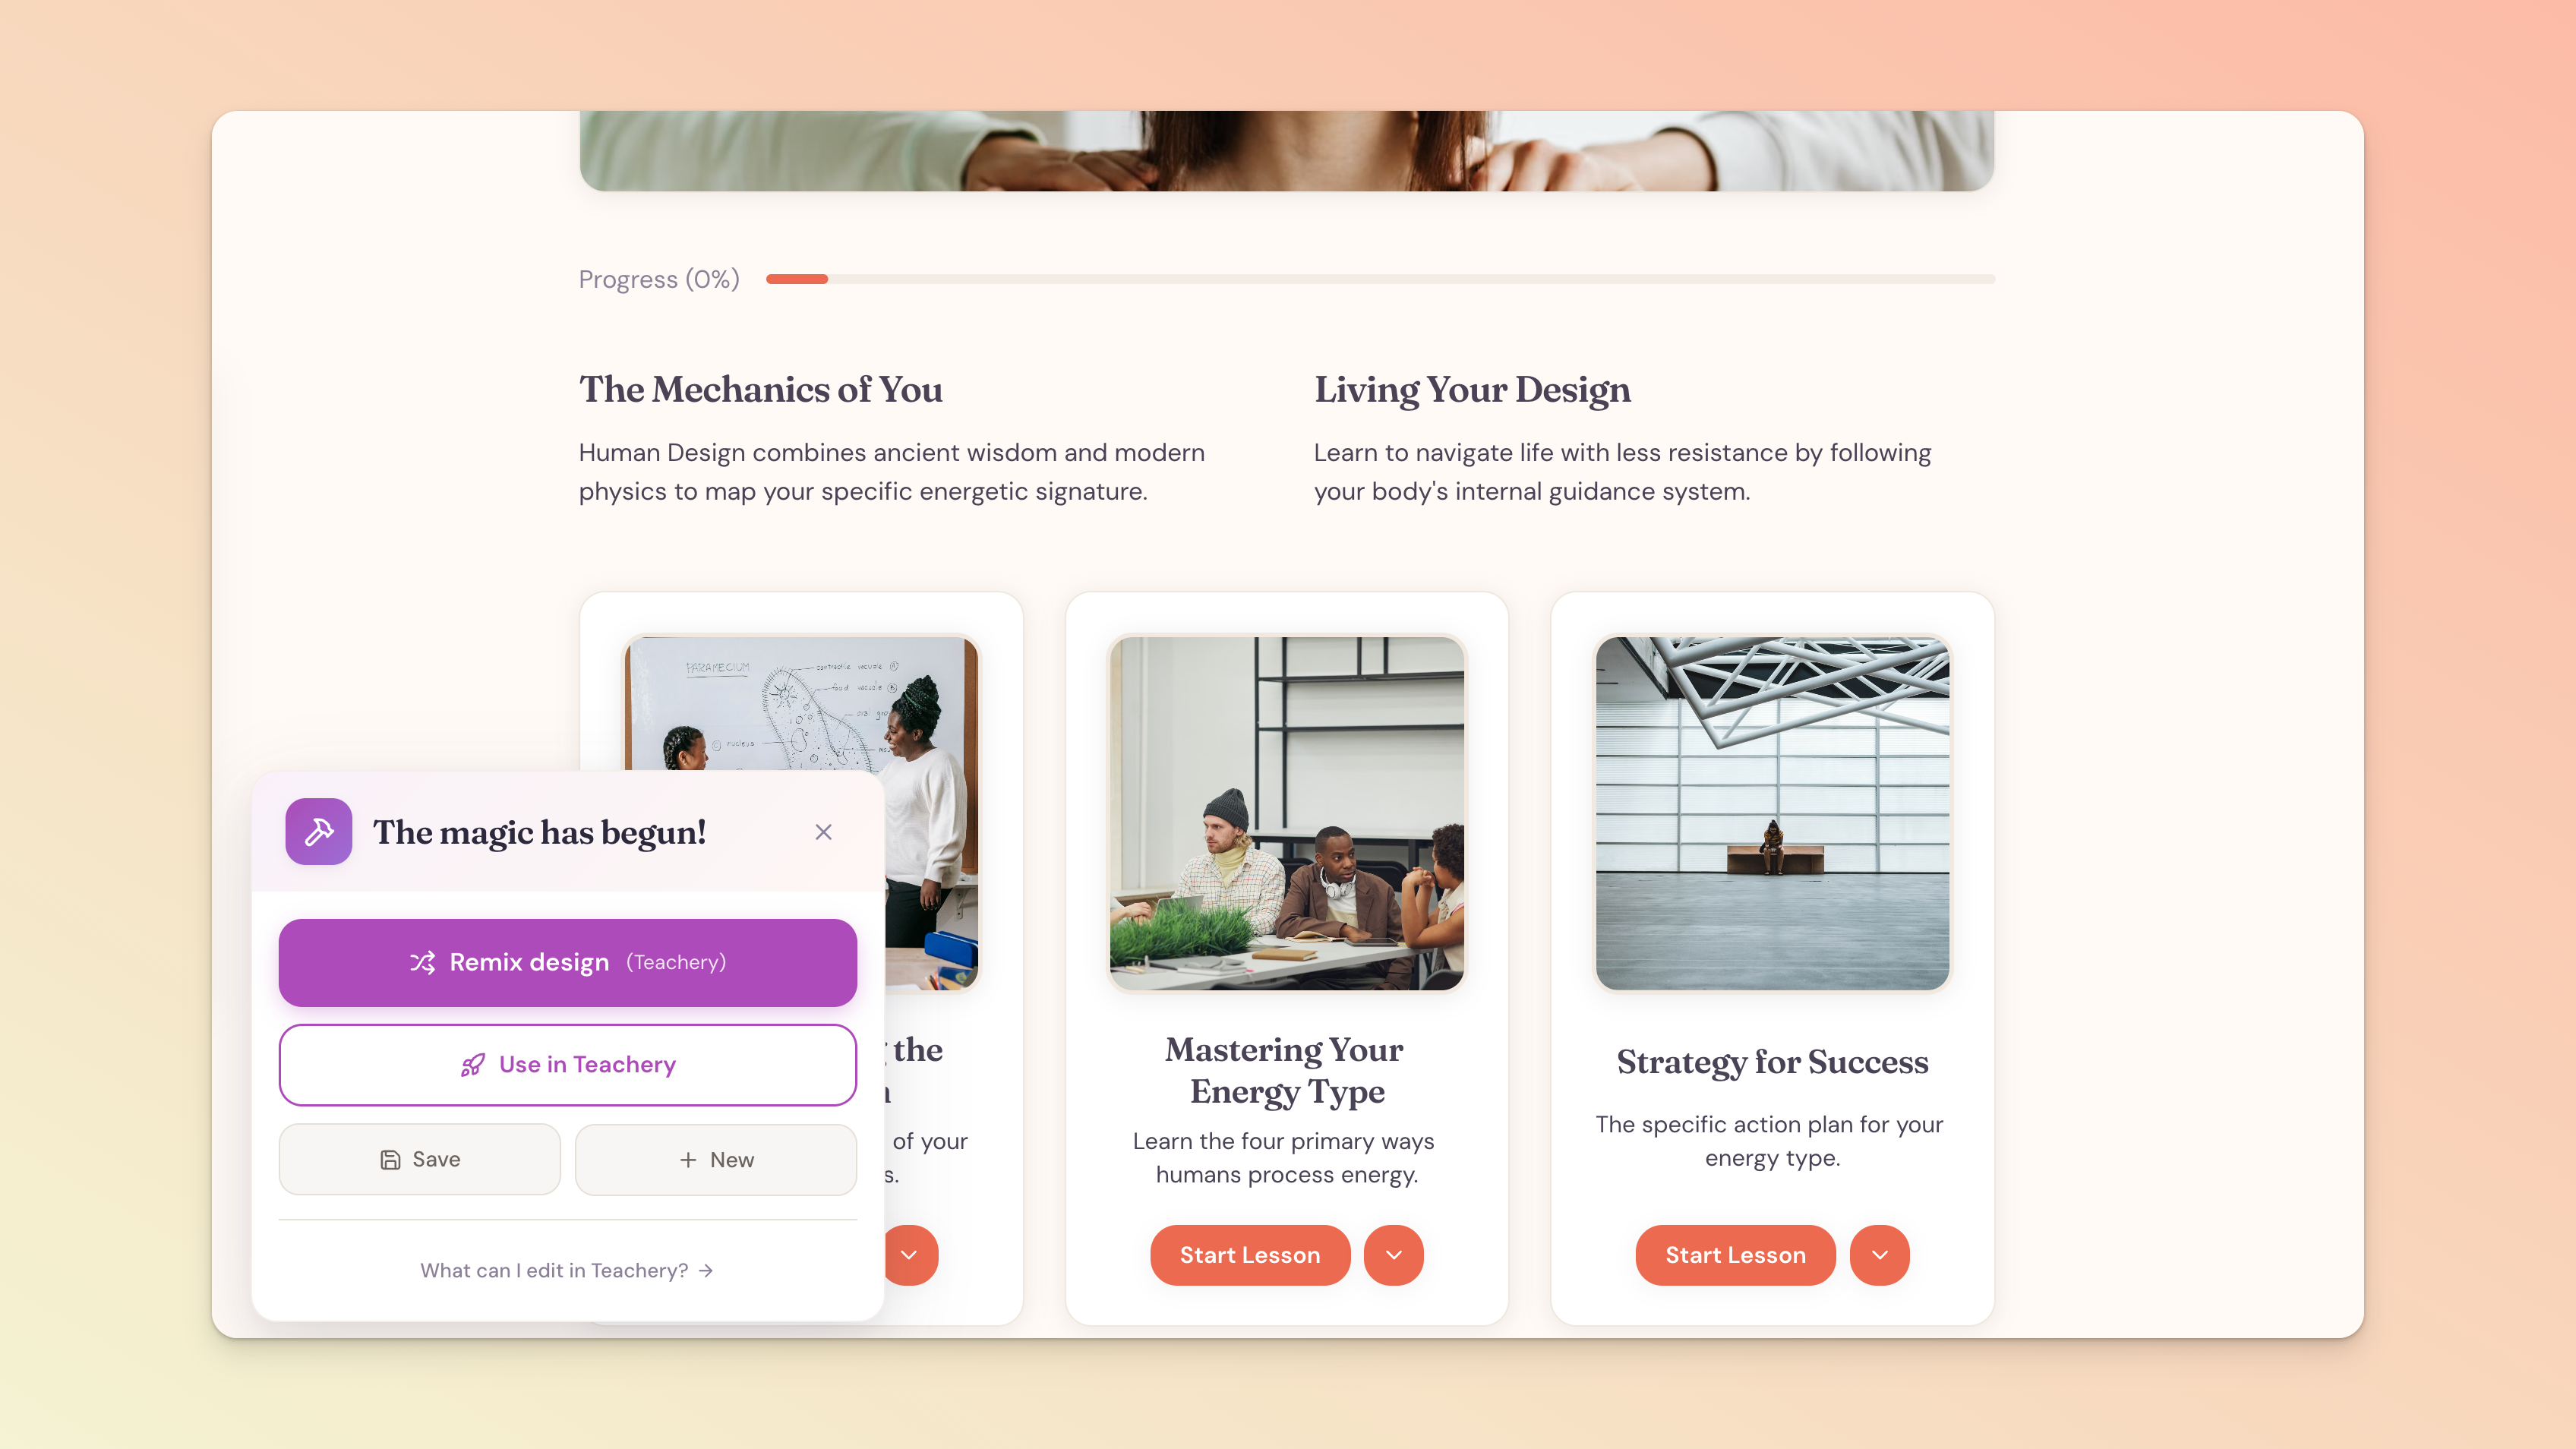
Step #1: Type what your course is about in the What is your course about? box. A sentence or two is plenty!
Step #2: Click Build Course and give it a moment while the magic happens. ✨
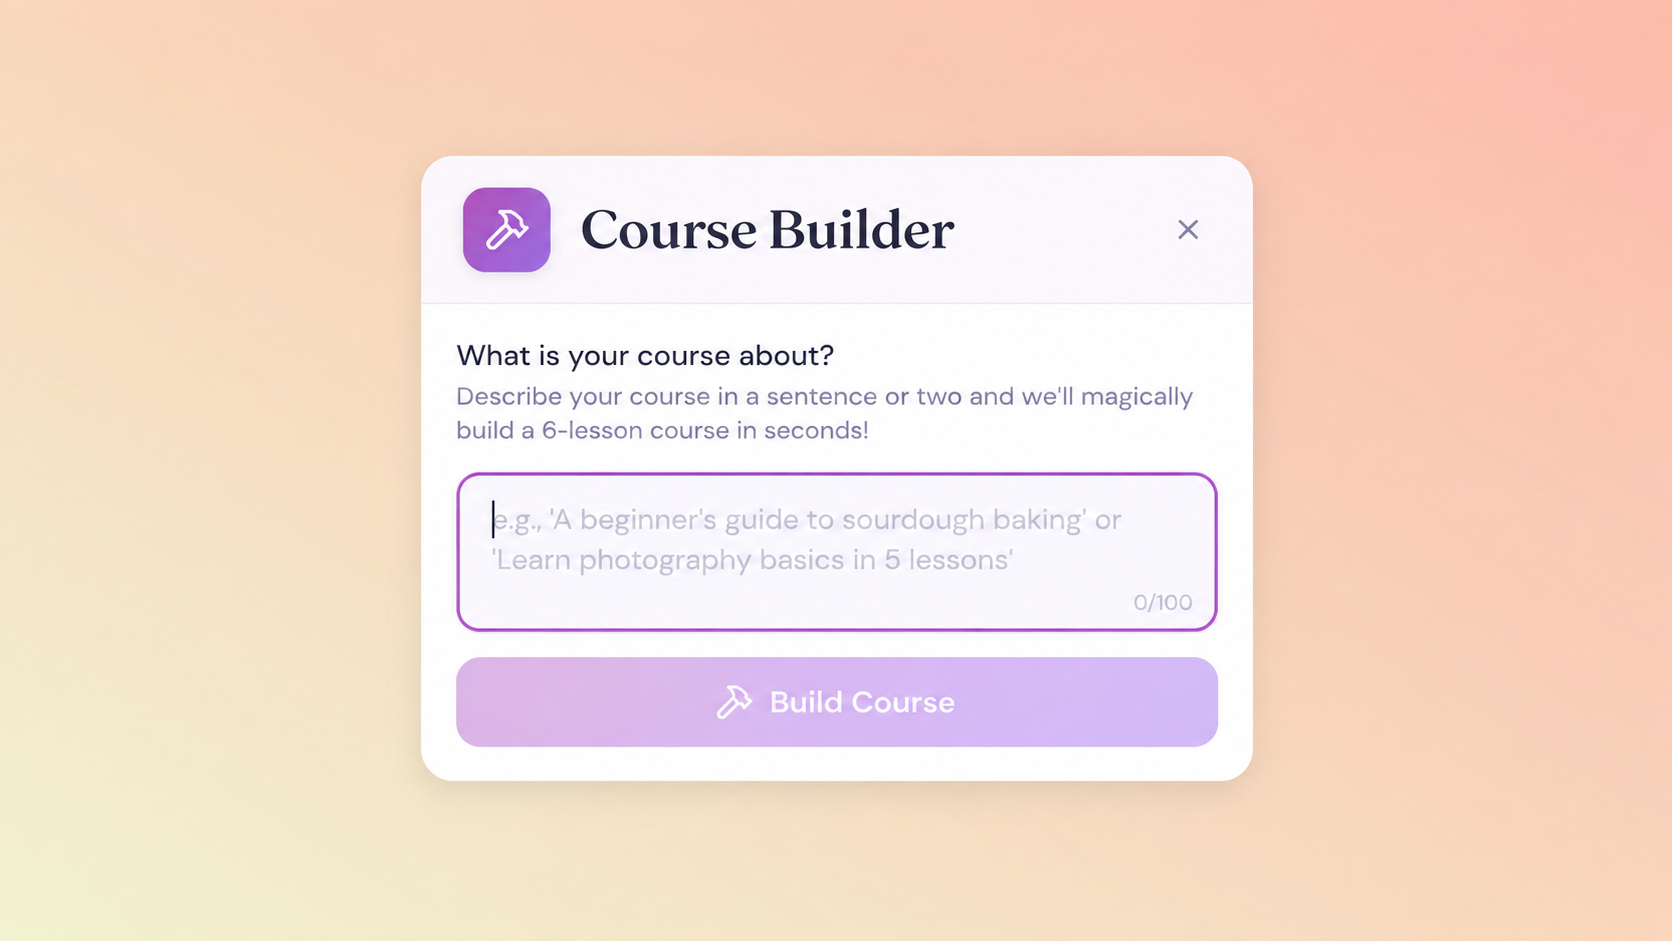
Once your course appears, you can:
Edit any text. Click into any title, intro, or lesson description and start typing.
Swap out images. Replace the header image or any lesson image with one of your own.
Remix the design. Click Remix design to cycle through 11 design styles.
Save it for later, or click New to start over.

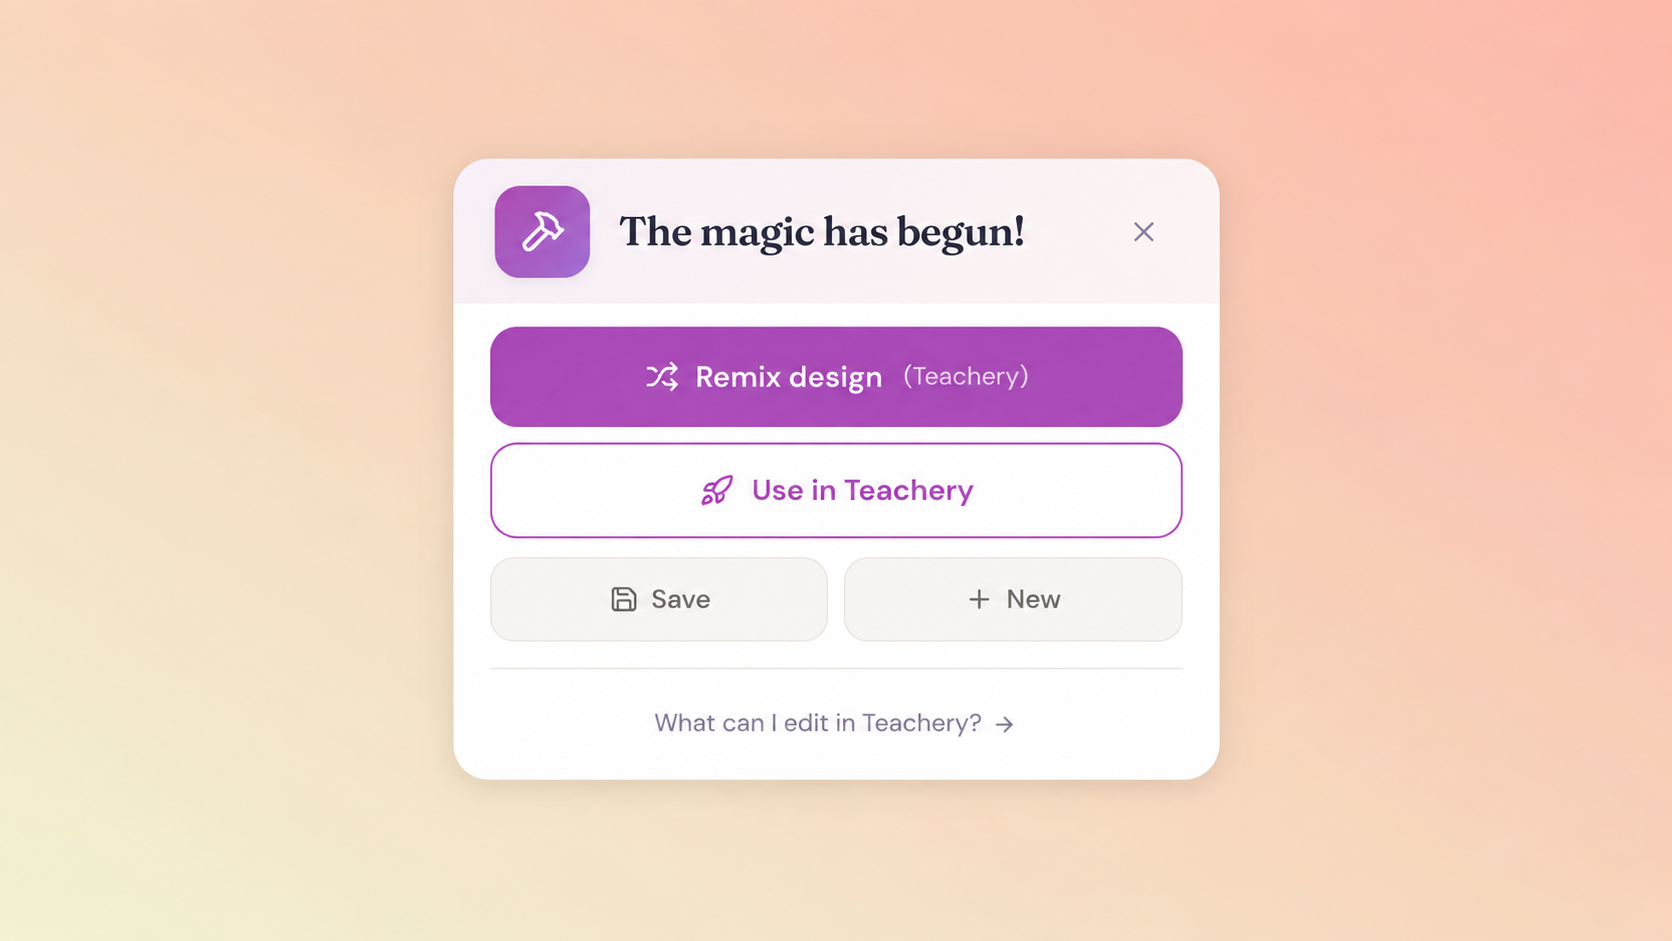
Step #1: Click Use in Teachery.
Step #2: Log in to your Teachery account, or click Start a free Teachery trial to create one.
Step #3: That's it! 🎉 We'll upload your images and build your lessons, and your course will be in your Teachery account, ready to edit like any other course.
From here you can embed videos and add images inside your lessons, create more lessons, and so much more.

A few things are good to know once you start editing your course in Teachery:
Your colors and fonts come across into Style Your Course, so you can change them there just like any other course. A few extra touches, like rounded corners, shadows, and the lesson card layout, come across as custom CSS in Style Your Course > Add Custom CSS.
Your lesson images sit in each lesson's title block, the same way you'd add a lesson preview image yourself. Learn more in Add Lesson Preview Images.
Each lesson page also shows the text from its first sublesson, so you may see the same content in both places. Edit or remove it wherever you like.
Your course is a copy. Changes you make in the builder afterward won't show up in Teachery, and changes in Teachery won't show up in the builder.