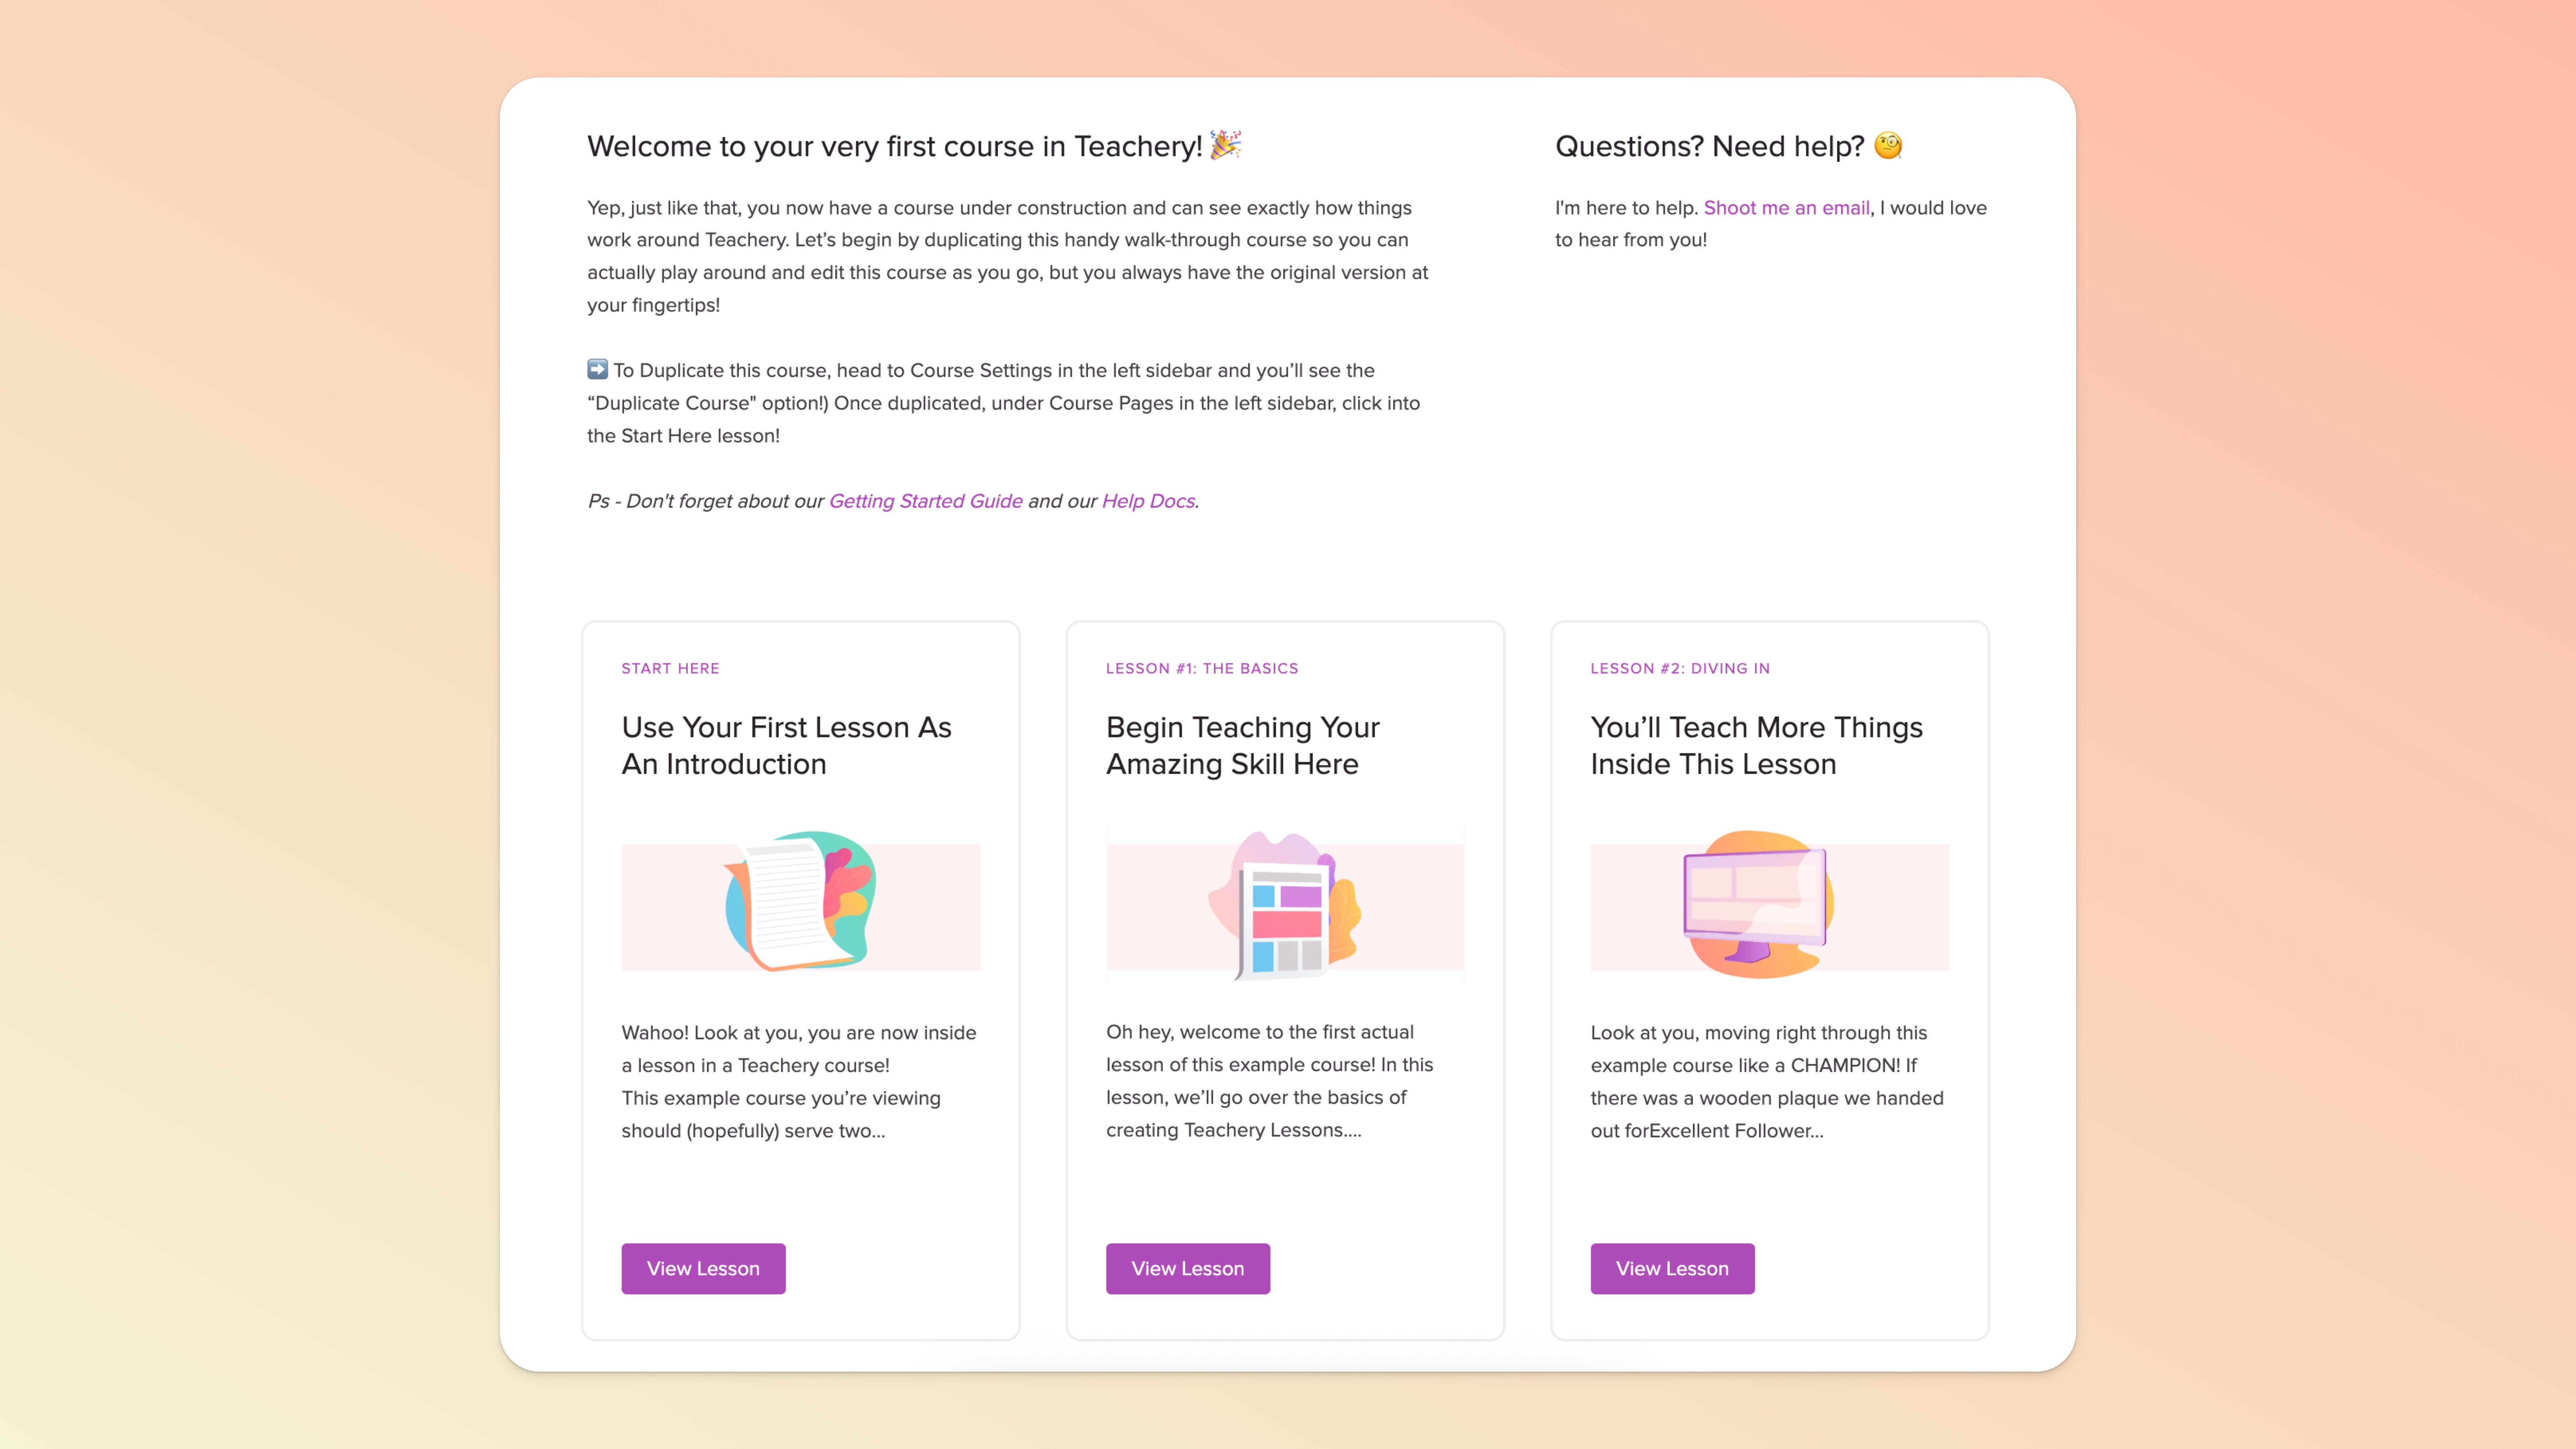
Want to spice-up your course Overview page by displaying image thumbnails in the lesson preview cards? This doc will assist you in adding lesson preview images on the main page of your course!

While Teachery lessons aren't designed out of the box to have image thumbnails on the Overview Page of your course, you can accomplish this very easily:
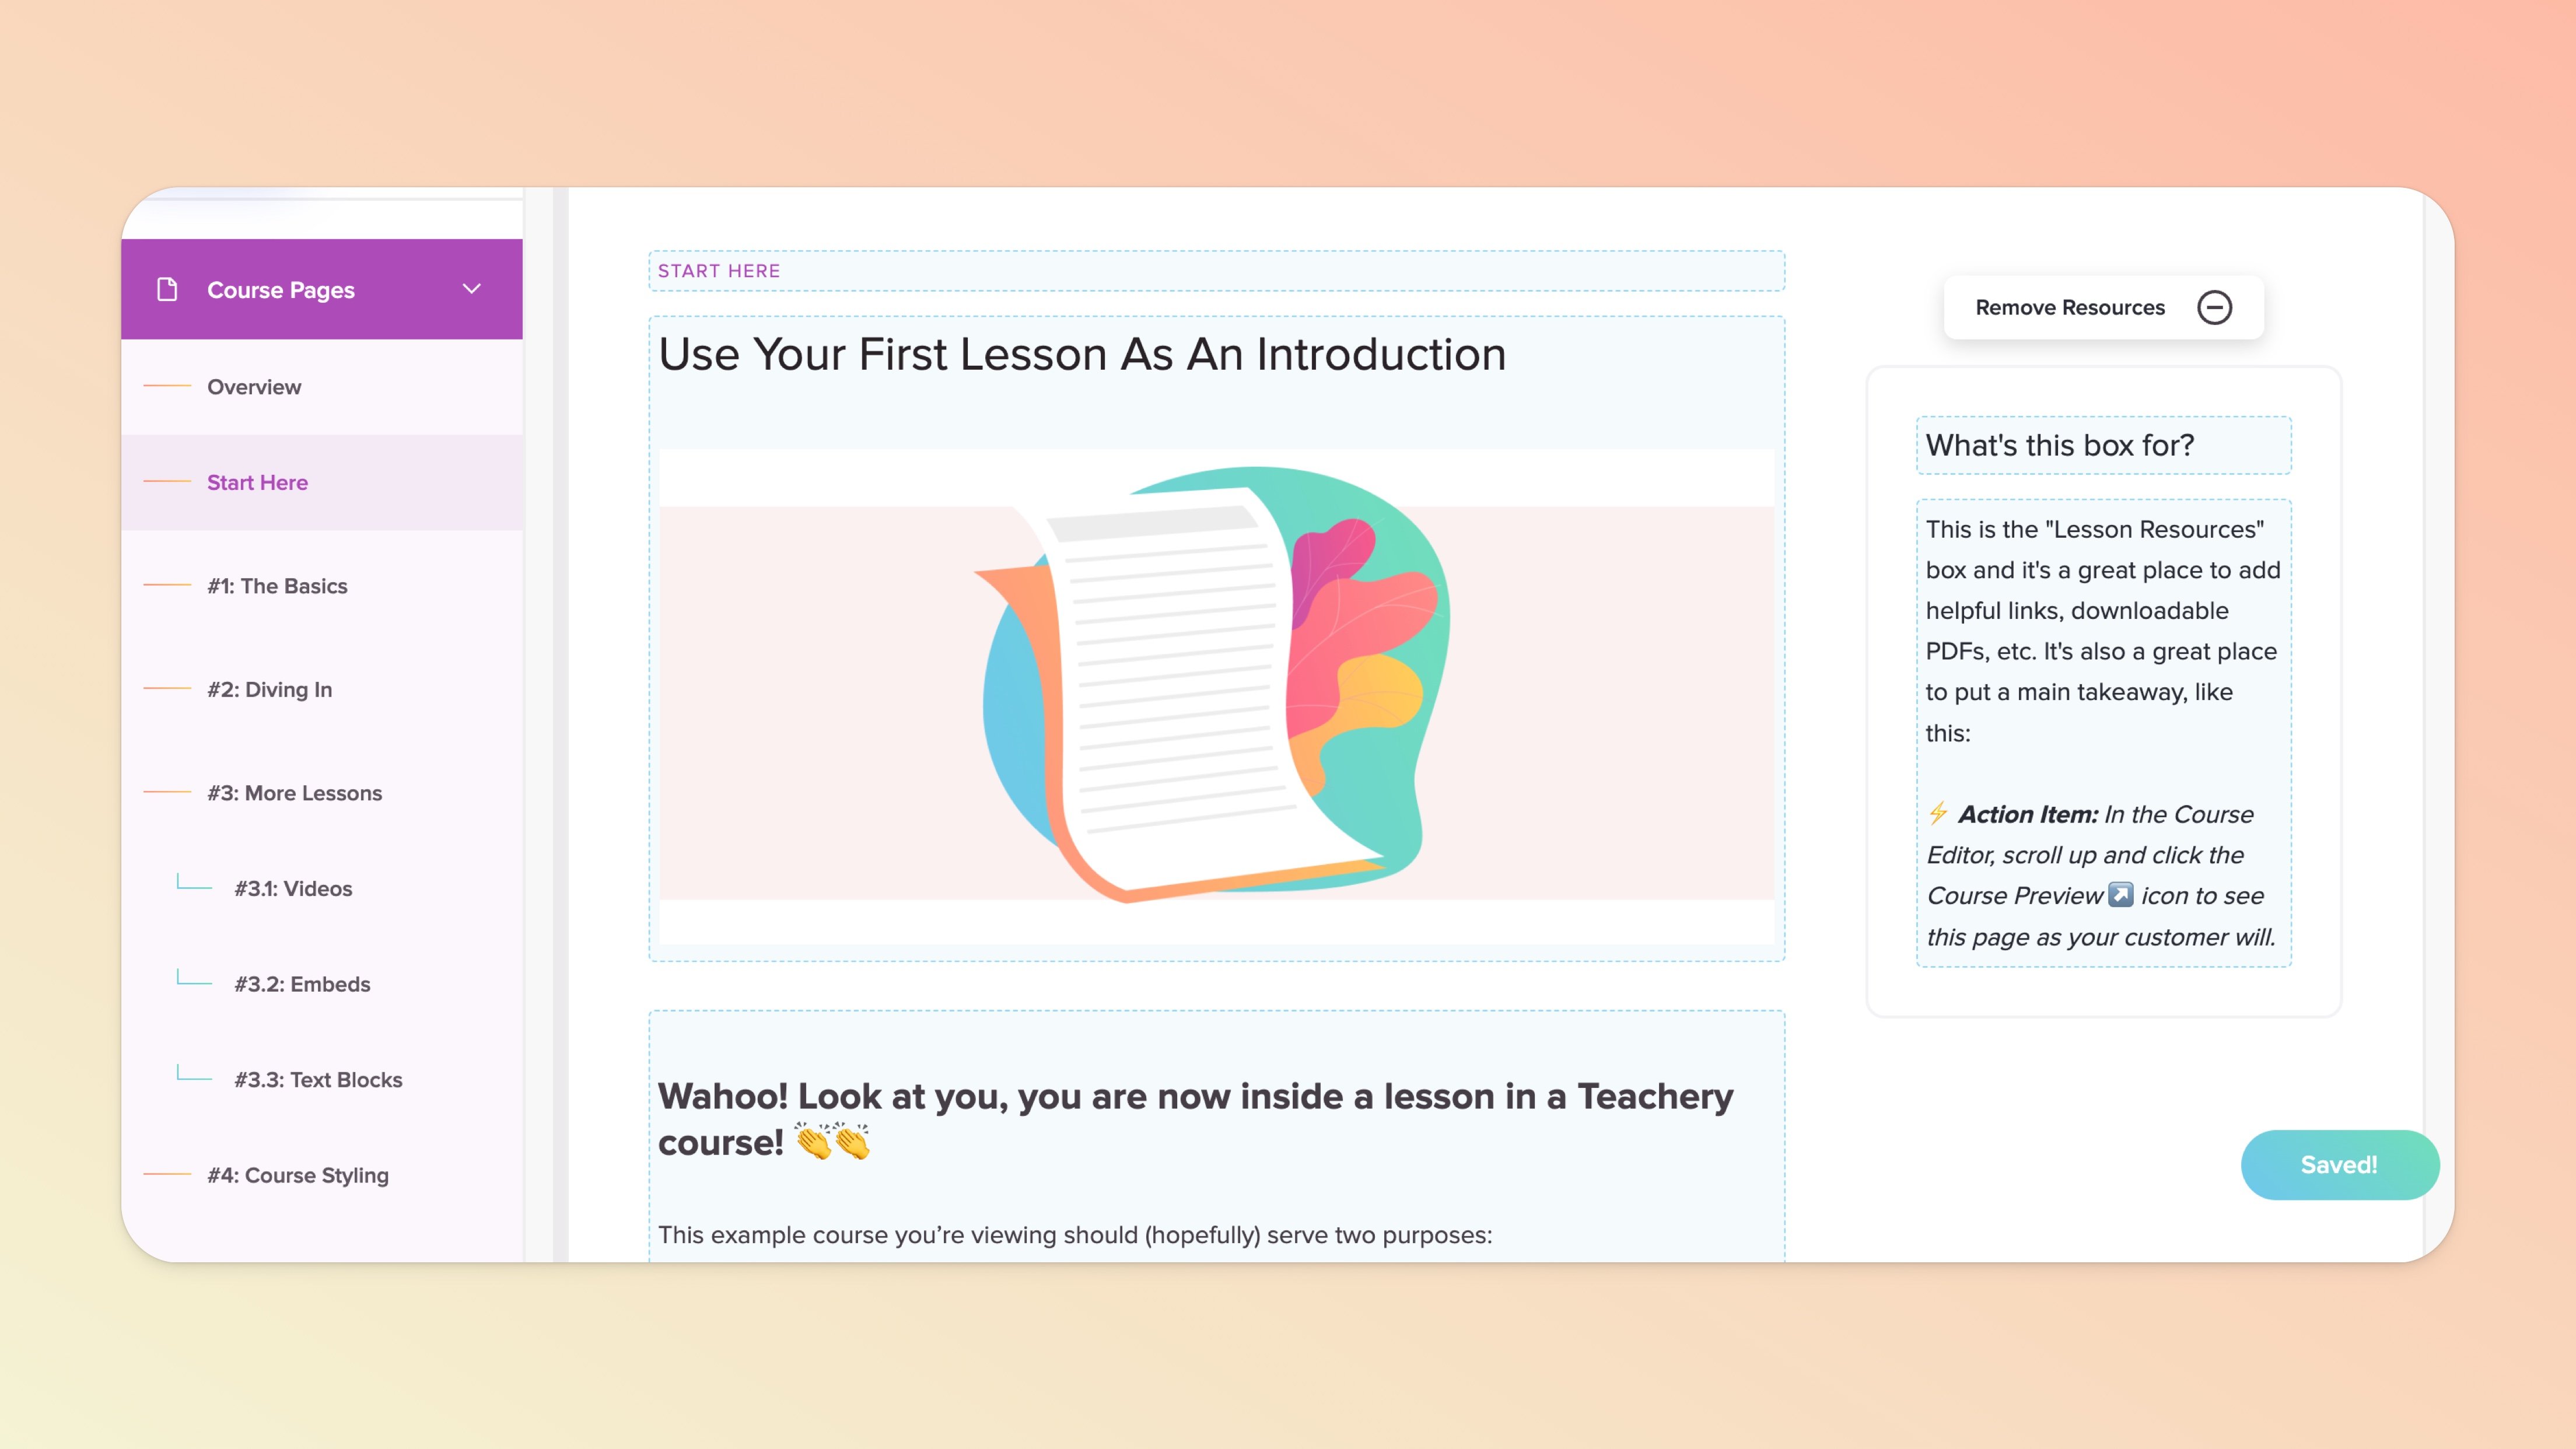
Step #1: Click into the lesson you want to edit (from the editor sidebar on the left)
Step #2: In the lesson title text/content block (the second text block from the top), you'll want to add an image below the title text (you can also remove the text altogether if you don't want any title text).
💡 TIP: Once the image is uploaded, click the image and use the Style button, and set the image to Full Width to fill the entire area nicely!
Step #3: Click back to the Overview page of your course OR click the "Preview Course" link in the top left of the sidebar to see your course Overview page in action!
If you do NOT want any text in the lesson preview cards that appear on the Overview page (and ONLY IMAGES) you will need to remove any text from the lesson title and intro text content blocks within the lesson’s page (the second and third blocks from the top). Learn more about these content blocks here.
That's it! 🎉
If you ONLY want the preview image to display on the Overview page of your course and NOT in the lesson itself, you can add a small snippet of custom CSS (below) to the Add Custom CSS area of your course (found in the Style Your Course > Add Custom CSS page of the sidebar editor).
/* Hide h2 lesson preview image in LESSON PREVIEW or LIVE view */

#lessons-page .imitate-h2-template-2 img {
    display: none;
}

/* Show h2 lesson preview image in LESSON EDIT view */

article .fr-view img.fr-dii {
    display: block !important;
}
If you just want to hide the preview images from the "More in this lesson" box that appears in the right sidebar of every lesson page, you can use the CSS below.
#lessons-page #sublessons .toplist img {
    display: none;
}
